


46
A
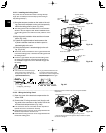
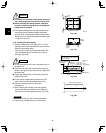
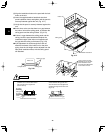
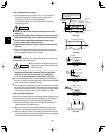
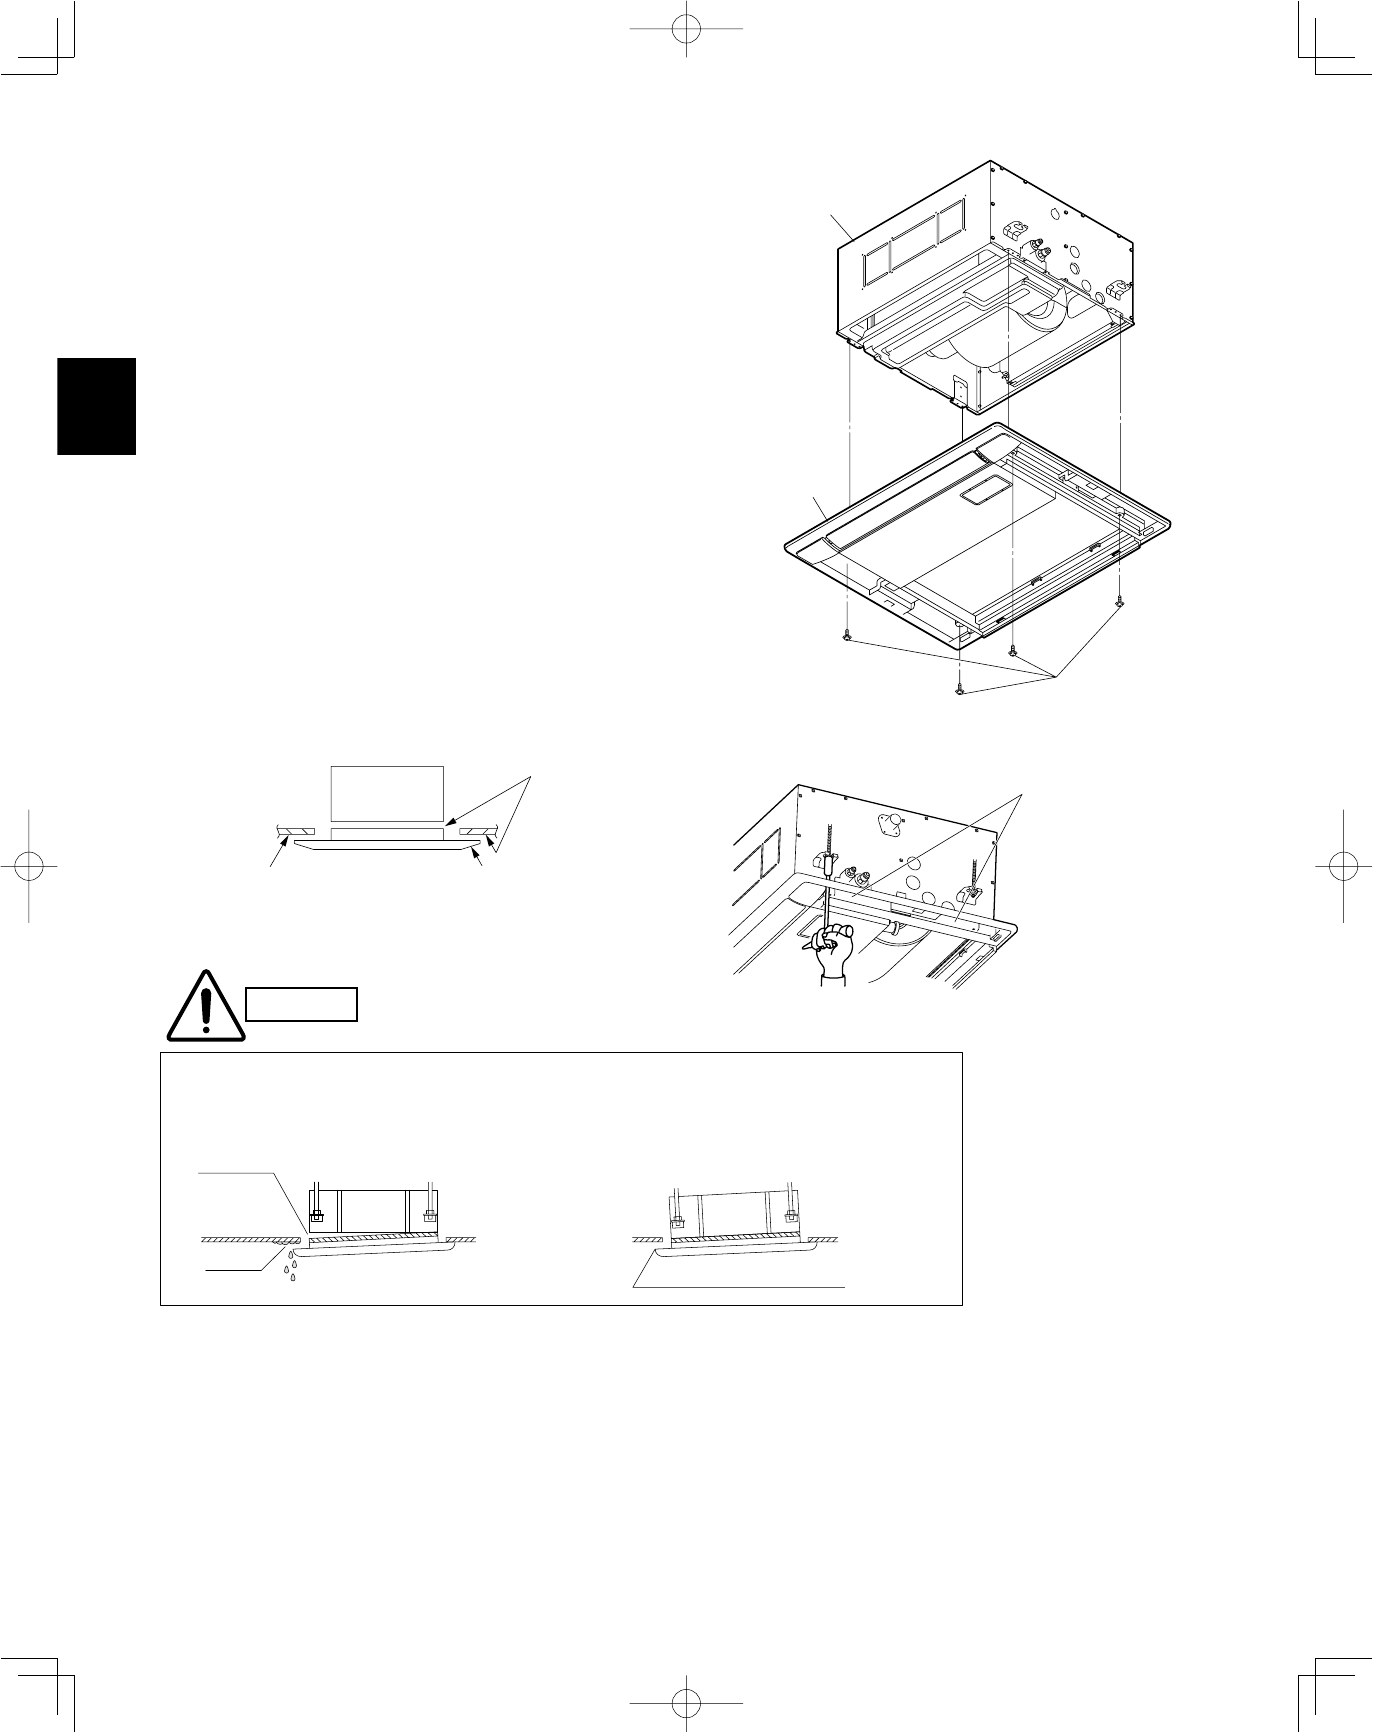
(5) Align the installation holes on the panel with the bolt
holes on the unit.
(6) Insert the supplied washer head bolts into the 4
panel installation holes, and tighten until the panel is
securely fastened against the unit. (Fig. 3-77)
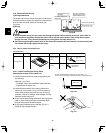
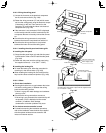
(7) Verify that the panel is securely fastened against the
unit.
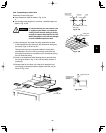
●
At this time, make sure that there is no gap between
the indoor unit and the ceiling panel, or between the
ceiling panel and the ceiling surface. (Fig. 3-78)
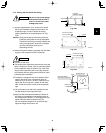
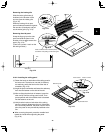
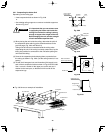
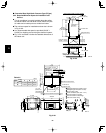
●
If there is a gap between the ceiling panel and the
ceiling, leave the panel attached and adjust the
installation height of the indoor unit upwards until
the gap with the ceiling is eliminated. (Fig. 3-79)
●
If the adjustment is small enough that it will not
affect the levelness of the indoor unit or the drain
piping, then the unit height can be adjusted from the
side panel installation holes, with the ceiling panel
still attached.
Indoor unit
Ceiling panel
Washer-head screw
Fig. 3-77
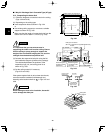
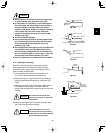
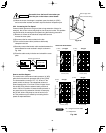
Air leakage
Ceiling panel
air leakage
Stains
Condensation and water leakage
Adjust so that there is no gap.
Insert a wrench or other
standard tool into the side
panel installation holes
and make fine adjustments
to the indoor unit nuts.
Fig. 3-79
CAUTION
•
If the screws are not fully tightened,
problems such as those shown below
may occur. Be sure to tighten the
screws securely.
•
If there is a gap between the ceiling
surface and the ceiling panel even
when the screws are fully tightened,
readjust the height of the indoor unit.
(Fig. 3-79)
Ceiling panel
Ceiling surface
Indoor unit
Must be no gap.
Fig. 3-78