


20
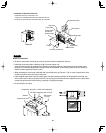
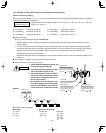
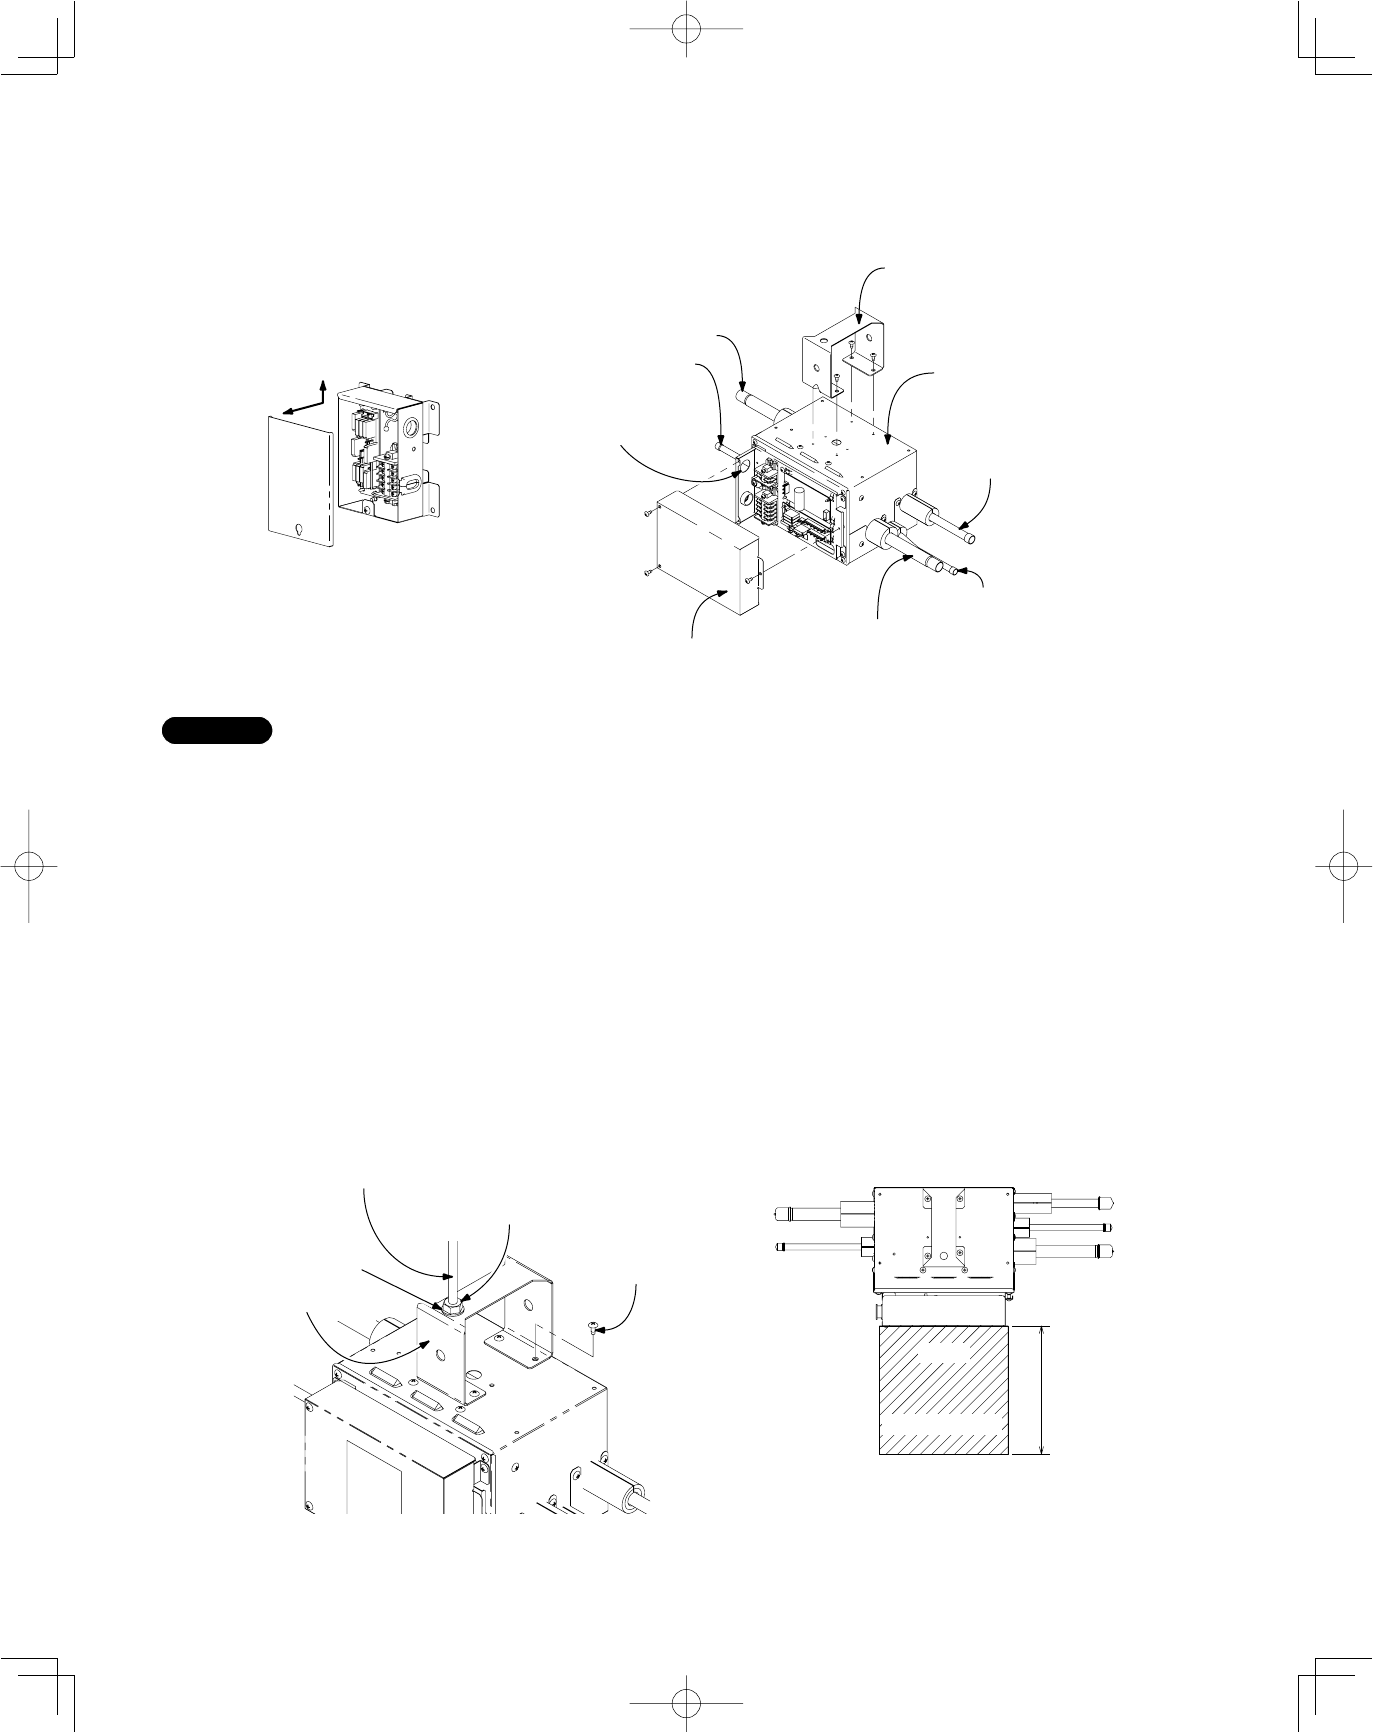
Suspension bolt (3/8" or M10) (field supplied)
Nut (field supplied) (3/8" or M10)
Washer
M4 screws
(12 pcs.)
Suspension hook
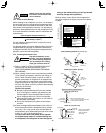
Notes on Installation
• Be sure to secure the valve body by using its structure with the suspension bolt, etc.
• Install the valve body within a distance of 98 ft. from the indoor unit.
Some refrigerant noise will be produced. Therefore in hospitals, libraries, hotel guest rooms, and other quiet
locations, it is recommended that the solenoid valve kit be installed on the ceiling reverse side of a hallway or
another location separated from the room.
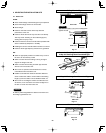
• When installing the valve body, install with the top surface facing up. Secure 7-7/8" or more of space to the front
so that the front service panel can be removed.
• If the supplied suspension hook will not be used, and other fastening devices will be attached in the field, use
the 4 screw holes on the top surface. DO NOT use any long screws other than the supplied screws. Use of other
screws may puncture the internal tubing, resulting in refrigerant leakage.
• Do not block the air holes.
NOTE
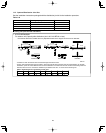
Installation of Solenoid Valve Kit
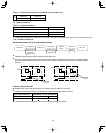
1. Install the relay kit into the indoor unit.
Refer to the Installation Manual for the solenoid valve kit.
2. Connect the solenoid valve kit and the relay kit in the field.
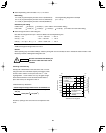
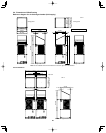
Relay kit
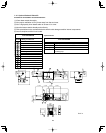
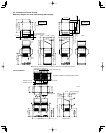
Front
Cover of control box
Suction tube
Discharge tube
Top surface
Suspension hook
Gas tube
Liquid tube
Liquid tube
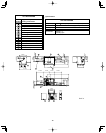
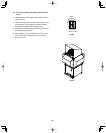
Connect with
conduit for
power supply
Front
7-7/8" or more
Service space