Regency U38 ULTIMATE Freestanding Gas Heater
17
MAINTENANCE
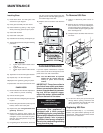
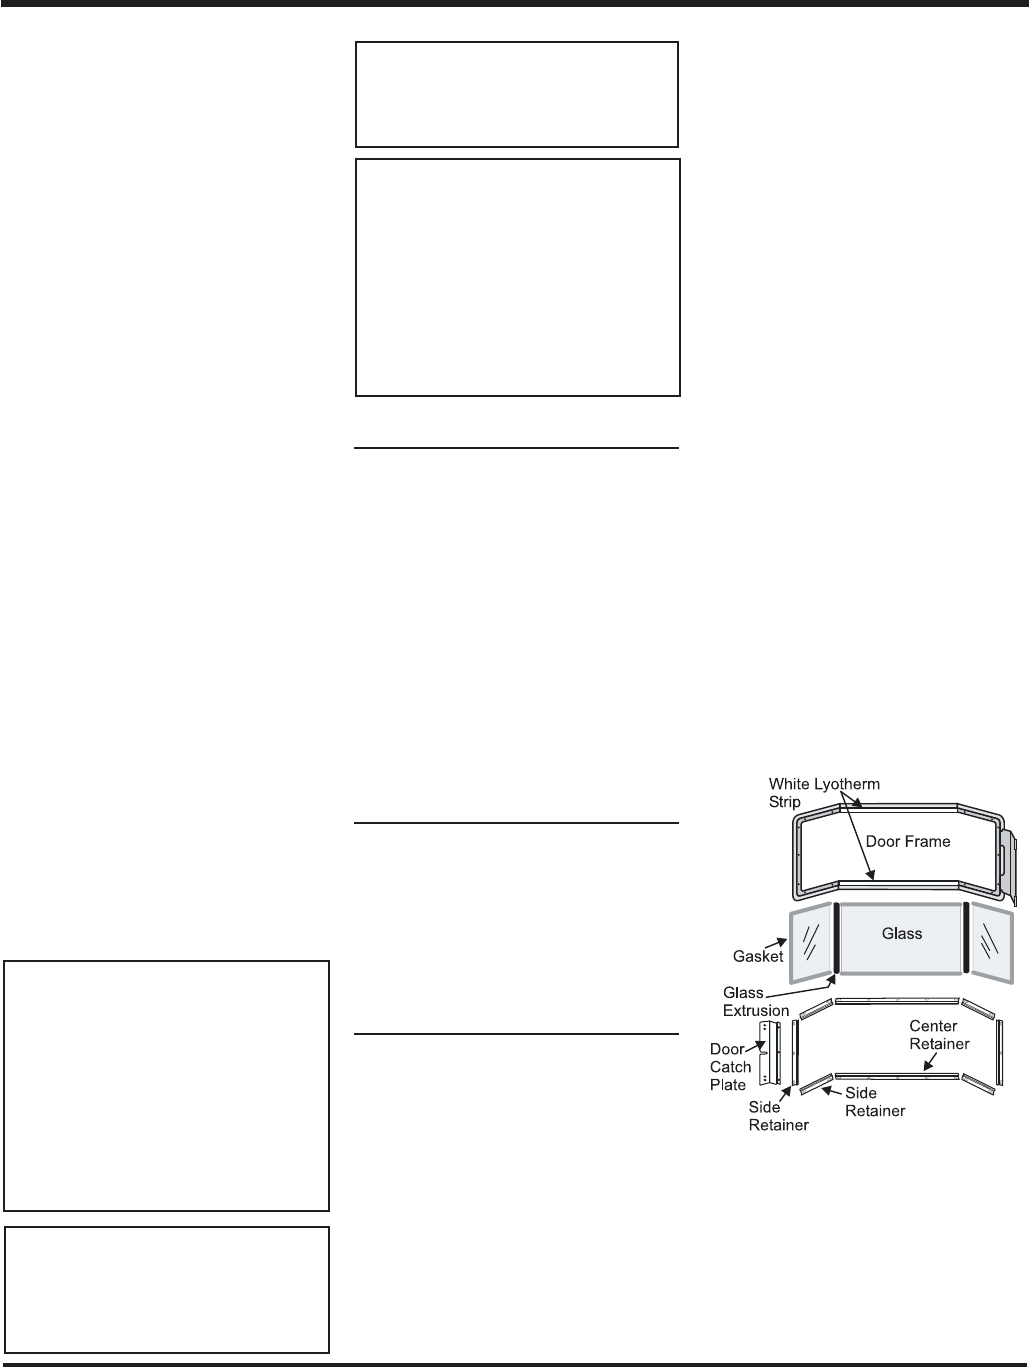
4) Remove the door catch plate.
5) Remove glass retainers on sides first (3
each side) then remove two center retain-
ers.
Note: Center glass retainers are glued
to center glass.
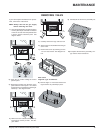
6) Remove glass from extrusions. When re-
moving center glass, leave white insulation
in place.
CLOTHING OR OTHER FLAMMA-
BLE MATERIAL SHOULD NOT BE
PLACED ON OR NEAR THE APPLI-
ANCE.
DO NOT USE THIS APPLIANCE IF
ANY PART HAS BEEN UNDER
WATER. IMMEDIATELY CALL A
QUALIFIED SERVICE TECHNICIAN
TO INSPECT THE APPLIANCE AND
TO REPLACE ANY PART OF CON-
TROL SYSTEM AND ANY GAS
CONTROL WHICH HAS BEEN UN-
DER WATER.
WARNING: CHILDREN AND
ADULTS SHOULD BE ALERTED TO
THE HAZARDS OF HIGH SURFACE
TEMPERATURE AND SHOULD
STAY AWAY TO AVOID BURNS OR
CLOTHING IGNITION. YOUNG
CHILDREN SHOULD BE CAREFUL-
LY SUPERVISED WHEN THEY ARE
IN THE SAME ROOM AS THE AP-
PLIANCE.
CAUTION: ANY SAFETY SCREEN
OR GUARD REMOVED FOR SERV-
ICING AN APPLIANCE MUST BE
REPLACED PRIOR TO OPERAT-
ING THE APPLIANCE.
MAINTENANCE
INSTRUCTIONS
1) Always shut the valve off before cleaning.
For relighting, refer to lighting instructions.
Keep the burner and control compartment
clean by brushing and vacuuming at least
once a year. When cleaning the logs, use
a soft clean brush as the logs are fragile
and easily damaged.
2) Clean glass (never when unit is hot), ap-
pliance, louvers, and door with a damp
cloth. Never use an abrasive cleaner. The
gold louvers (and optional gold door) may
be scratched if abrasives are used to
clean them.
The heater is finished in a heat resistant
paint and should only be refinished with
heat resistant paint (not with wall paint).
Regency uses StoveBright Paint - Metallic
Black #6309.
3) Make a periodic check of burner for proper
position and condition. Visually check the
flame of the burner periodically, making
sure the flames are steady; not lifting or
floating. If there is a problem, call a qualified
service person.
4) The appliance and venting system must be
inspected before use, and at least annual-
ly, by a qualified field service person, to
ensure that the flow of combustion and
ventilation air is not obstructed.
During the annual service call, the burners
should be removed from the burner tray
and cleaned. Replace the embers - do not
block the pilot or burner ports.
5) Keep the area near the appliance clear and
free from combustible materials, gasoline
and other flammable
vapours and liquids.
6) Verify proper operation after servicing.
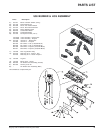
LOG REPLACEMENT
The unit should never be used with broken logs.
Turn off the gas valve and allow the unit to cool
before opening door to carefully remove the
logs. The pilot light generates enough heat to
burn someone. If for any reason a log should
need replacement, you must use the proper
replacement log. The position of these logs
must be as shown in the diagram under Log
Installation.
Note: Improper positioning of logs may
create carbon build-up and will
alter the unit’s performance
which is not covered under war-
ranty.
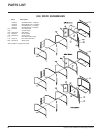
DOOR AND GLASS
GASKET
If the door gasket requires replacement use
7/8" diameter oval door gasket (Part # 650-
920). The glass requires 5/8" flat glass gasket.
See your Regency dealer.
GOLD-PLATED DOORS
The 24 carat gold plated finish on the door
requires little maintenance, and need only be
cleaned with a damp cloth. DO NOT use
abrasive materials or chemical cleaners, as
they may harm the finish and will void the
warranty. Clean any fingerprints off before
turning the unit on.
GLASS
REPLACEMENT
Your Regency stove is supplied with high
temperature, 5 mm Neoceram ceramic glass
that will withstand the highest heat that your
unit will produce. In the event that you break
your glass, purchase your replacement from
an authorized Regency dealer only, and follow
the step-by-step instructions for replacement.
Never operate your unit with broken
glass.
WARNING: Do not operate appliance with
the glass front removed, cracked or bro-
ken. Replacement of the glass should be
done by a licensed or qualified service
person.
MITRED DOOR
Removing Glass:
Note: Wearing gloves will protect your
hands while handling glass.
1) Remove the door from the unit and place on
a soft surface to prevent scratching.
2) Pull out the door gasket.
3) Remove the 24 nuts holding the glass re-
tainers in place. Do not remove the nuts
underneath the retainers.


