


Regency
®
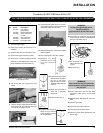
P36-4 Gas Log Fireplace 23
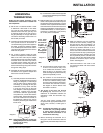
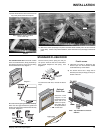
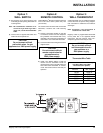
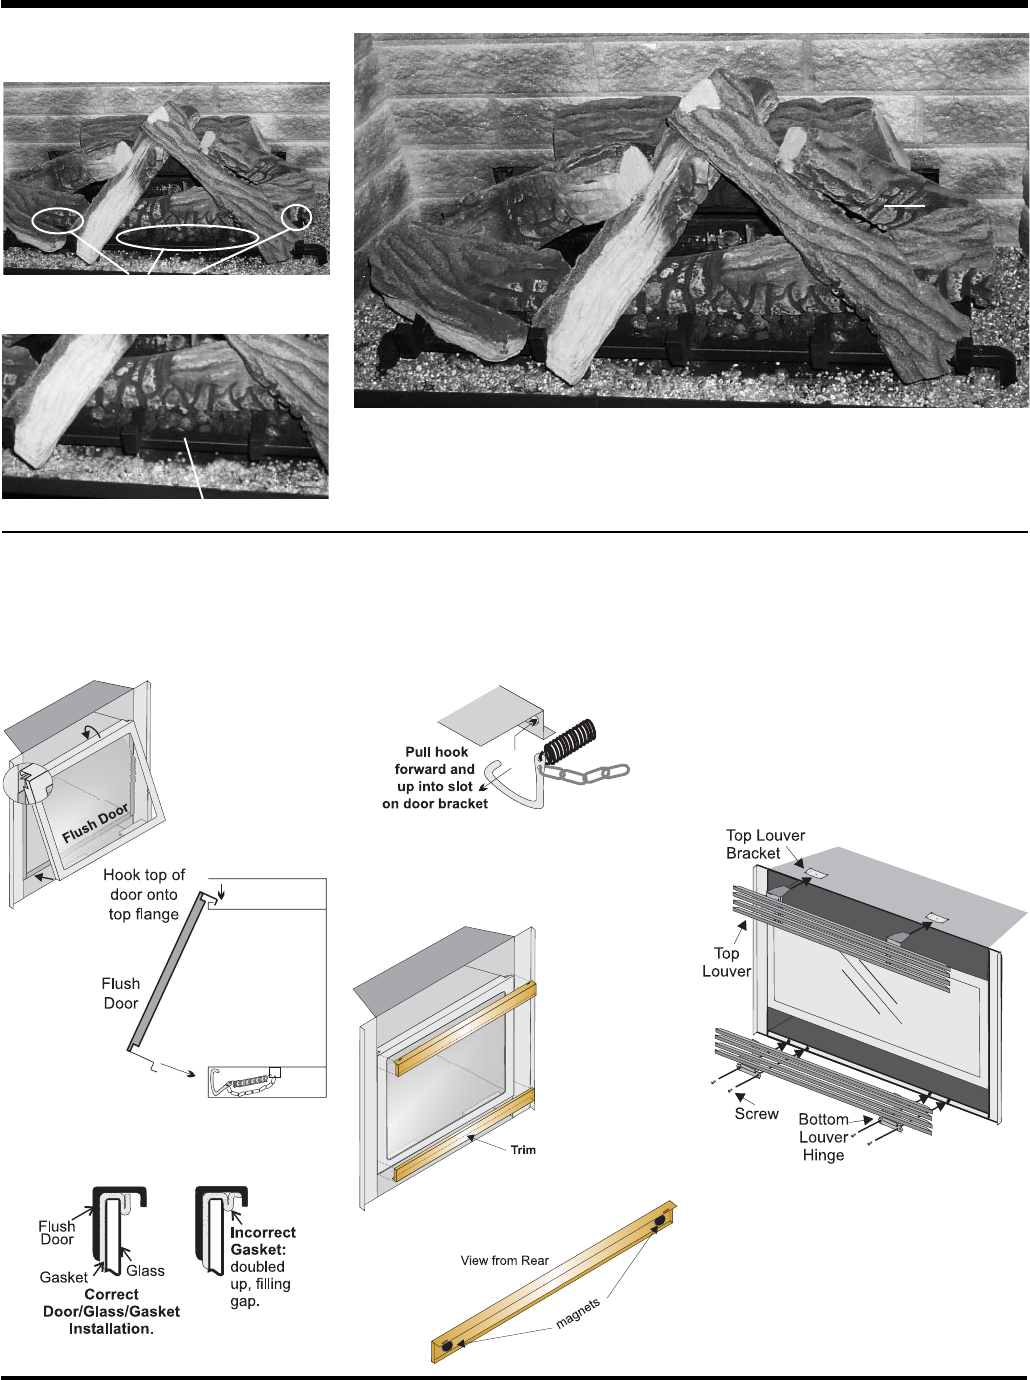
STANDARD FLUSH DOOR
Diagram 3
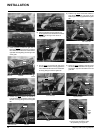
Use the hook to pull the spring out until you
can put the hook into the slot on the bottom
door bracket. Repeat for 2nd spring. See
diagram 3.
Diagram 2
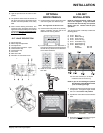
The standard fl ush door comes with a black
frame. To install the frame, simply hook the top
door fl ange onto the top of the unit and swing
the door towards the unit, diagram 1.
Be careful that the glass gasket does not roll up;
there must be a gap between the gasket and
the door lip to ensure that the door sits securely
on the unit. Diagram 2.
Diagram 1
To remove the fl ush door, reverse the above
steps.
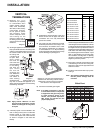
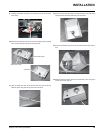
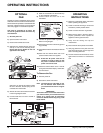
Optional
Flush Trim
Attach the round
magnets to the
back of the top trim
piece and to the
bottom trim piece,
then attach trim to
the top and bottom
of Flush door.
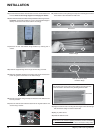
Flush Louvres
1) Install the top louvre by sliding the two
bracket clips into the brackets located
underneath the top of the fi rebox.
2) The bottom louvre has a hinge that is
attached (2 screws per hinge) to the lip on
bottom of the unit.
Note: Top and bottom louvres are
different.
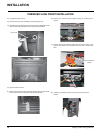
10) Place the embers on the front of the burner
tray in the places shown on the photo.
11) Test fi re to ensure proper light off (make sure fl ame fl ows smoothly from one end of burner
to the other). If there is any fl ame hesitation, check that area for any blockage of the burner
ports.
Place embers in these 3 locations
on the burner tray.
Embers
02-50
02-55
02-49
02
-
53
02-51
02-54
02-52
INSTALLATION