


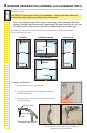
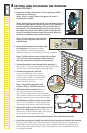
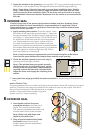

3 WINDOW PREPARATION (AWNING and CASEMENT ONLY)
The interior frame covers must be removed to provide access to the pre-drilled frame screw
installation holes.
CAUTION: To Avoid Interior Frame Cover Breakage - Carefully read and understand
the following steps before proceeding with cover removal.
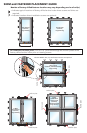
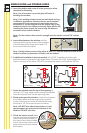
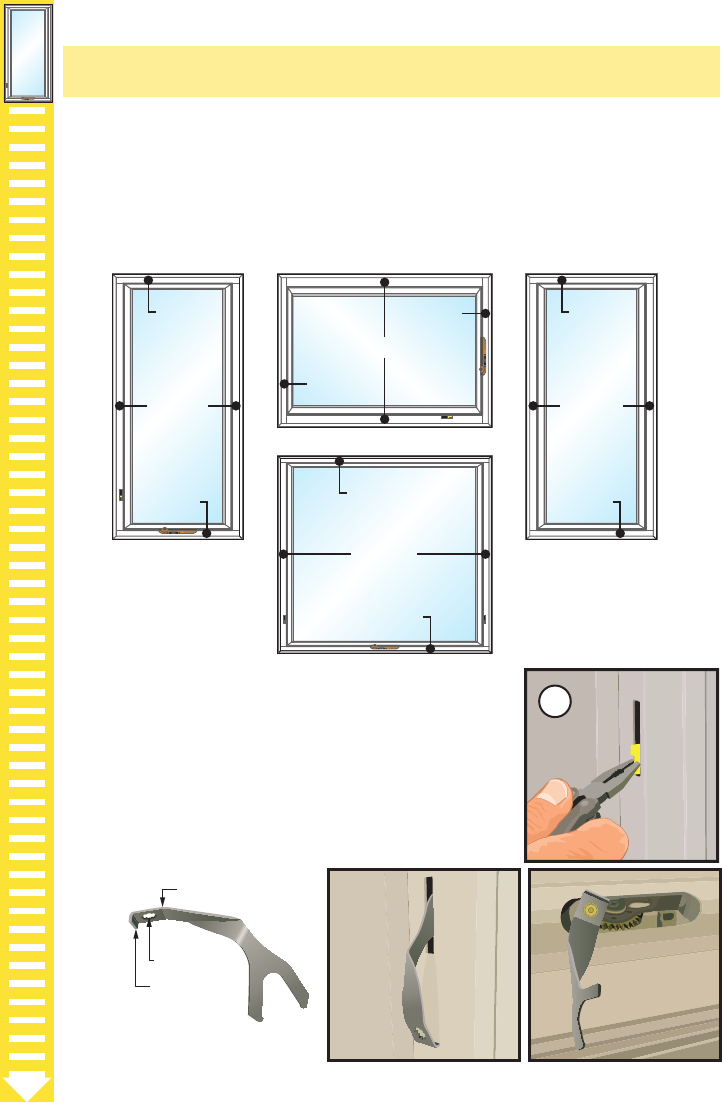
CASEMENT
COVER 3
COVER 1
COVER 2
FIXED AW/CM
COVER 3
COVER 1
COVER 2
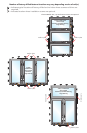
LARGE AWNING
COVER 3
COVER 1
COVER 2
STANDARD AWNING
COVER 3
COVER 1
COVER 2
Note: The following interior frame cover removal steps are for Casement, Standard
Awning, Fixed Awning/Casement and Large Awning. The steps are similar for each, but
the order in which covers are removed will vary depending on the window type.
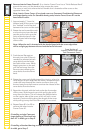
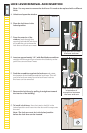
AWNING/
CASEMENT
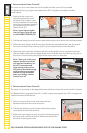
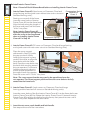
A. Prepare the Window.
1. Removethescreenandsetaside.
Hook
Spline Hole
Bend in Tool
Construction Handle Tool
REFERENCE DESCRIPTION
2. Useplierstoremovetheplug(s)fromthelock
handlelocation(s).
3. Removetheconstructionhandletoolfromthe
handle package.
A2
ConstructionHandleToolmaybeusedasa
lock handle or crank handle.
Theorderofinteriorframecoverremovalisindicatedbelow.Usereverseorder
for re-installation of covers.