35
Network settings
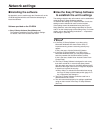
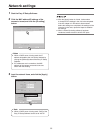
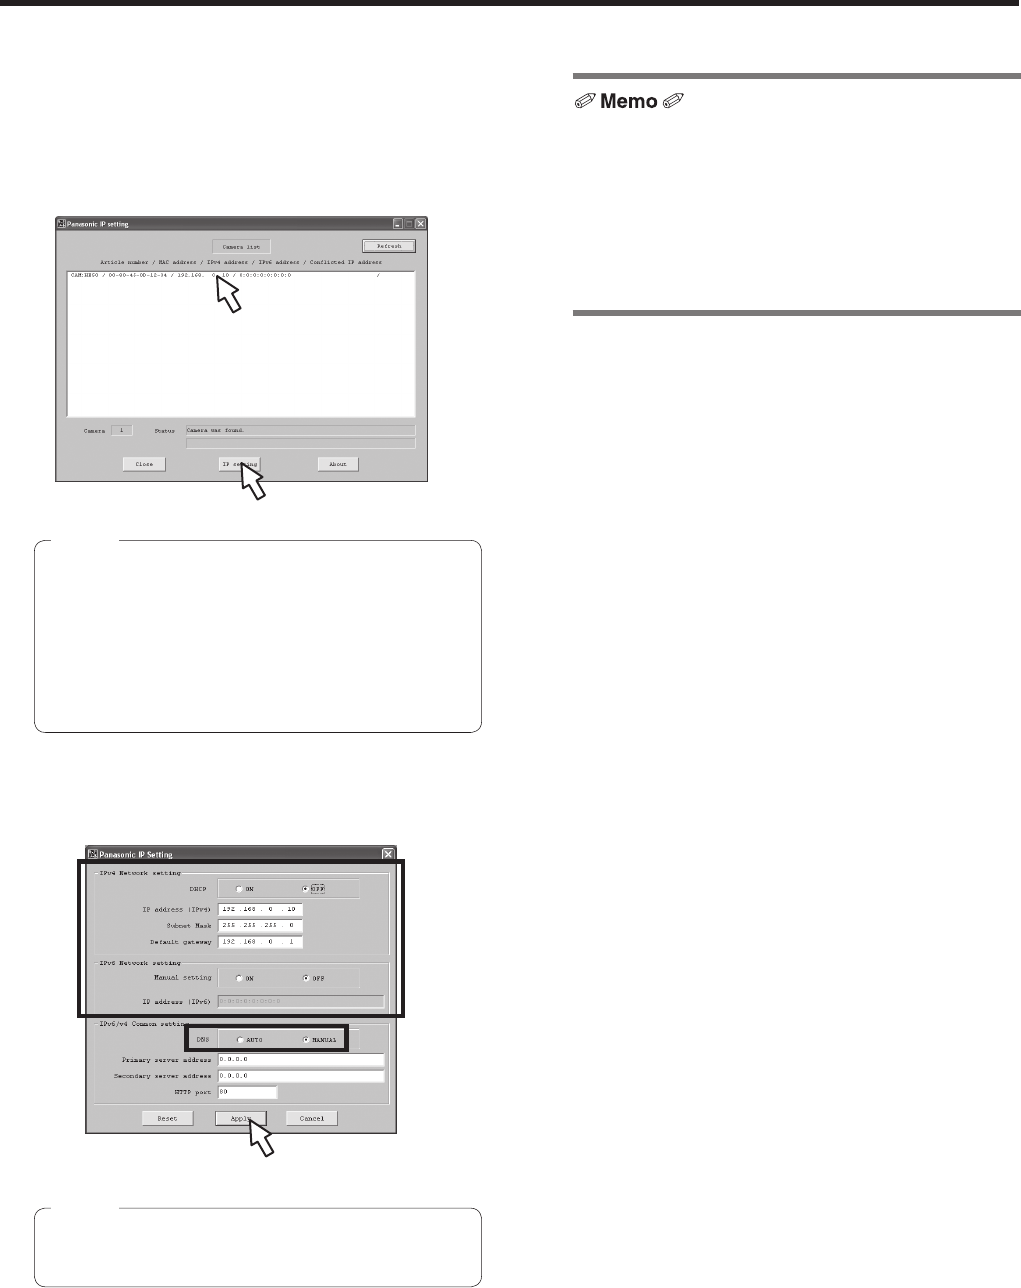
1 Start the Easy IP Setup Software.
2 Click the MAC address/IP address of the
camera to be set, and click the [IP setting]
button.
When a DHCP server is being used, the IP
address allocated to the unit can be checked by
clicking the [Refresh] button of the Easy IP Setup
Software.
If IP addresses are in contention, the MAC
address of the camera concerned is the one
shown with the shading.
Notes
3 Input the network items, and click the [Apply]
button.
When a DHCP server is being used, “DNS” of the
Easy IP Setup Software can be set to “AUTO”.
Note
After the [Apply] button is clicked, it takes about
2 minutes for the settings in the unit to be completed.
If the AC adapter or LAN cable is disconnected
before the settings are completed, the settings will be
canceled. In this case, repeat the steps to establish
the settings.
When a firewall (including software) has been
introduced, enable access to all the UDP ports.


