


23
W415-0429 / B / 05.25.04
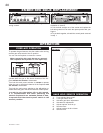
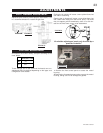
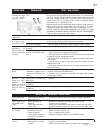
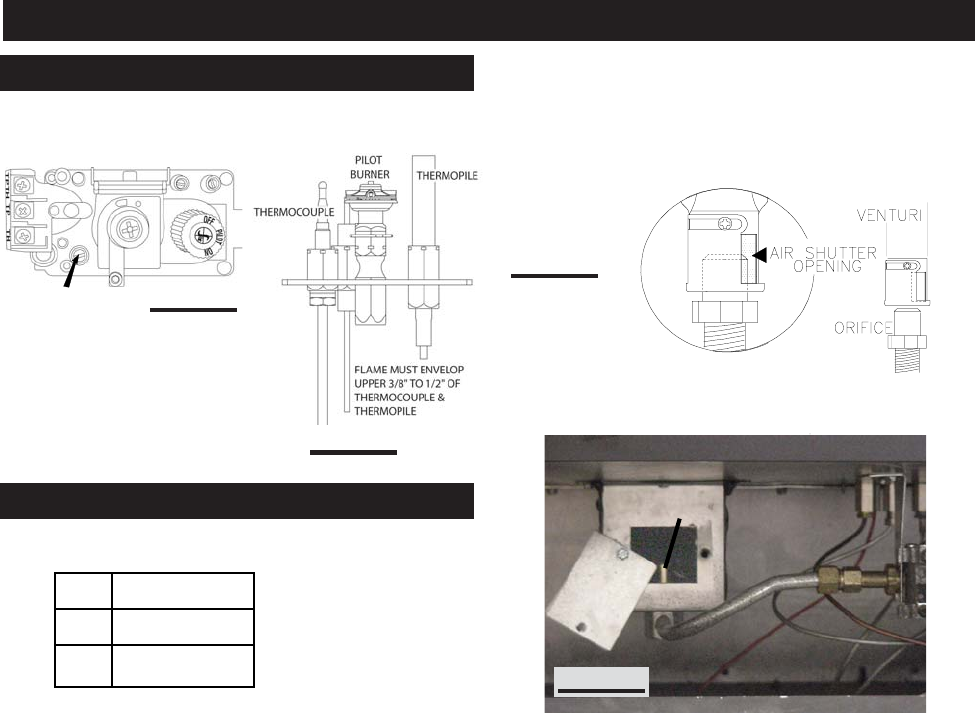
Adjust the pilot screw to provide properly sized flame. Turn
in a clockwise direction to reduce the gas flow.
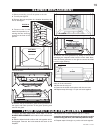
Air shutters have been factory set open according to the
chart below:
These settings are for the maximum horizontal vent run.
Adjustment may be required depending on fuel type, vent
configuration and altitude.
Closing the air shutter will cause a more yellow flame, but
can lead to carboning.
Opening the air shutter will cause a more blue flame, but
can cause flame lifting from the burner ports. The flame
may not appear yellow immediately; allow 15 to 30 min-
utes for the final flame colour to be established.
Air shutter adjustment must only be done by a
qualified installer!
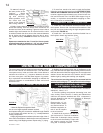
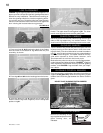
1. Remove the front central panel to access the venturi
housing.
2. Remove the 2 screws that secure the cover to the venturi
housing, taking care not to damage the gasket.
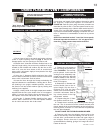
FIGURE 55
AIR SHUTTER
NG
1
/
16
"
LP
3
/
16
"
FIGURE 56
FIGURE 54
COVER
VENTURI
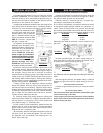
FIGURE 57
PILOT SCREW
ADJUSTMENTS
PILOT BURNER ADJUSTMENT
VENTURI ADJUSTMENT