10
W415-0314 / C / 01.15.04
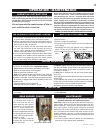
1. Turn off the electrical
power and the gas supply
to the fireplace insert.
2. Remove the fire viewing
door. Remove the logs, log
support and backwall.
3. Remove the blower
access door held on with
10 screws. Replace the
blower access door gasket
when changing the blower.
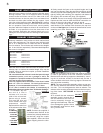
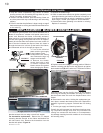
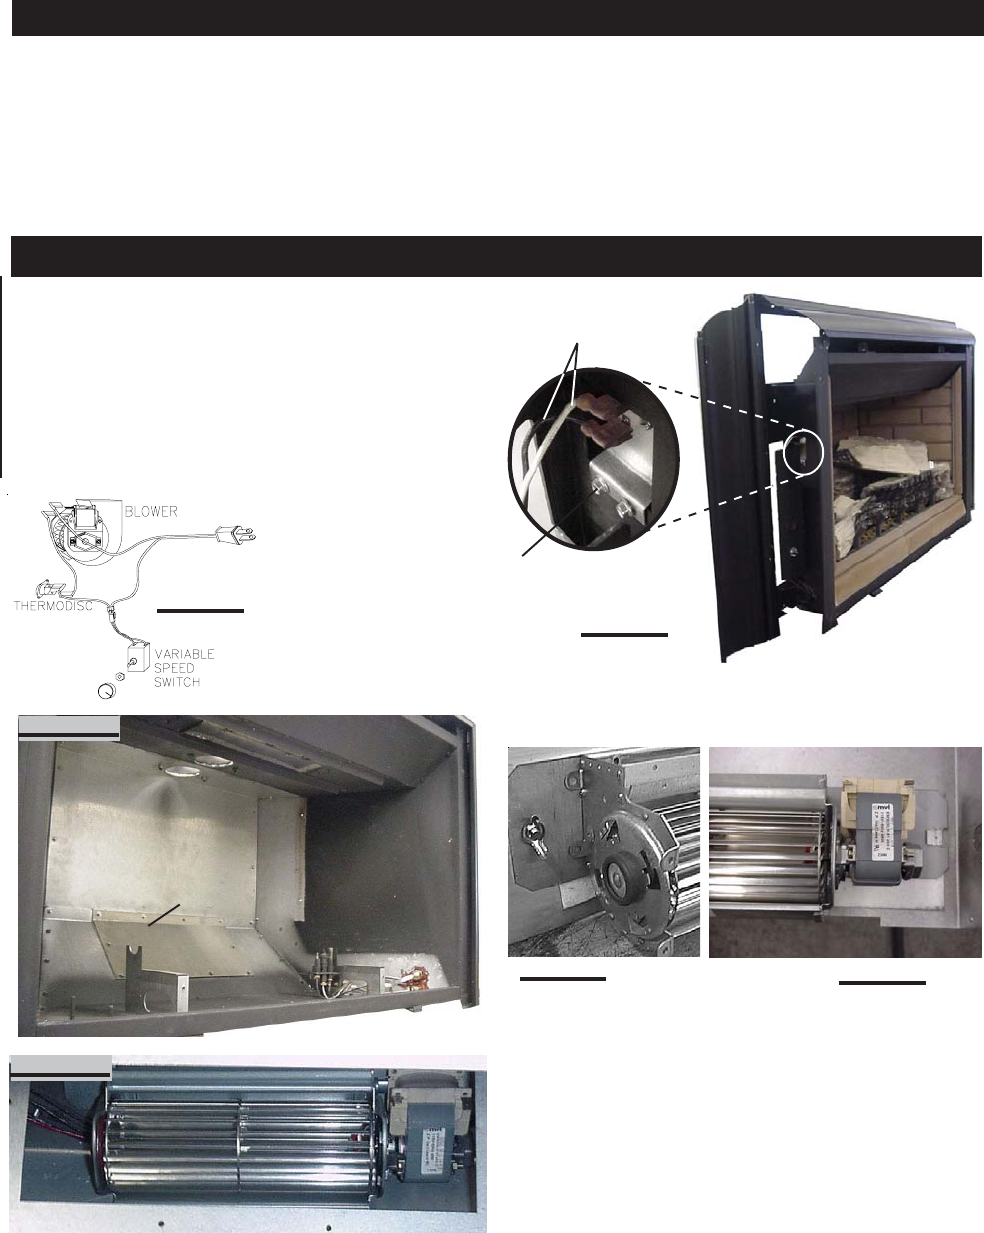
4. Disconnect the two blower wires. Remove the blower
bracket secured with one wing nut and lock washer.
For thermodisc replacement: Remove the "Z" shaped
mounting bracket secured to the firebox wall behind the
left side control door. Remove the thermodisc from the
bracket and replace. Figure 19.
FIGURE 17
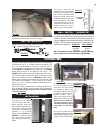
5. Replace the blower using the existing bracket. Slide the
vibration reducing pad (A) into the clip (C) and up against
the threaded stud (B) at the other end. The blower must be
able to be positioned entirely onto the pad.
Slide the blower into the clip (C). Secure to the threaded
stud using the existing lock washer and wing nut. Ensure
that the blower does not touch the fireplace base or the
firebox.
6. Reconnect the two wires. Holding the replacement gas-
ket in place, re-attach the blower access door. Replace the
backwall, logs and log support. Reinstall the fire viewing
door.
7. Turn the gas supply and electricity back on.
Drywall dust will penetrate into the blower bearings caus-
ing irreparable damage and must be prevented from
coming into contact with the blower or its compartment.
Any damage resulting from this condition is not covered by
the warranty policy.
r
e
d
w
h
i
t
e
b
l
a
c
k
FIGURE 21
FIGURE 20
A
B
C
THERMODISC BRACKET
ASSEMBLY
BLOWER WIRES
FIGURE 19
BLOWER
ACCESS
DOOR
FIGURE 18 a
BLOWER THROUGH ACCESS DOOR
FIGURE 18 b
REPLACEMENT BLOWER INSTALLATION
SHOWN WITH LOG SUPPORT AND BACK WALL REMOVED.
MAINTENANCE CONTINUED
2. Keep the control compartment, logs, burner, air shutter
opening and the area surrounding the logs clean by vacu-
uming or brushing, at least once a year.
3. Check to see that all burner ports are burning. Clean out
any of the ports which may not be burning or are not burning
properly.
4. Check to see that the pilot flame is large enough to engulf
the thermocouple on one leg and reaches toward the burner
on the other leg.
5. Replace the cleaned logs.
6. Check to see that the main burner ignites completely on all
openings when the gas knob for the burner is turned on. A
5-10 second total light-up period is satisfactory. If ignition
takes longer, consult your Napoleon dealer/distributor.
7. Check that the door gasketing is not broken or missing.
Replace if necessary.
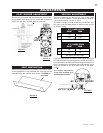
The Napoleon gas fireplace insert comes standard with a
blower, a heat sensor, variable on/off speed control and a
power cord. Because the blower is thermally activated,
when turned on, it will automatically start approximately 15
minutes after lighting the fireplace and will run for approxi-
mately 30 minutes after the fireplace has been turned off.
Use of the fan increases the output of heat. Air, drawn in
through the lower slot, is driven up the back of the firebox,
and exhausted as hot air through the upper slot.


