


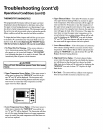

Troubleshooting (cont'd)
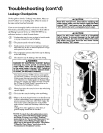
Leakage Checkpoints
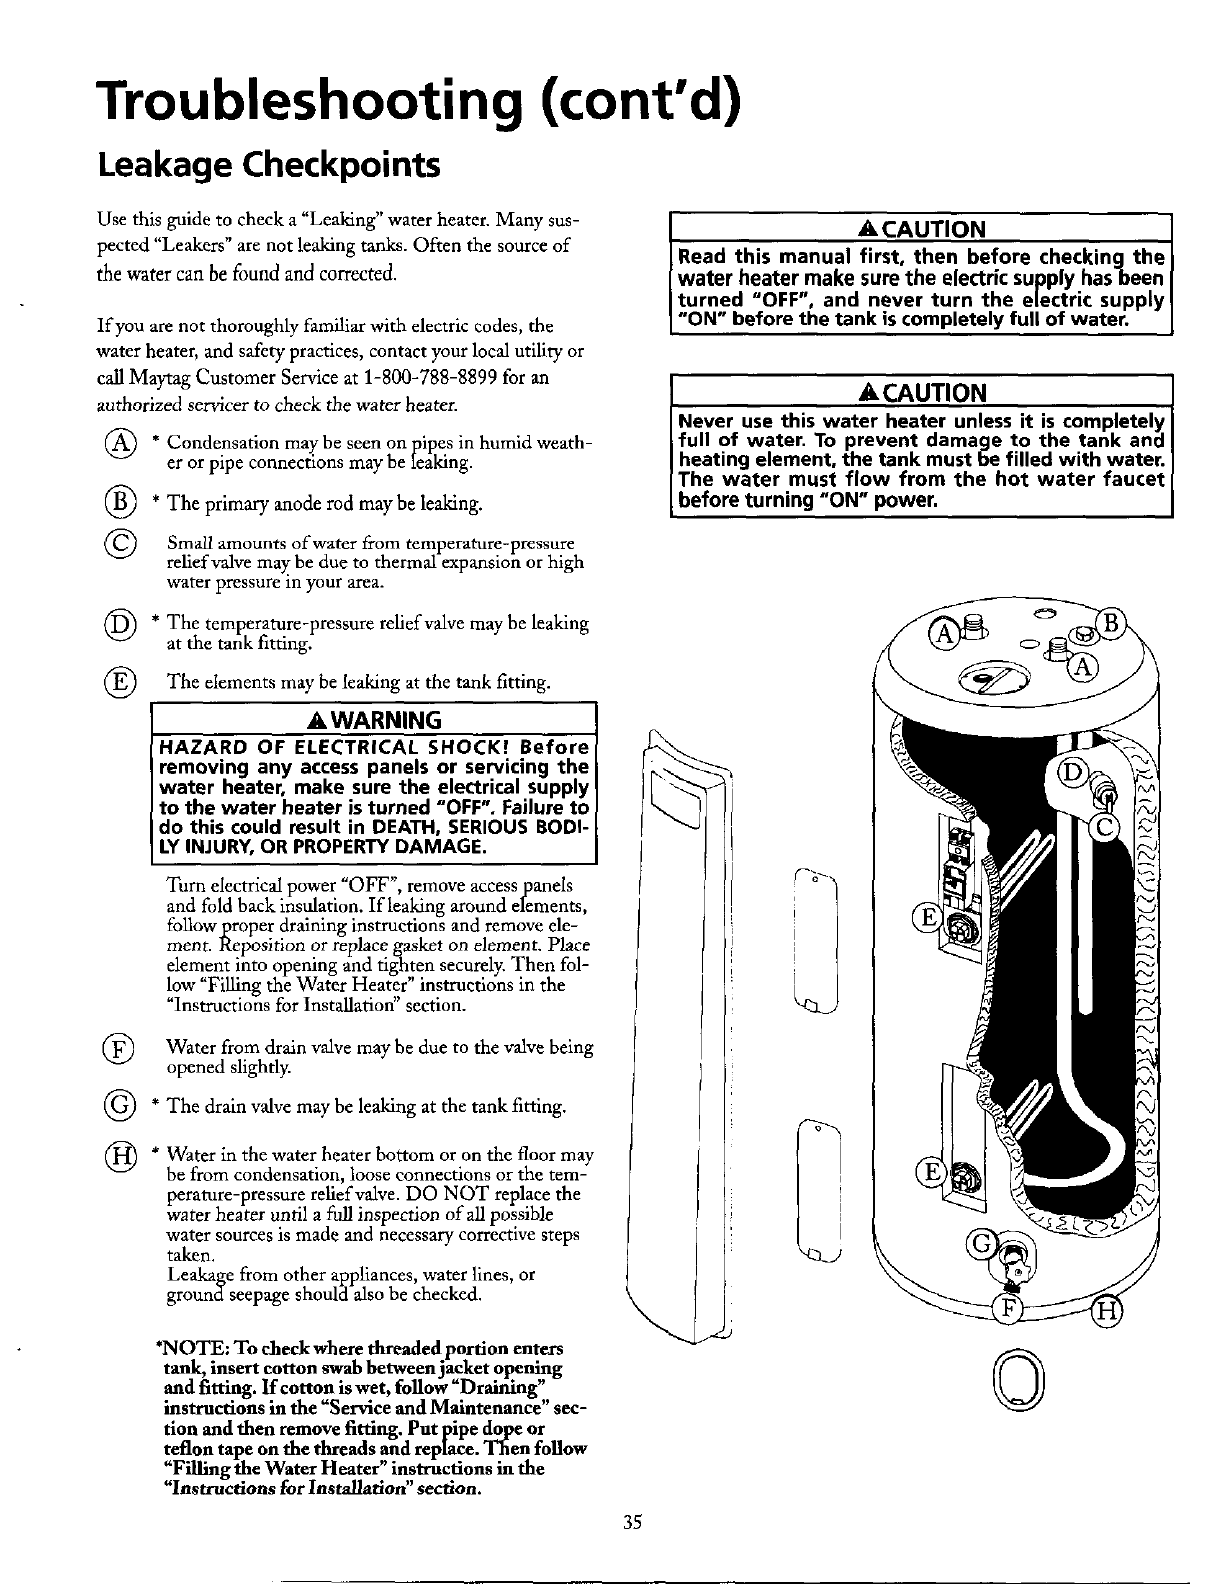
Use this guide to check a "Leaking" water heater. Many sus- [ _ CAUTION ]
pected "Leakers" are not leaking tanks. Often the source of I Read this manual_efore checkingthe I
thewatercanbefoundandcorrected. [water heatermakesurethe electricsupplyhasbeen[
Iturned "OFF", and never turn the electric supplyl
If you are not thoroughly familiar with electric codes,the [ "ON" before the tank is completely full of water. ]
water heater, and safety practices, contact your local utility or
call Maytag Customer Service at 1-800-788-8899 for an
authorized servicer to check the water heater. A CAUTION
Never use this water heater unless it is completely
* Condensation in humid weath- full of water. To prevent damage to the tank and
maybe
sccn
on
pipes
er or pipe connections may be leaking, heating element, the tank must be filled with water.
The water must flow from the hot water fauce
@ The primary anode rod maybe leaking, power.
before
turning
#ION i,
@ Small of water from
amounts
temperature-pressure
relief valve ma3(be due to thermal expansion or high
water pressure in your area.
(_) * The temperature-pressure relief valve may be leaking
at the tank fitting.
(_) The elements be the tank
leakingmay
at
fitting.
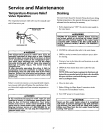
AWARNING
HAZARD OF ELECTRICAL SHOCKI Before _.
removing any access panels or servicing the -"_.. _
water heater, make sure the electrical supply
to the water heater is turned OFF". Failure to
do this could result in DEATH, SERIOUS BODI-
LY INJURY, OR PROPERTY DAMAGE.
Turn electrical power "OFF", remove accesspanels Y_')
and fold back insulation. If lealdng around elements, , ]
foilowproper draining instructions and remove ele- I
ment. Reposition or replace gasket on element. Place i
element into opening and tighten securely. Then fol-
low "Filling the Water Heater' instructions in the
"Instructions for Installation" section.
@ Water from drain valve be due to the valve being
may
opened slightly.
(_ The drain valve may be leaking at the tank fitting.
@ * Water in the water heater bottom or on the floor may I i
be from condensation, loose connections or the tern-
perature-pressure relief valve. DO NOT replace the
water heater until a flailinspection of all possible
water sources is made and necessary corrective steps
taken.
Leakage from other appliances, water lines, or
ground seepage should also be checked.
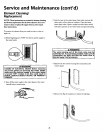
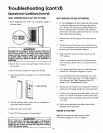
•NOTE: To check where threaded portion enters _x
tank, insert cotton swab between jacket opening
©
and fitting. If cotton is wet, follow"Draining"
instructions in the "Service and Maintenance" sec-
tion and then remove fitting. Put pipe dope or
teflon tape on the threads and replace. Then follow
"Filling the Water Heater" instructions in the
"Instrucdons for Installation" section.
35