36 Optional Equipment (for qualified installers only)
© Travis Industries 4060111 100-01174
LP Conversion Instructions
Install the conversion kit prior to installing the gas line to ensure proper gas use.
1 Remove the glass (see page 20). Remove the logs and coals (if installed - page 22)
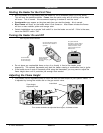
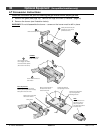
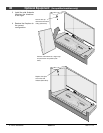
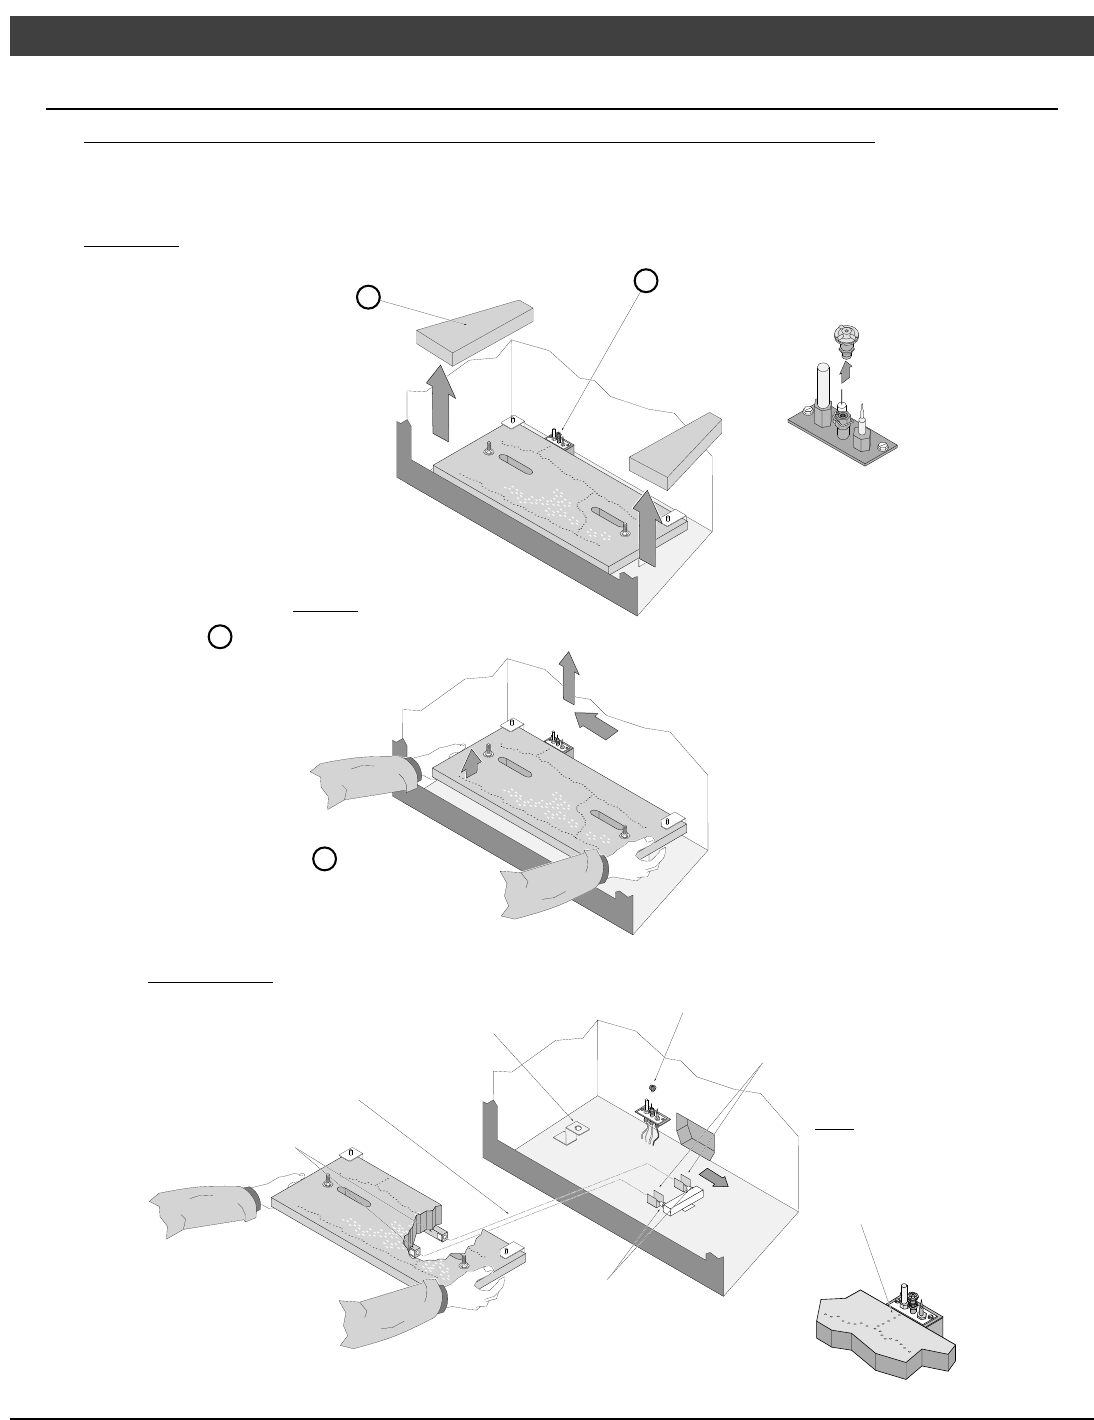
2 Remove the burner (see illustration below).
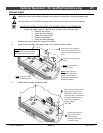
WARNING: Do not disassemble the burner – screws on the burner must be left in place.
d
Remove the firebox floor.
Lift the left side of the
burner slightly, then slide it
to the left and lift it upwards
(lift the burner from below).
WARNING:
The burner is fragile -
handle it with care.
NOTE:
Make sure the burner is
fully seated. When in
place, the pilot flame
must align directly above
the burner holes.
c
Pull the burner forward, out
of the firebox.
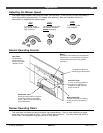
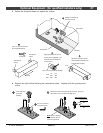
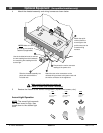
Slide the air shutters all the
way to the right before
installing the burner.
Make sure the mixing tubes
slide onto the orifices.
Make sure the bolt head on
the bottom of the burner
inserts into this hole.
Mixing Tubes
Orifices
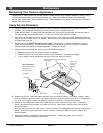
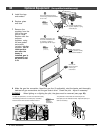
Replace the pilot hood
after replacing the burner.
Lift the pilot hood off the pilot
assembly (you may need to
pull hard to remove).
Burner Replacement:
Make sure the burner is fully seated.
When in place, the pilot flame must align
directly above the burner holes.
b
a


