8
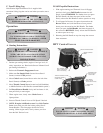
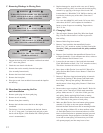
B. Put Oil and Gasoline in Engine
Before Starting
1. Little Wonder recommends using SAE 30 Oil. The use of
multi-viscosity oil will result in high oil consumption and
possible engine damage.
2. Add gasoline to the fuel tank, and you are ready to start.
3. See Engine Operating & Maintenance instructions for
more detail description of type and amount of oil and
gasoline used.
WARNING DANGER
HANDLE FUEL WITH CARE. IT IS HIGHLY
FLAMMABLE. FUELING A HOT ENGINE OR NEAR
AN IGNITION SOURCE CAN CAUSE A FIRE AND
RESULT IN SERIOUS PERSONAL INJURY AND/ OR
PROPERTY DAMAGE.
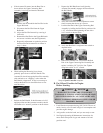
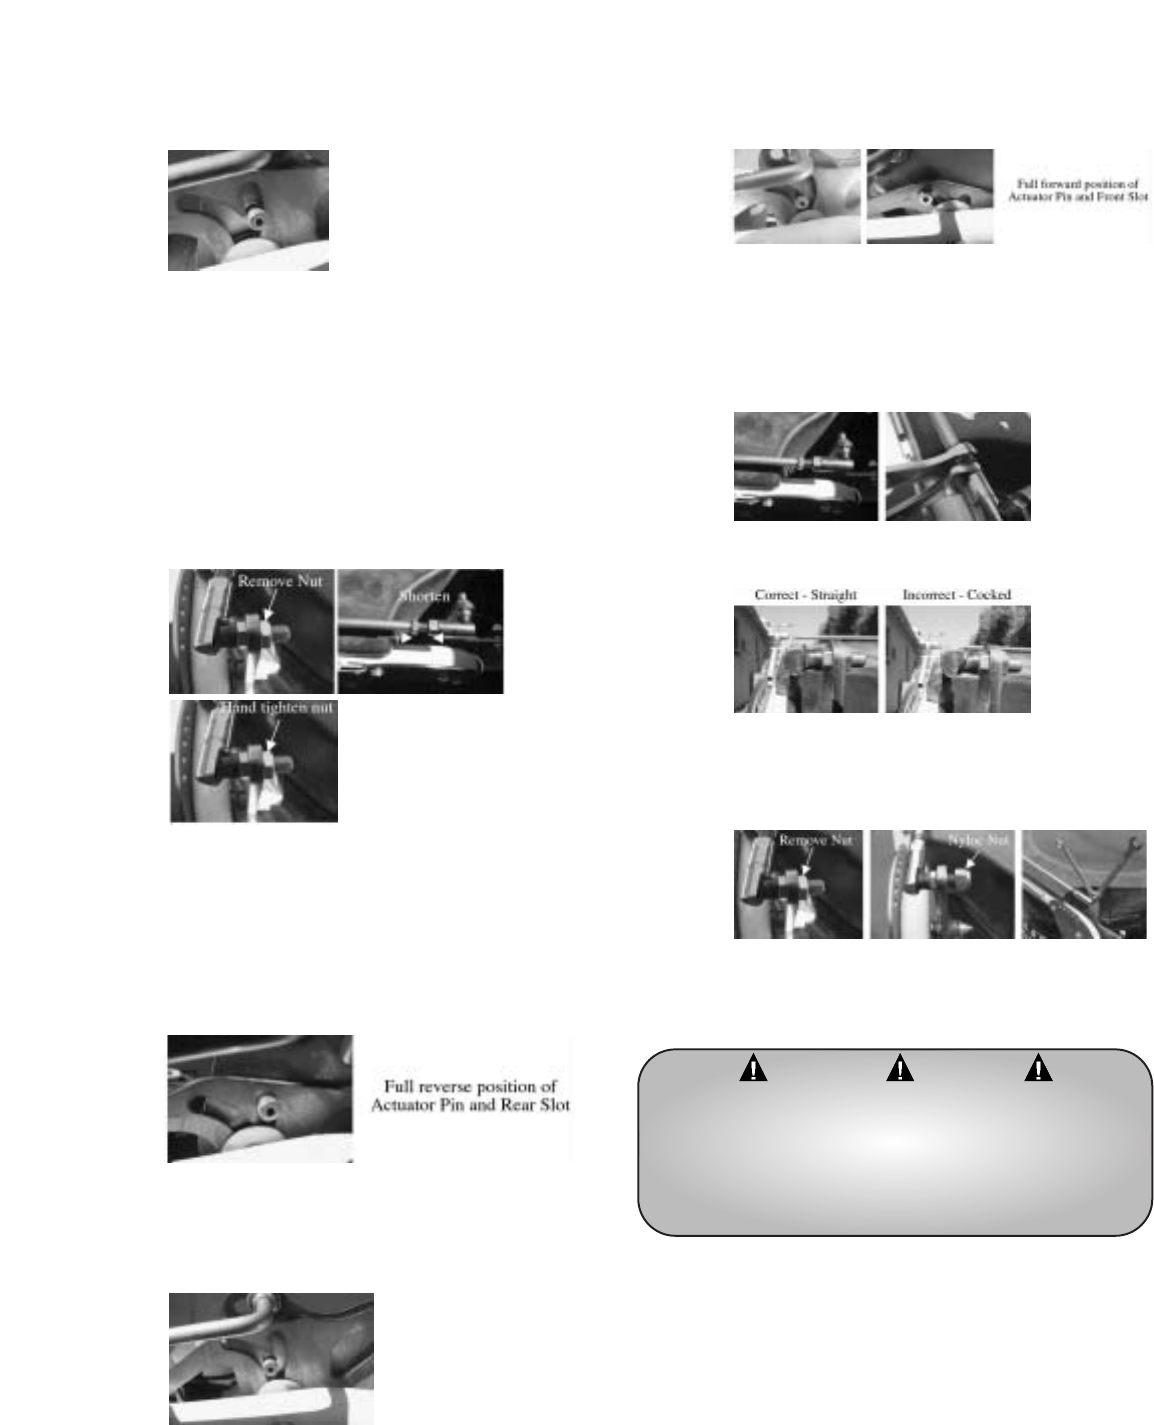
g. If the Actuator Pin enters into the Rear Slot as
shown below, the Upper Connecting Rod
Assembly is too long and must be shortened.
i. Remove the nut that holds the Rod End to the
Upper Bellcrank.
ii. Disconnect the Rod End from the Upper
Bellcrank.
iii. Adjust the Rod End inwards by screwing it
clockwise.
iv. Reattach the Rod End to the Upper Bellcrank
and secure it with the nut (hand tightened).
v. Repeat this adjustment as needed to position
the Rear Slot and Actuator Pin as shown in
step ‘e’ above.
h. While holding the Reversing Lever down,
gradually press down on the Bail Handle. The
Actuator Pin should engage the Rear Slot smoothly
with minimal or no “snapping” action when the
Bail Handle is depressed. It may be necessary to
readjust the Rod End as described above to fine-
tune this action.
i. Release the Bail Handle. It should return to its full
upright position and the Actuator Assembly should
also return to its “normal” position as shown below:
j. Depress the Bail Handle and verify that the
Actuator Pin smoothly engages the Front Slot on
the Bail Handle.
k. Verify the forward and reverse operations several
times to assure that the set up is correct.
l. Lock the Rod End of the Upper Connecting Rod
Assembly by holding the Rod End in position with
a 1/2” wrench and then tightening the nut with a
9/16” wrench as shown below:
m. Verify that Rod End is straight and not cocked as
depicted below:
n. Remove the standard 3/8”-24 Nut from the Rod
End of the Upper Connecting Rod Assembly and
replace it with the 3/8”-24 Nyloc Nut. Tighten
using both a 9/16” & 1/2” wrench.
Setup of Speed Controller complete.


