Page 7
51M37 SERIES 5/2
SETTINGS − Balance Point
NOTE − The balance point is only available with the out-
door sensor.
If the optional outdoor sensor (X2658) is connected to the
thermostat, balance point adjustment is available. The bal-
ance point feature allows the measured outdoor tempera-
ture to govern operation of the heat pump and backup heat
source.
Use the SETTINGS button to access the balance point
setting. If the outdoor sensor is attached to the thermostat,
press the SETTINGS button three times to access the Bal-
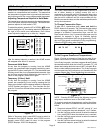
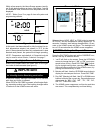
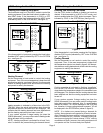
ance Point Settings screen (see figure 20).
Figure 20
ROOM
55
SETPOINT
°
6p
Balance Point Setting
The balance point can be set at any temperature between
1°F and 55°F (−17°C to 13°C). A balance point setting of
zero disables the balance point function (in this case, the
thermostat behaves as if no outdoor sensor is attached).
The default balance point setting is 55°F.
To adjust the balance point up or down, press the Up/Down
arrow buttons to the right of the display screen. The bal-
ance point setting increases by 1°F each time the Up but-
ton is pressed and decreases by 1°F each time the Down
button is pressed.
After the desired balance point is reached, the HOME
screen will reappear after about 15 seconds.
NOTE − The balance point feature allows the outdoor tem-
perature to rise or fall 3°F above or below the balance
point. This prevents excessive cycling of the equipment
when the outdoor temperature is near the balance point.
For example, if the balance point is 40°F and the actual
outdoor temperature is 35°F, the outdoor temperature
must rise to 43°F before equipment adjustment occurs.
Conversely, if the balance point is 40°F and the actual out-
door temperature is 45°F, the outdoor temperature must
drop to 37°F before equipment adjustment occurs.
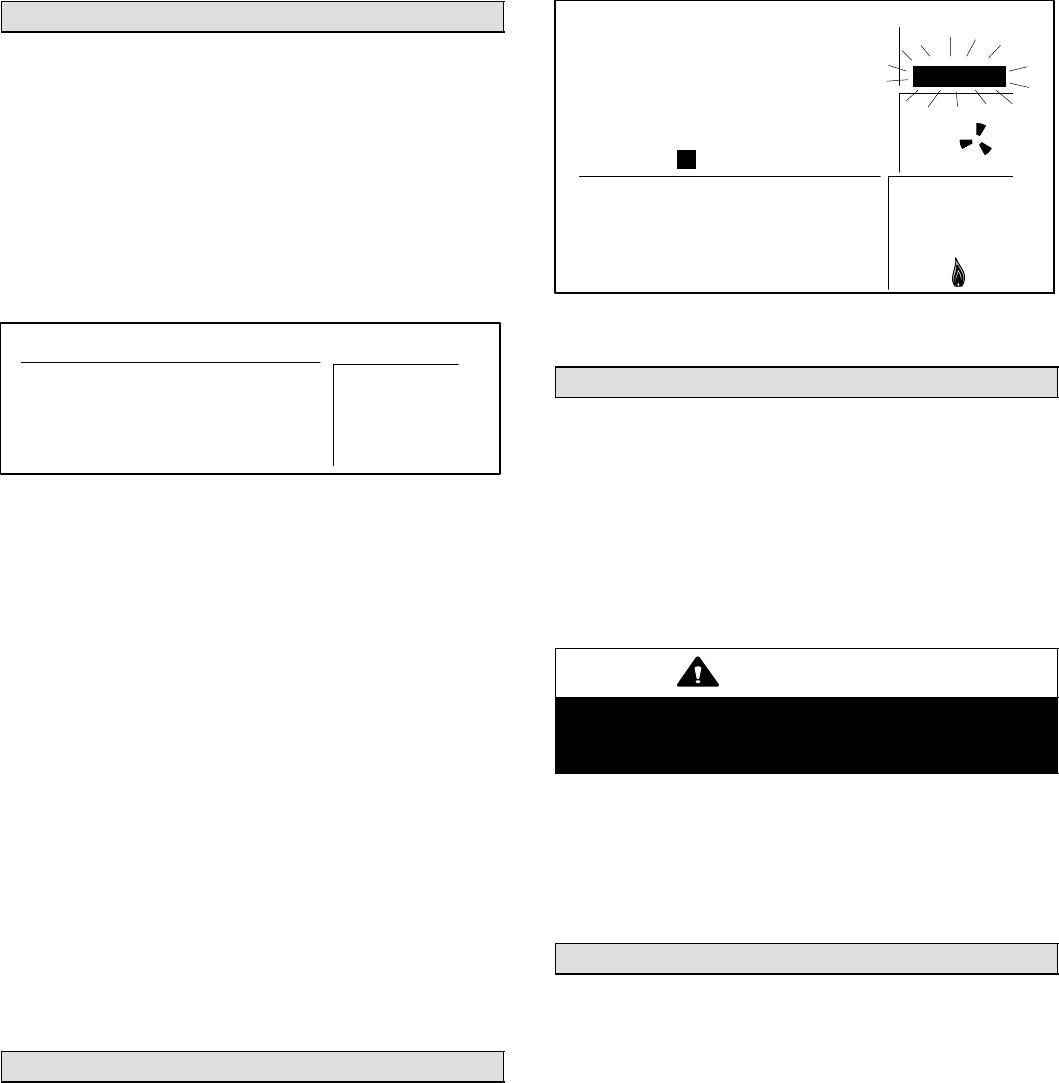
Service Indicator
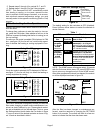
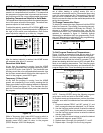
When abnormal equipment operation is detected, the
SERVICE indicator will flash on the screen (see figure 21).
This indicates that the equipment requires service from a
qualified service technician.
I0:i4
PROG A B C D HOLD
79
Service Indicator Flashing
Figure 21
ROOM
SERVICE
°
FILTER
AM
PM
FAN
ON
AUTO
SYSTEM
COOL
OFF
HEAT
MO TU WE TH FR SA SU
Thermostat RESET
Under some abnormal conditions, it may be necessary to
reset" the thermostat to its default condition. Such a RE-
SET would delete all programming and settings and there-
fore should only be used on rare occasions when the the
thermostat fails to function as designd and/or as pro-
grammed. Such an instance can occur as a result of a pow-
er surge or similar electrical disturbance (e.g. after an elec-
trical storm or power outage). The RESET button can be
used to recover from this situation.
CAUTION
When the RESET button is pressed, ALL settings re-
vert back to the defaults, including the default pro-
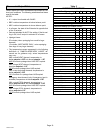
gram (see tables 2 and 3).
The RESET button is an unlabeled, recessed button lo-
cated behind the door, on the right−hand side of the ther-
mostat, below the SETTINGS button (see figure 3). Use a
paper clip or small pencil to press the RESET button; ALL
thermostat settings will be reset to the defaults listed in the
Default Thermostat Settings section.
Removing/Installing Thermostat
The thermostat hinges on tabs on the top of the subbase;
no tool is needed to remove the thermostat from the sub-
base. Pivot the bottom of the thermostat outward (releas-
ing the snaps), then lift up to remove.
To replace it, first position the top tilted toward the wall
bracket and align it until you feel the tabs and slots engage;
then, while the top is in place, pivot the bottom toward the
wall until the thermostat snaps into place.


