Installation
Mobile Home Window Modification
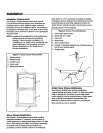
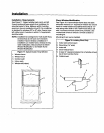
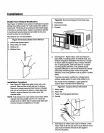
See Figure 19. Mobile home window modification requires
adding wood stripat least 1½" wide along entire width of
window sill. Thickness ofwood strip shouldmatch height
of front lipon window frame. Fasten wood strip to sillwith
3 countersunk wood screws (not provided) to ensure a
smooth surface for mounting kit.
Mounting kit can now be installed.
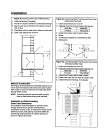
Figure 19. Modifying Mobile Home Window
1. Indoor sash (shown open)
2. Wood strip(1½" wide)
3. Window sill
4. Window frame
2
4
Installation Procedure
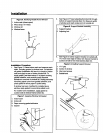
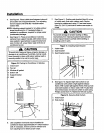
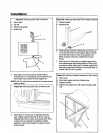
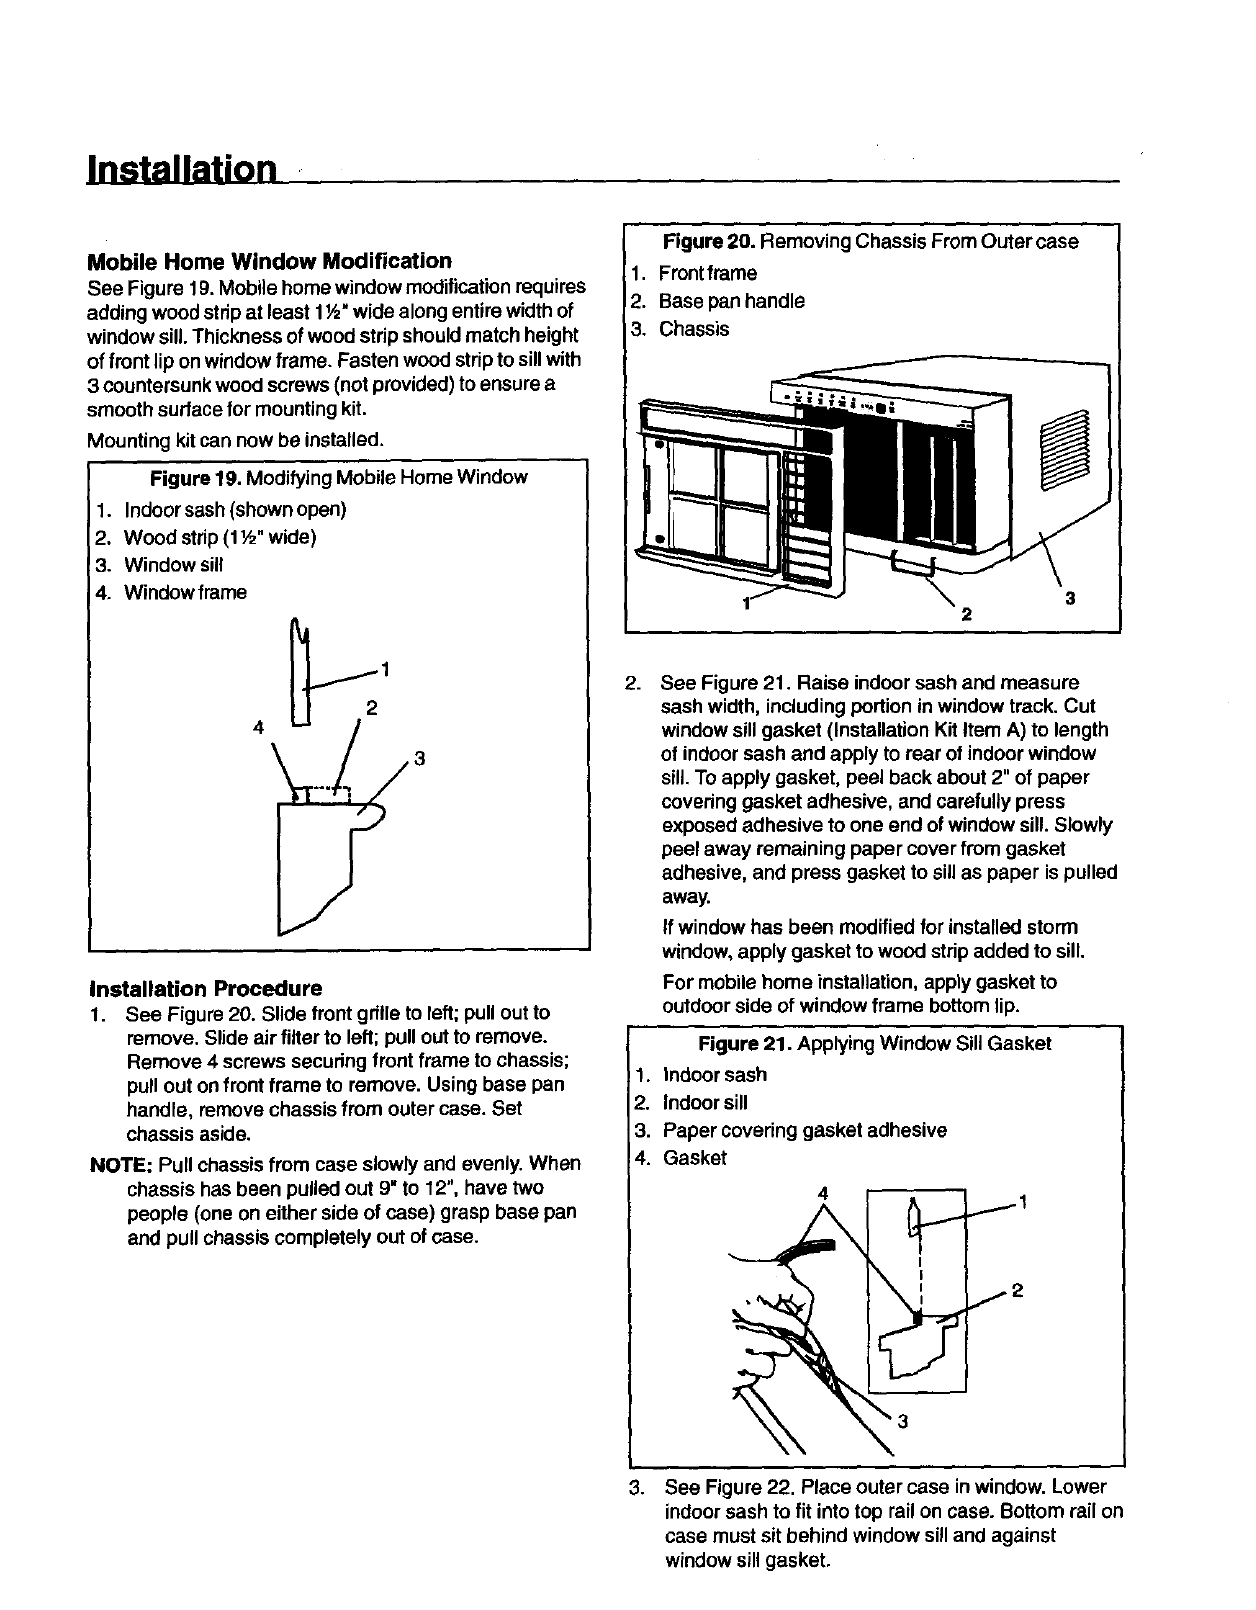
1. See Figure 20. Slide front gdlle to left; pull out to
remove. Slide air filter to left; pull out to remove.
Remove 4 screws secudng front frame to chassis;
pull out on front frame to remove. Using base pan
handle, remove chassis from outer case. Set
chassis aside.
NOTE: Pull chassis from case slowly and evenly. When
chassis has been pulled out 9" to 12", have two
people (one on either side of case) grasp base pan
and pull chassis completely out of case.
Figure 20. Removing Chassis From Outer case
1. Frontframe
2. Base pan handle
3. Chassis
3
2
2.
,
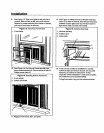
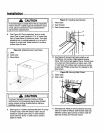
See Figure 21. Raise indoor sash and measure
sash width, including portion inwindow track. Cut
window sillgasket (Installation Kit Item A) to length
of indoor sash and apply to rear ofindoor window
sill. To apply gasket, peel back about 2" of paper
covering gasket adhesive, and carefully press
exposed adhesive to one end of window sill. Slowly
peel away remaining paper cover from gasket
adhesive, and press gasket to sillas paper is pulled
away.
If window has been modified for installed storm
window, apply gasket to wood stripadded to sill.
For mobile home installation, apply gasket to
outdoor side of window frame bottom lip.
Figure 21. Applying Window Sill Gasket
1. Indoor sash
2. Indoor sill
3. Paper covering gasket adhesive
4. Gasket
4
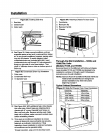
See Figure 22. Place outer case in window. Lower
indoor sash to fit into top rail on case. Bottom rail on
case must sit behind window silland against
window sillgasket.


