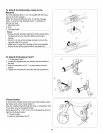
To Attach the Embroidery Hoop to the
Machine
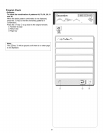
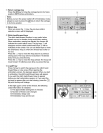
Turn the attaching knob _ so it is parallel with the hoop,
and set it on the carriage.
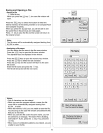
Attach the hoop by fitting the pins _ into the carriage
holes _, and turn the attaching knob _ clockwise to
secure the hoop.
Attaching knob
Pins
Carriage holes
Notes:
• Always provide sufficient clearance for the embroidery
carriage behind your machine before embroidery
sewing.
• Do not try to move the carriage by hand or touch the
carriage while it is moving.
• Make sure to return the carriage to the home position
before turning off the power switch (see page 63).
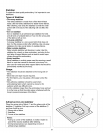
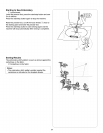
To Attach Embroidery Foot P
Embroidery foot P
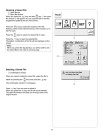
Loosen the thumbscrew and remove the foot holder to
the rear.
Attach Embroidery foot P _ to the presser bar from
behind.
Tighten the thumbscrew securely with the screwdriver.
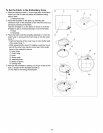
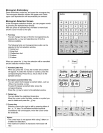
Thread Holder
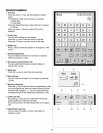
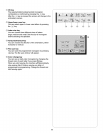
To prevent the needle thread from becoming tangled, place
the thread end on the thread holder _.
Pass the needle thread through the hole on embroidery foot
P and draw it up to the thread holder.
Hang about 3/4" to 1-1/2" (2 to 4 cm) of thread from front to
back on the thread holder.
Thread holder
Hole on embroidery foot P
S
f
\
\
S
J
J
J
59


