


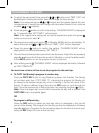
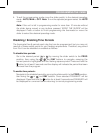

4
5
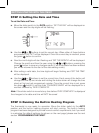
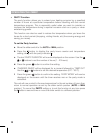
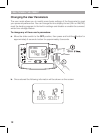
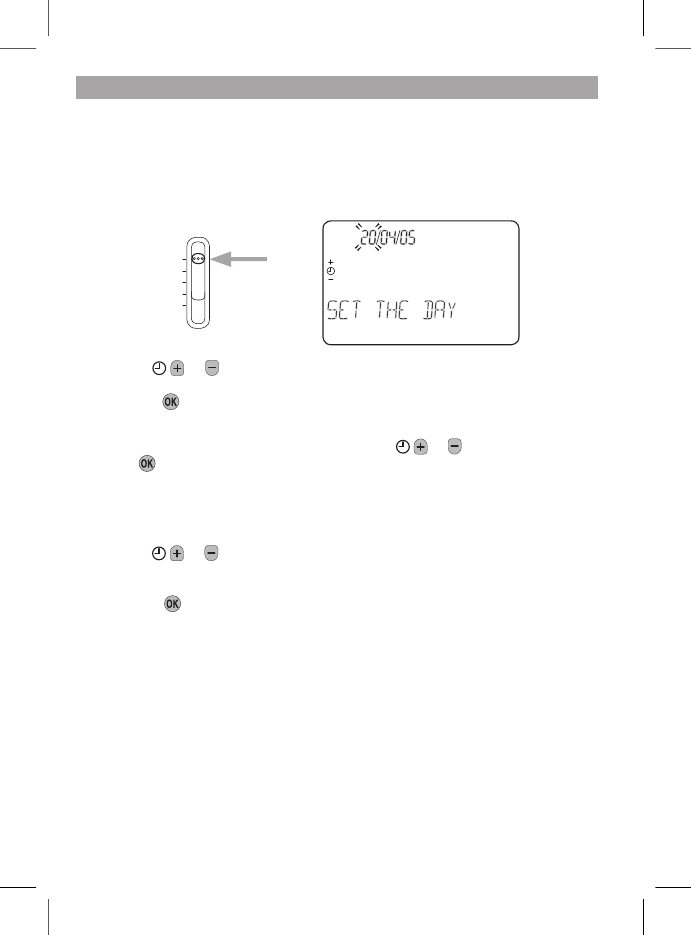
STEP 2: Setting the Date and Time
To set the Date and Time:
a. Move the slider switch to the DATE position. ‘SET THE DAY’ will be displayed on
the screen and the day digits will be ashing.
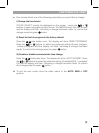
b. Use the
or
buttons to set the correct day. When either of these buttons
are pressed ‘DAY OK?’ will be displayed. Once the correct day is reached, press
the green
button to conrm.
c. Now the month digits will start ashing and ‘SET THE MONTH’ will be displayed.
Change the month and then the year using the
or
buttons, pressing the
green
button to save any changes made. (If an invalid date has been entered
you will be returned to the start of the date setting mode).
d. After setting a valid date, the time digits will begin ashing and ‘SET THE TIME’
will be displayed.
e. Use the
or buttons to set the correct time. Each press of the button will
change the time by one minute and holding the button down will change the time
slowly at rst and get progressively quicker. Once the correct time is set, press
the green
button to conrm then ‘CHANGES SAVED’ will be displayed for a
moment followed by ‘DATE COMPLETE’.
Note: If the slider switch is moved at any time before ‘DATE COMPLETE’ is displayed
the changes to the date and time will NOT be saved.
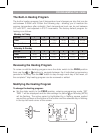
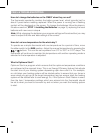
STEP 3: Running the Built-in Heating Program
The thermostat is now ready for operation. Move the slider switch to the AUTO
position and the built-in heating program will start running. The built-in heating
program has been designed to provide normal comfort requirements, but if you want
to customise the default settings (as shown on the next page) please see the next
section ‘PROGRAMMING THE CM907’.
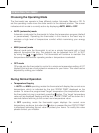
GETTING STARTED WITH THE CM907
DATE
PROG
AUTO
MAN
OFF