


7
The Clarity is shipped from the factory with the log set
packed inside the firebox. To prepare the stove for installa-
tion, the log set must be unpacked, the appropriate burner
system module for either natural gas or propane installed,
and the logs installed.
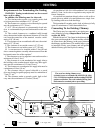
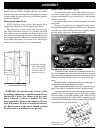
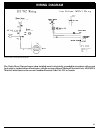
Removing the Glass Front
NOTE: The glass front is heavy. Be prepared for its
weight when lifting it to avoid damage during removal.
The wing doors on each side are held closed by mag-
nets. Push on each door to open it. Loosen the wing nut on
each of the two spring-loaded levers. Grasp each lever and
push to the rear to disengage the front. To keep the levers in
the disengaged position, tighten the wing nuts. Lift the glass
front slightly and remove it from the stove. Set the glass
aside in a safe place where it will not be damaged.
WARNING: Do not abuse the Clarity's glass
by striking, slamming, or similar trauma. Do not
operate the Clarity Gas Heater with the glass
panel removed, cracked or broken. Use only
glass supplied by Harman and approved for use
with this heater. Do not use substitute materi-
als. Replacement of the panel should be done
by a licensed or qualified service person.
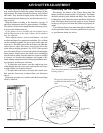
Install wing nut
on threaded stud
ASSEMBLY
The front is released
when spring-loaded
levers on the left
and right sides are
pushed to the rear
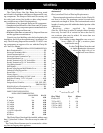
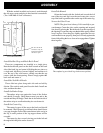
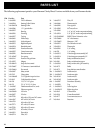
Remove and Unwrap the Log Set
As shown in the photo in the right column, the log set
consists of a back log (1), a center log that has a pilot-view-
ing port in the left end (2), two ember strips (3), and a branch
that rests on top (4).
In addition, there are two side brick panels and a back
brick panel.
The log set components are shipped from the factory
individually wrapped and packed inside the stove. Take them
out of the stove, then carefully remove the wrapping. Handle
the logs gently as they may be damaged easily.
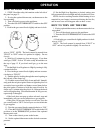
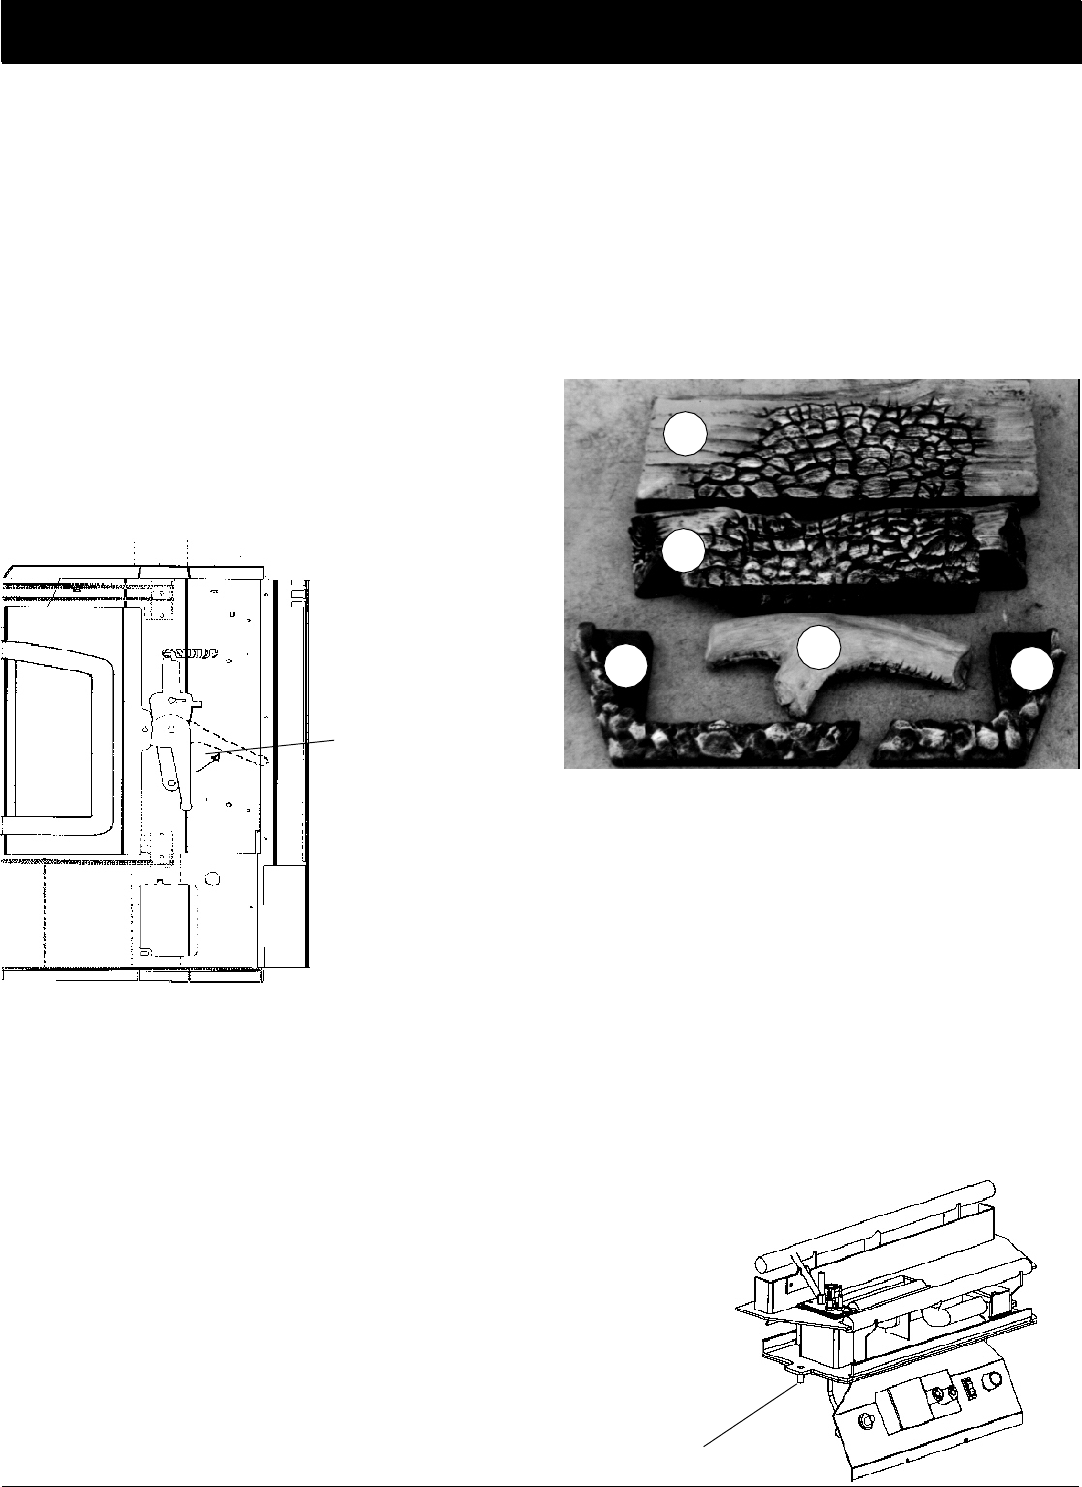
Installing the Burner System Module
The burner system module may be installed into the fire-
box as an integrated unit, and it may help to have an assistant
who can assist in guiding the components into position and in
making sure that the module does not sit on any wiring compo-
nents.
Hold the module at a slight angle, then lower it through the
opening and rotate upright until it is in position.
Reach underneath and install one of the wing nuts, finger
tight. Then check to see that the module is seated correctly.
A sealing gasket affixed to the bottom of the module's base
plate will cause the log support plate to be elevated slightly
above the plane of the firebox bottom plate. When the two
wing nuts are tightened, this gasket will be compressed and a
correct fit will be indicated by the log support plate becoming
flush with the bottom of the firebox.
1
2
4
3
3
Evaluation notes were added to the output document. To get rid of these notes, please order your copy of ePrint IV now.