G0637/G0638 Cyclone Dust Collector
-21-
Note: Orient the two assemblies so that the
large, round intake port of the intake barrel
is NOT directly underneath the rectangular
outlet port of the blower housing. The outlet
port will connect to the canister filters and will
not allow room for attachment of the intake
ducting to the intake port.
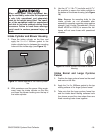
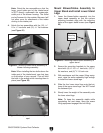
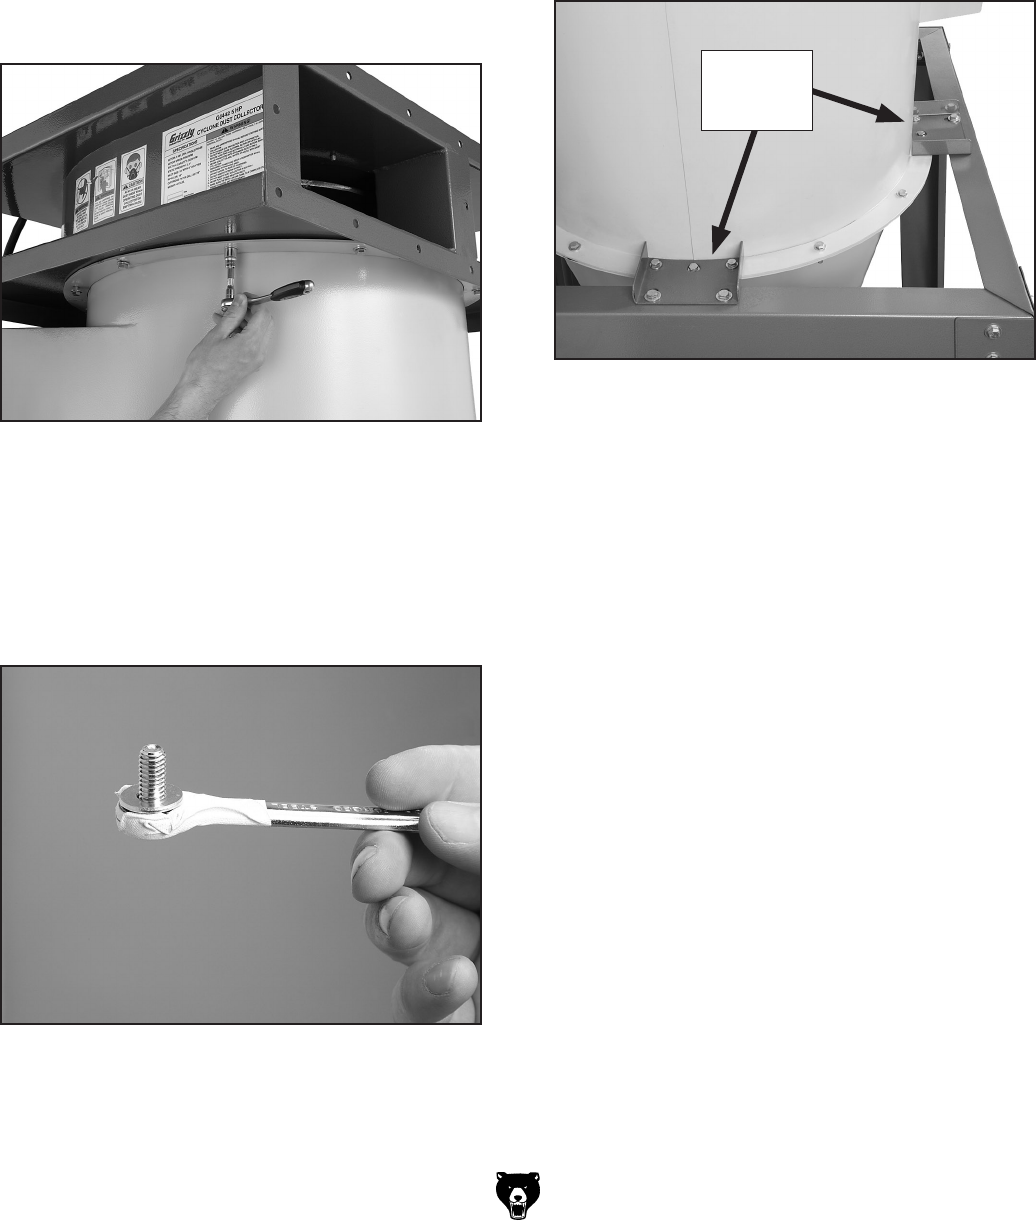
4. Attach the two assemblies with the (12)
5
⁄16"-
18 x
3
⁄4" hex bolts and (12)
5
⁄16" flat washers
(see Figure 21).
Figure 21. Securing intake barrel assembly to
blower housing assembly.
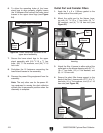
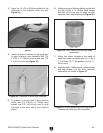
Note: When installing the two bolts above the
intake port of the intake barrel, use duct tape
on the bottom of your wrench. This will hold
the bolts in the wrench while inserting them in
place (see
Figure 22).
Figure 22. Using tape on a wrench in a tight
spot.
Mount Blower/Intake Assembly to
Upper Stand and Install Lower Stand
Legs
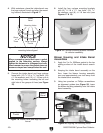
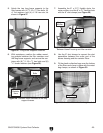
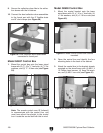
1. Lower the blower/intake assembly into the
upper stand assembly so that the cyclone
mounting brackets align with the mounting
holes of the upper stand braces (see
Figure
23).
Figure 23. Mounting blower/intake assembly to
upper stand.
Cyclone
Mounting
Brackets
2. Secure the mounting brackets to the upper
stand with (8)
3
⁄8"-16 x
3
⁄4" hex bolts, (16)
3
⁄8"
flat washers, and (8)
3
⁄8"-16 lock nuts.
3. With assistance and the power lifting equip-
ment, raise the entire assembly high enough
to install the lower stand legs.
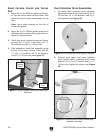
4. Slide the four lower stand legs onto the bot-
toms of the upper stand legs—do NOT install
the fasteners yet.
5. Slowly lower the weight of the assembly onto
the lower stand legs.
Note: To keep the assembly stable while
completing the next steps, keep the power
lifting equipment engaged but not lifting.


