


17
AR0320
3
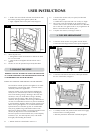
• Prisethesmallretainingringoutoftheinletandremove
the filter
4.2 • Replacewithanewfilterandpushintopositionensuring
that it sits on the shoulder
• Replacetheretainingringandpushintoposition.
4.3 • Replacetheinletpipe,turnthegassupplyonandcheck
for leaks
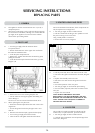
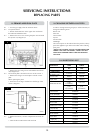
5. MAGNETIC SAFETY VALVE
5.1 • Turnthegassupplyoffattheisolationdevice
• Undothethermocoupleconnectionfromthebackofthe
gas valve
• Pullthesensorleadsclearandremovetheinterrupter
block
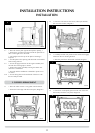
5.2 • Undothemagvalve-retainingnutfromthebackofthe
control valve, gently tap out the mag valve and replace with
a new unit
• Replacetheretainingnutandtighten,Diagram3
5.3 • Reassembletheinterrupterblockandleads
• Secureinplacewiththethermocouple
• Turnthegassupplyonandchecktheentirepipework
and valve joints for any leaks
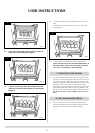
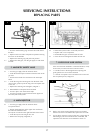
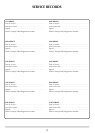
6. MAIN INJECTOR
6.1 • Turnthegassupplyoffattheisolationdevice
To open the doors:
• Slackenthedomednutontheupperdoorandloosen
the bolt from behind the latch
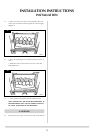
The injector is located on the right hand side of the burner.
• Undotheinjectornutandgasvalvenut
• Removethefeedpipe,Diagram4,A
AR0895
4
6.2 • Rotatetheinjectoruntilitcanbefullyremoved
• Replacewithanewcomponent
• Reassemblethepipeworkandcheckforleaks.
6.3 • Closethedoorsandtightentheboltsandlocknut
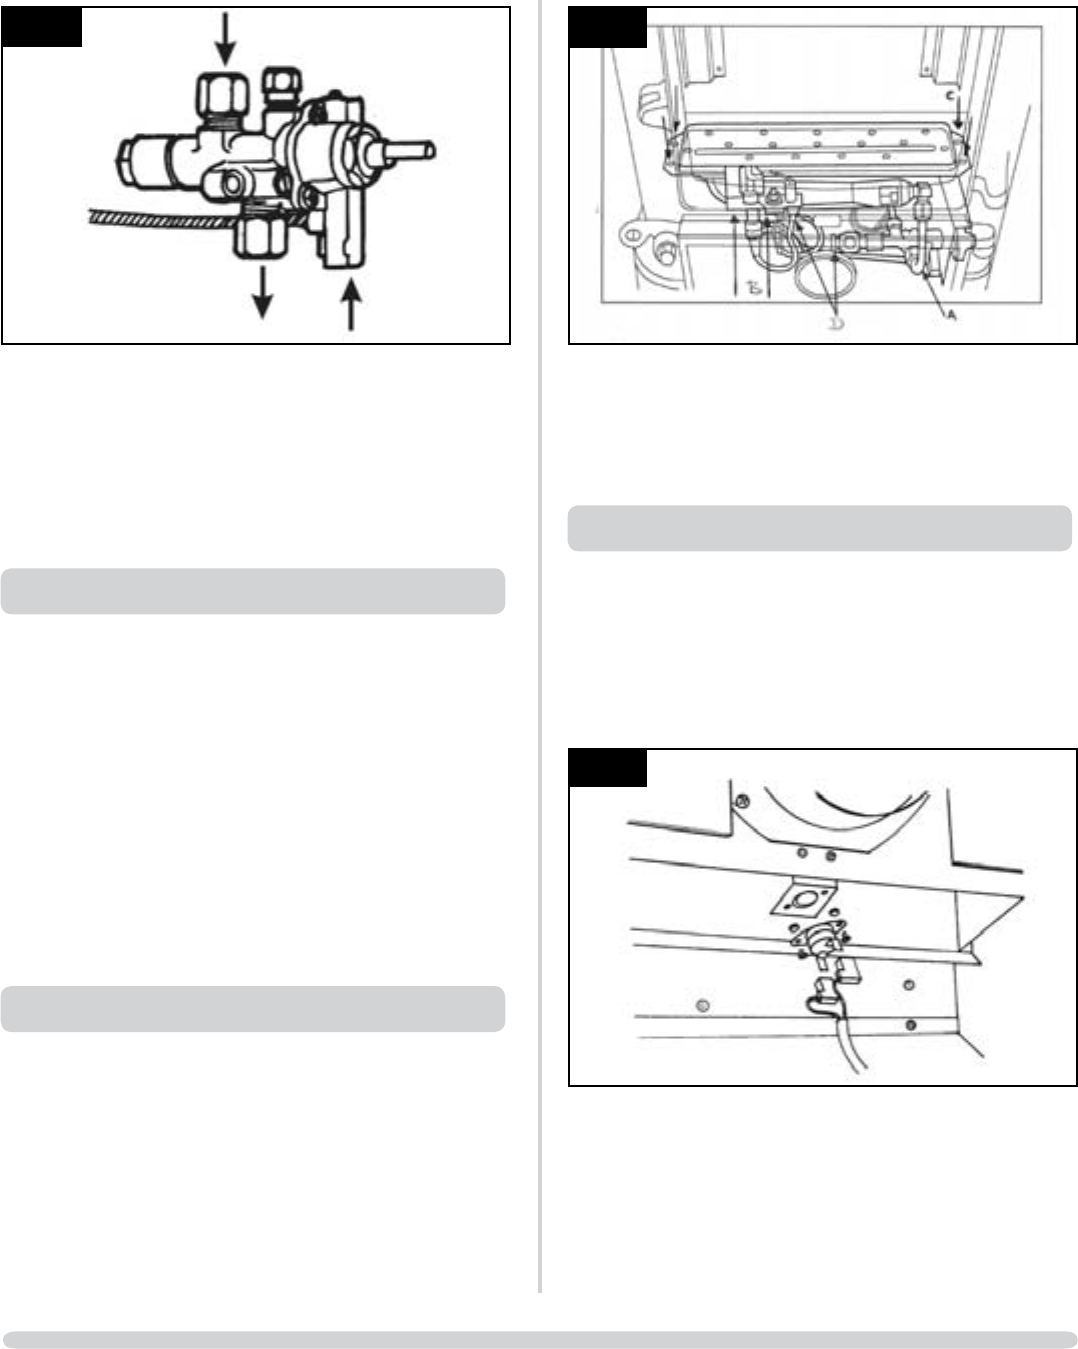
7. GAZCO FLUE SURE SYSTEM
If the stove has been installed in a restricted location, it may
be necessary to remove the stove from its location.
7.1 • Findthesensorinthedraughtdiverteropeningand
gently pull the two wires off the terminals
• Undothetwotaptitescrewsandremovethesensorand
the two plastic spacers, Diagram 5
5
5
7.2 Refit a new sensor ensuring that the spacers are located
between the sensor and the bracket, replace the two leads.
7.3 If it has been necessary to remove the stove, ensure that all
disturbed gas joints are leak tested when reinstalled, and
repeat the flue clearance test as detailed in section 21.
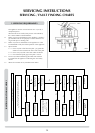
SERVICING INSTRUCTIONS
REPLACING PARTS