


3-3
the motor is a plate with a locking nut. Loosen the nut enough to allow the plate to be moved, then
adjust the position of the plate to open or close the air intake opening until a bright orange-red glow
is obtained. Carefully hold the plate in position and tighten the locking nut.
3.3 Boiling Out the Frypot
To ensure that the frypot is free of any contamination resulting from its manufacture, shipping, and
handling during installation, the frypot must be boiled out before first use. Refer to Drain and Clean
Frypot (page 5-1) for this procedure.
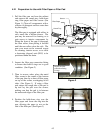
3.4 Shutting the Fryer Down
For short-term shut down during the workday, place the controller ON/OFF switch in the OFF
position and put the frypot covers in place (if the fryer is so equipped).
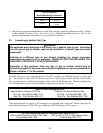
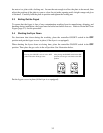
When shutting the fryers down at closing time, place the controller ON/OFF switch in the OFF
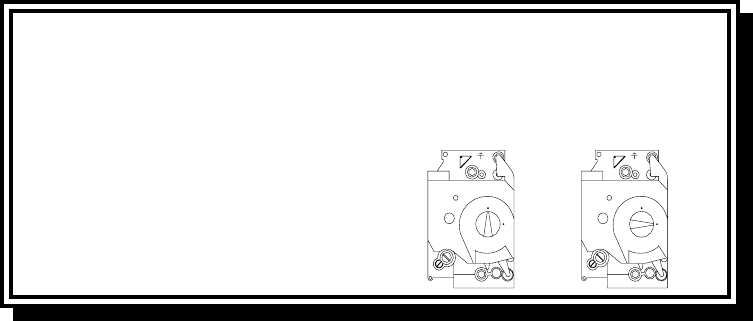
position. Then place the gas valve in the off position. See illustration below.
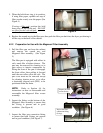
For Non-CE Fryers
After placing the ON/OFF switch in the OFF
position, turn the gas valve knob to the OFF
position.
Honeywell
ON
OFF
Honeywell
ON
OFF
For CE Fryers
Placing the ON/OFF switch in the OFF
position also turns off the gas valve.
Put the frypot covers in place (if the fryer is so equipped).