Installation
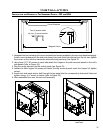
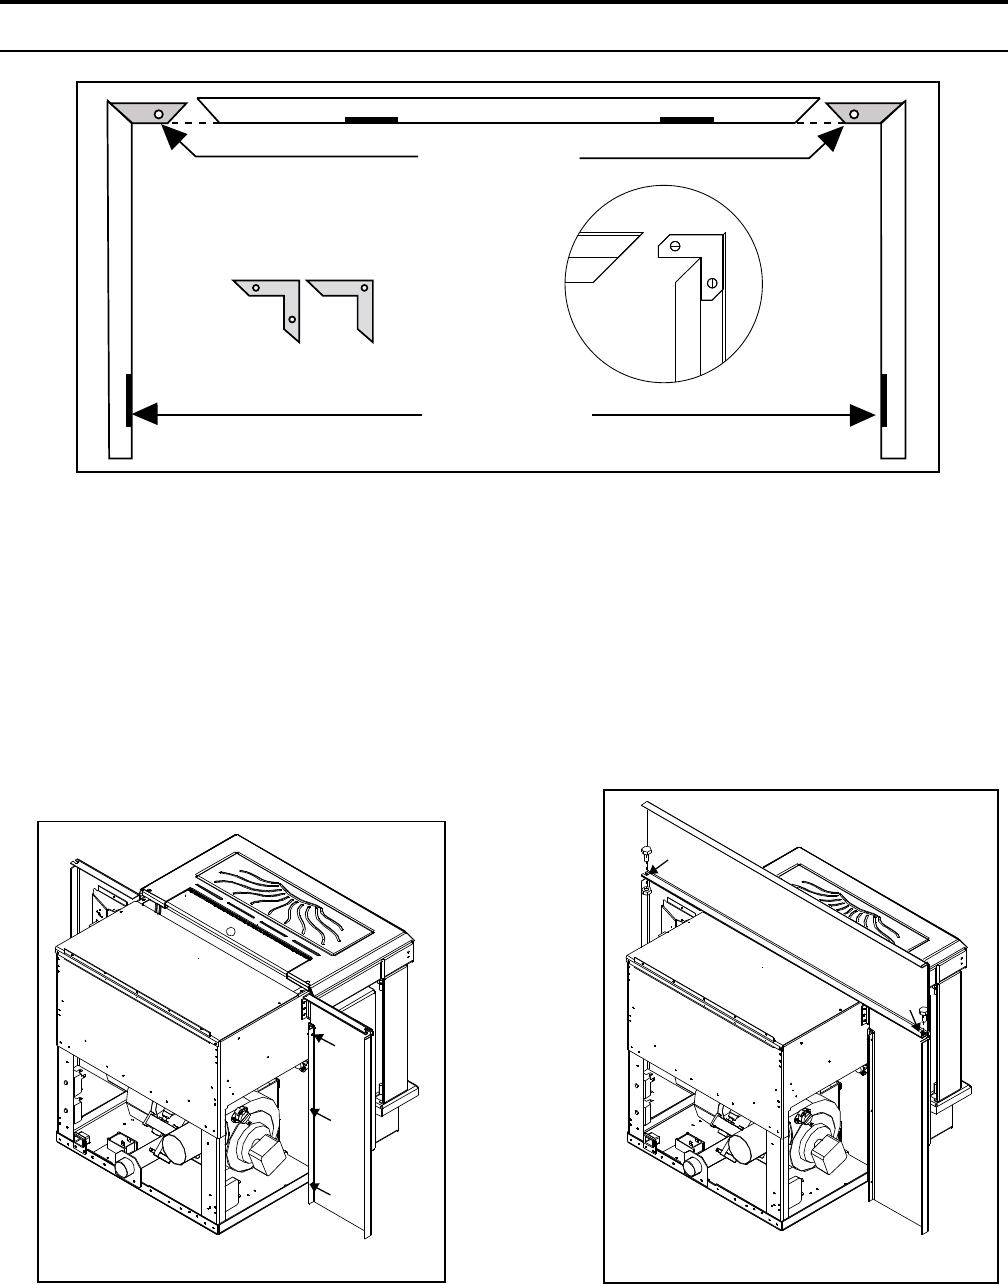
INSTALLATION AND REMOVAL OF THE SURROUND PANELS - FPI AND BIH:
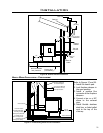
Magnetic Strips
Two (2) pieces make
up one (1) corner bracket
Corner Brackets
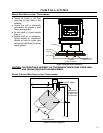
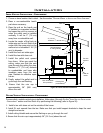
Figure 35: Assembling the Surround Panel,
back view.
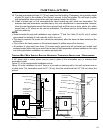
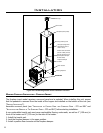
Figure 33: Assembling Trim for Surround Panel.
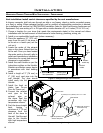
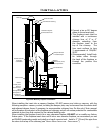
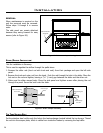
Figure 34: Panel placed on unit.
1. Assemble the trim set using the corner hardware and screws supplied in the surround panel packaging.
Install corner hardware into the side trim pieces, then push them into the top trim. Do not over-tighten
the corners or the side trim cannot be removed during servicing. See Figure 33.
2. Using three (3) T-20 screws on each side attach the hinges on the side surround panels to the unit’s
side panels (refer to Figure 34).
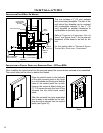
3. Plug the wiring harness into the control panel (see Figure 32).
4. Loosen the front hopper lid screws and center the top surround panel under the hopper lid, tighten
screws.
5. Insert each side panel anchor bolt through the top panel into the corresponding side panel holes and
tighten using a
7
/16” wench or socket (refer to Figure 35).
6. Place assembled trim over the surround assembly.
25


