


620515, 620525, 620526, 630515 & 630516 Installation Instructions
9
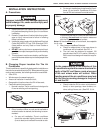
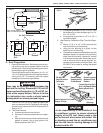
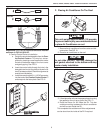
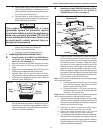
Important: RJ-11-6C4P connectors must be installed
as shown in FIG. 8A, 8B & 8C.
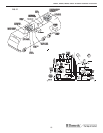
3. Comfort Control Center
TM
Installation
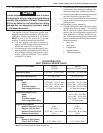
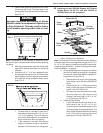
a. Carefully remove the base plate from the Com-
fort Control Center
TM
. This may be accom-
plished by inserting a small screwdriver under
the tab on thebottom edge of the front cover
and gently prying. See FIG. 9.
b. Insert the control cable through the hole in the
base plate and mount the plate to the wall with
two (2) screws provided. Check the alignment to
ensure level installation.
c. Install the control cable RJ-11-6C4P connector
into the back of the Comfort Control Center™
and snap onto the base plate. See FIG. 9.
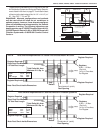
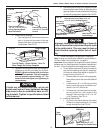
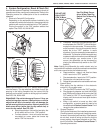
F. Placing Air Conditioner On The Roof
1. Remove the air conditioner from the carton and dis-
card carton. See FIG. 10.
2. Place the air conditioner on the roof.
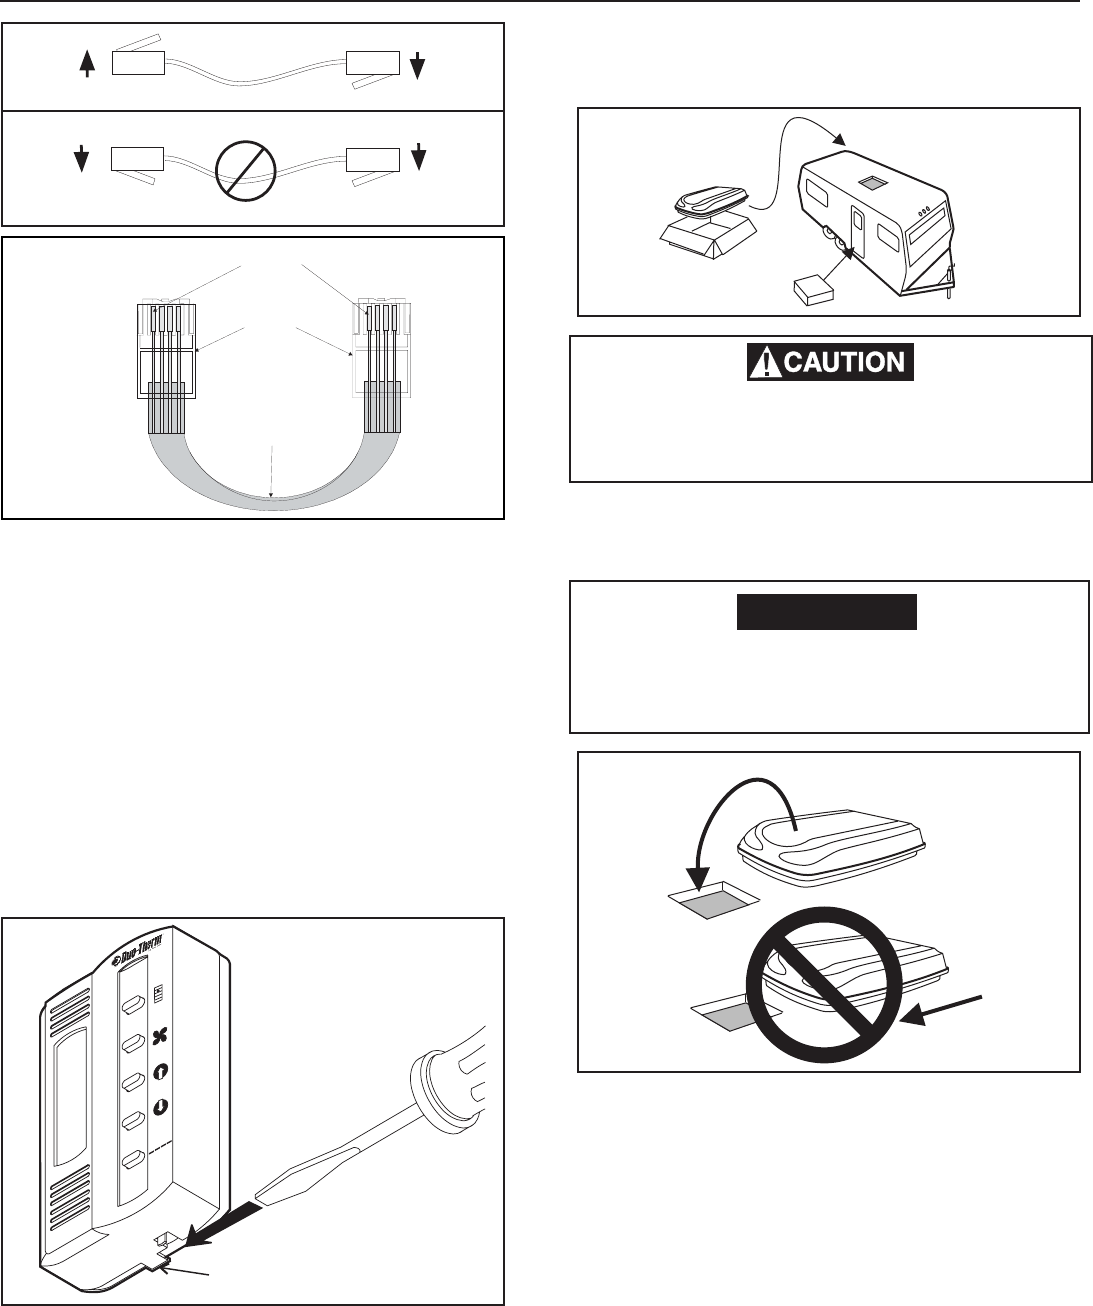
This unit weighs approximately 100 pounds.
To prevent back injury, use a mechanical hoist
to place Air Conditioner on roof.
Do not slide the unit. This may damage the
roof gasket attached to the bottom and may
create a leaky installation.
CAUTION
FIG. 8A
FIG. 8B
Flat Four Conductor Cable
RJ-11-6C4P
Connector
Pin 1
FIG. 8C
Black
Green
Red
Yellow
Black
Green
Red
Yellow
Insert Screwdriver
under Tab
Insert Screwdriver
under
Tab
M
O
D
E
MODE
FA
N
FAN
U
P
UP
D
O
W
N
DOWN
O
FF
O
N
OFF
ON
ZO
N
E
ZONE
T
E
M
P
TEMP
FIG. 9
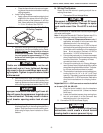
FIG. 11
FRONT
FIG. 10
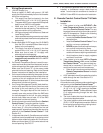
3. Lift and place the unit over the prepared opening using
the gasket on the unit as a guide. See FIG. 11.
4. Place the Return Air Kit inside the RV. This box
contains mounting hardware for the air conditioner
and will be used inside the RV.
This completes the outside work. Minor adjustments
can be done from the inside of the RV if required.