


10
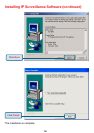
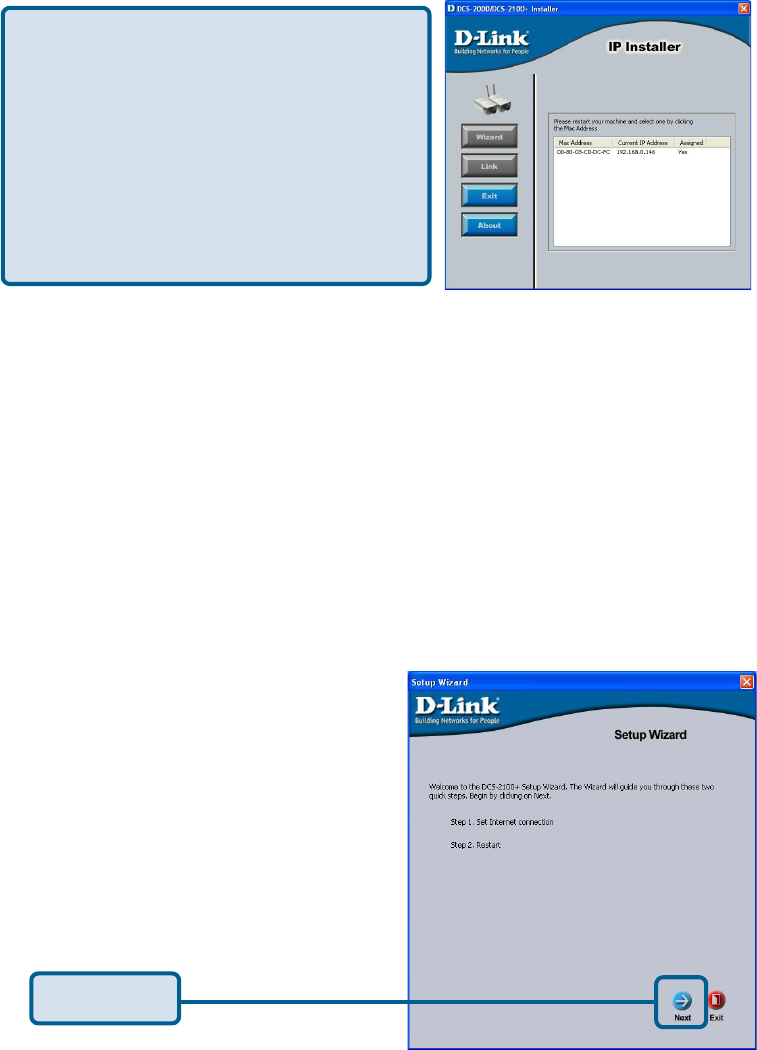
Click Next
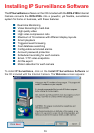
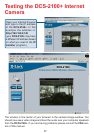
Highlight the MAC address and then click on the Wizard button to activate the
installation Wizard.
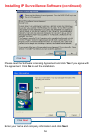
IMPORTANT:
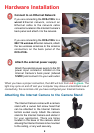
A hardware reset of the Internet Camera is now required to allow the IP Installer
program to configure the camera correctly. To accomplish this reset, lightly insert
a paper clip (or a similar sized tool) into the reset hole on the back of the camera
(see page 6 for the location of the reset button.) The LED on the front of the
camera will begin blinking red and green. When it stops the blinking cycle
continue to hold in the reset button until a second cycle of blinking red and green
lights indicates a second reset cycle has completed. This will take approximately
5-7 seconds.
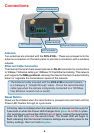
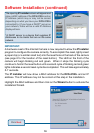
The IP Installer will now show a MAC address for the DCS-2100+ and an IP
address. This IP address may not be correct at this step in the installation.
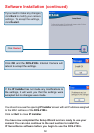
The opening IP Installer screen will appear and
show a MAC address of the DCS-2100+ and an
IP Address (which may or may not be correct
depending on what you have your DCS-2100+
connected to.) If you have a DHCP* server on
your network, there will be a valid IP Address
displayed here.
*A DHCP server is a device that supplies IP
Addresses to its clients that are on the same
network.
Software Installation (continued)