


www.desatech.com
116239-01D 25
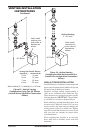
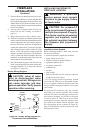
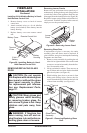
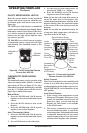
1. Remove battery cover on back of remote
control unit.
2. Attach terminal wires to a 9-volt alkaline
battery (not included). Place battery into the
battery housing.
3. Replace battery cover onto remote control
unit.
FIREPLACE
INSTALLATION
Continued
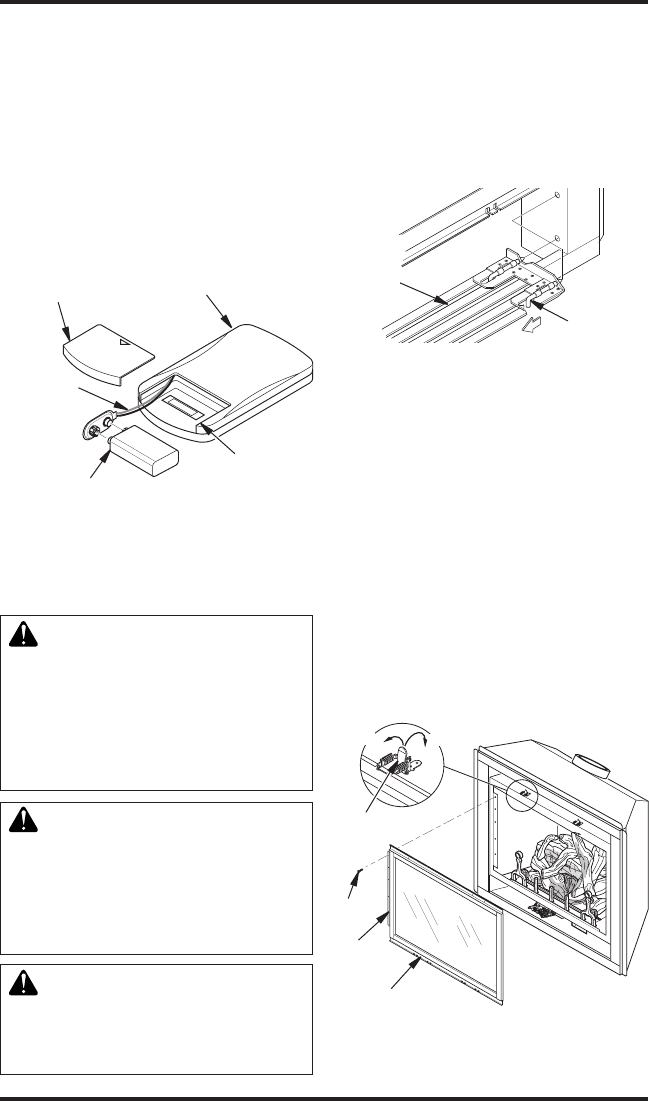
Figure 39 - Installing Battery in Hand-
Held Remote Control Unit
9-Volt
Battery
Battery
Housing
Battery Cover
Terminal
Wires
Remote Control Unit
DOOR
-
tion see Replacement Parts,
-
-
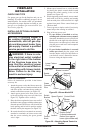
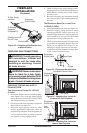
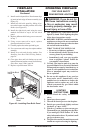
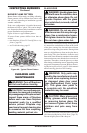
Remove the top and bottom louver panels by si-
multaneously pulling both top end spring latches
towards the center of the appliance until they are
disengaged from the locating holes (see Figure 40).
Repeat for bottom spring latches and pull the lou-
vers outward. To install or replace items removed,
simply reverse the procedures above.
Figure 40 - Removing Louver Panel
Louver
Panel
Spring
Latch
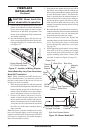
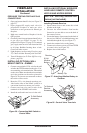
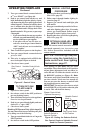
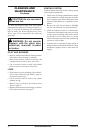
If replacement of glass is necessary, the entire
assembly, glass and frame, must be replaced. If
glass is broken, wear gloves and tape the remaining
fragments onto the frame.
1. Remove screen assembly by pushing the rod
either left or right and then down and forward
to remove screen/rod assembly from the re-
box. Set assembly aside.
2. Lift up on latches to unlock. There are two on
top of rebox and two below rebox that hold
glass door in place (see Figure 41).
3. While holding glass door to prevent it from
falling and causing injury, remove the ve
screws from the hinge located on the left side
of door frame assembly (see Figure 41).
Lock
Unlock
Glass Frame
Assembly
Screw
Figure 41 - Removing/Replacing Glass
Door
Hinge
Latch