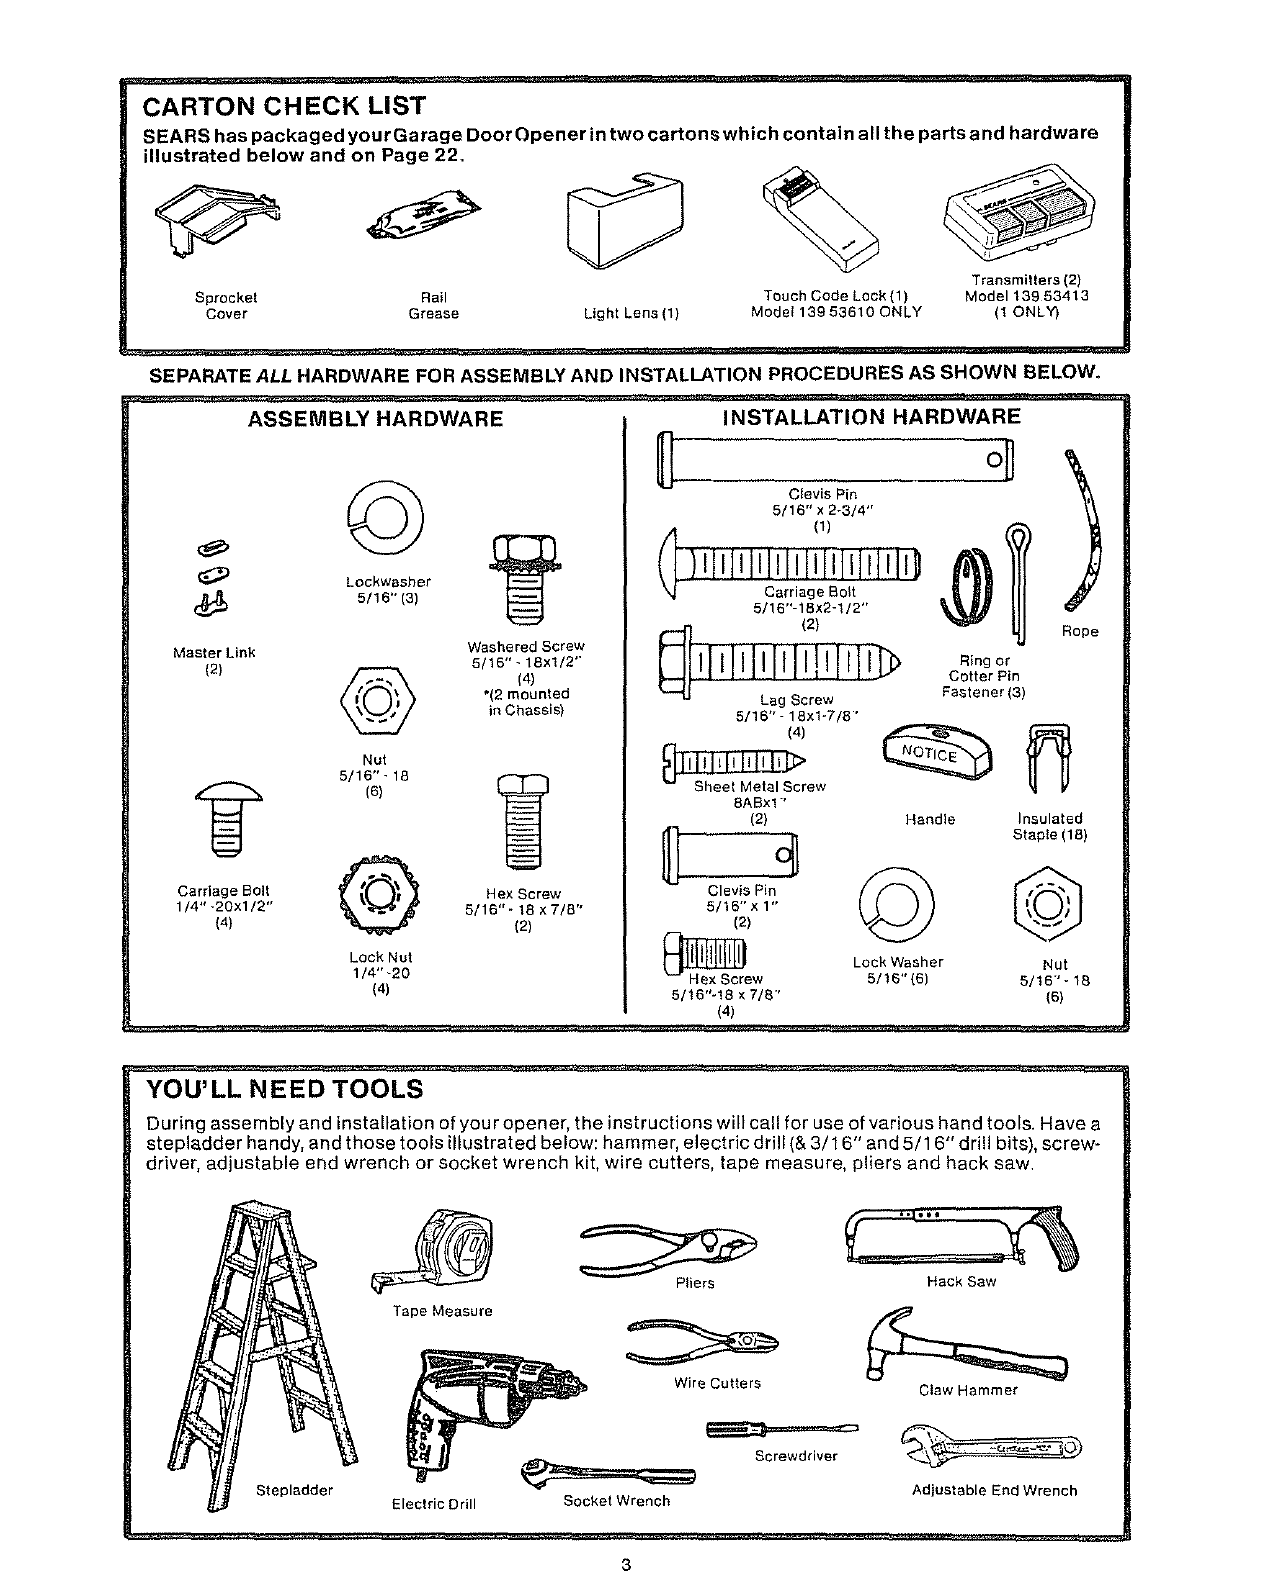
CARTON CHECK LIST
SEARS has packaged yourGarage Door Opener in two cartons which contain all the parts and hardware
illustrated below and on Page 22.
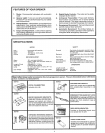
Light Lens (1)
Transmitters {2)
Sprocket Rail Touch Code Lock (1) Model 13953413
Cover Grease Model 139 53610 ONLY (1 ONLY)
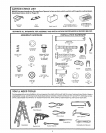
SEPARATE ALL HARDWARE FOR ASSEMBLY AND INSTALLATION PROCEDURES AS SHOWN BELOW.
ASSEMBLY HARDWARE INSTALLATION HARDWARE
Lockwasher
(_ 5116"(3)
Master Link
(2)
Washered Screw
5/16"- 18xl/2'"
(41
*(2 mounted
in Chassis)
Nut
5/16 "_ 18
(B)
Carriage Bolt _f _ Hex Screw
1/4''_20xl/2" _ 5/16"-18x7/8"
(4) (2)
Lock Nut
1/4" -20
(4)
Clevis Pin
5/16" x 2-3/4"
5116"-18x2-1/2"
5!16" - 18xl-7/8"'
(4)
8ABxl '
(2) Handle
Clevis Pin
5/16" x 1"
(2)
_re Lock Washer
w 5/15"(6)
5/16"-18 × 7/8"
(4)
Ring or
Cotter Pin
Fastener(3)
Insulated
Staple (18)
©
Nut
5/16"-18
(6)
YOU'LL NEED TOOLS
During assembly and installation of you r opener, the instructions willcall for use of various hand tools, Have a
stepladder handy, and those tools illustrated below: hammer, electric drill (& 3/1 6" and 5/1 6" drill bits), screw-
driver, adjustable end wrench or socket wrench kit, wire cutters, tape measure, pliers and hack saw
Stepladder
Tape Measure
Electric Drill
Pliers
Hack Saw
Wire Cutters
Screwdriver
Socket Wrench
Claw Hammer
Adiustable End Wrench
3


