installation
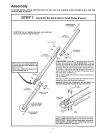
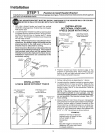
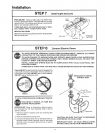
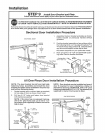
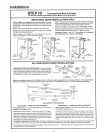
STE P 1 Position & Install Header Bracket
Installation procedures vary according to garage door types. Follow onlytbose instructions which applyto
your door as illustrated below.,
THE HEADER BRACKET MUST BE RIGIDLY FASTENED TO TH E H EADER WALL OR CEILING,,
REINFORCE WALL OR CEILING WITH 2x4 IF NECESSARY,
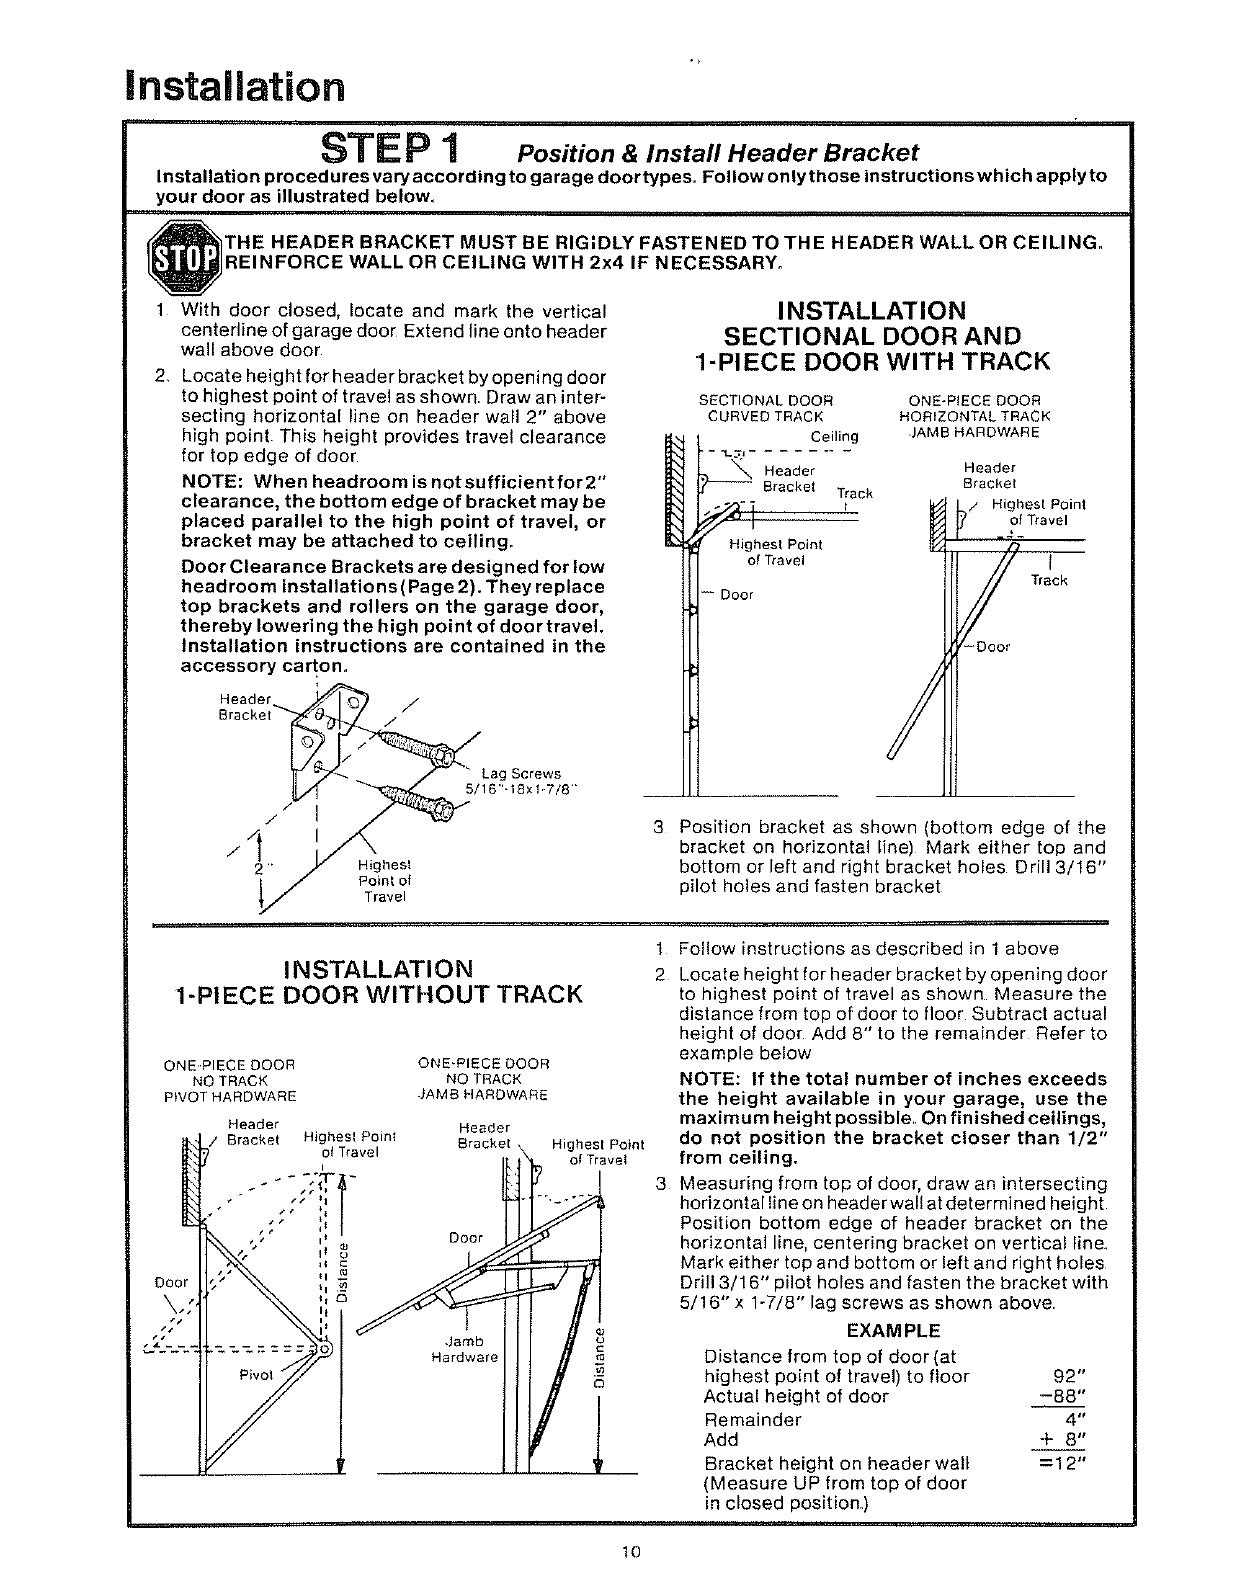
1 With door closed, locate and mark the vertical
centerline of garage door Extend line onto header
wall above door
2, Locate height for header bracket by opening door
to highest point of travel as shown, Draw an inter-
secting horizontal line on header wall 2" above
high point This height provides travel clearance
for top edge of door
NOTE: When headroom is not su fficient for 2"
clearance, the bottom edge of bracket may be
placed parallel to the high point of travel, or
bracket may be attached to ceiling.
Door Clearance Brackets are designed for low
headroom installations(Page 2). They replace
top brackets and rollers on the garage door,
thereby lowering the high point of door travel.
Installation instructions are contained in the
accessory ca_on,,
Header j
/
Lag Screws
5/16"-18x17/8
I NSTALLATION
SECTIONAL DOOR AND
1-PIECE DOOR WITH TRACK
SECTIONAL DOOR
CURVED TRACK
Ceiling
_ Header
BrackeI Track
Highesl Point
of Travel
Door
ONE*PtECE DOOR
HORIZONTAL TRACK
JAMB HARDWARE
Header
Bracket
I _/ Highest Point
of Travel
/,
Track
-Door
//
Highesl
Point ol
Travel
3
Position bracket as shown (bottom edge of the
bracket on horizontal line) Mark either top and
bottom or left and right bracket holes Drill 3/16"
pilot holes and fasten bracket
INSTALLATION
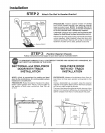
1-PIECE DOOR WITHOUT TRACK
ONE PIECE DOOR
NO TRACK
PIVOT HARDWARE
ONE'PIECE DOOR
NO TRACK
JAMS HARDWARE
Do(
\
Header Header
Z Bracket Highesl Point Bracket Highest Point
of Travel '_
J of Travet
i', DOOr
q _
II 0
.Jamb ._
I
2
3
Follow instructions as described in 1 above
Locate height for header bracket by opening door
to highest point of travel as shown Measure the
distance from top of door to floor Subtract actual
height of door Add 8" to the remainder Refer to
example below
NOTE: If the total number of inches exceeds
the height available in your garage, use the
maximum height possible,, On finished ceilings,
do not position the bracket closer than 1/2"
from ceiling,
Measuring from top of door, draw an intersecting
horizontal line on header wall at determined height
Position bottom edge of header bracket on the
horizontal line, centering bracket on vertical line
Mark either top and bottom or left and right holes
Drill 3/16" pilot holes and fasten the bracket with
5/16" x 1-7/8" lag screws as shown above,
EXAMPLE
Distance from top of door (at
highest point of travel) to floor 92"
Actual height of door -88"
Remainder 4"
Add + 8"
Bracket height on header wall =12"
(Measure UP from top of door
in closed position_)
10


