CLEANING PLATED SURFACES
When cleaning plated trim, special care needs to be taken to avoid damage. Do not use chemical or
abrasive cleaners. Wipe only with a very soft damp cotton cloth to maintain original brilliance.
CAUTION: Vigorous wiping may remove or discolor the plated finish.
DOOR INSTALLATION
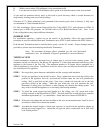
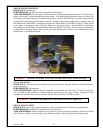
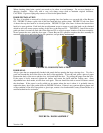
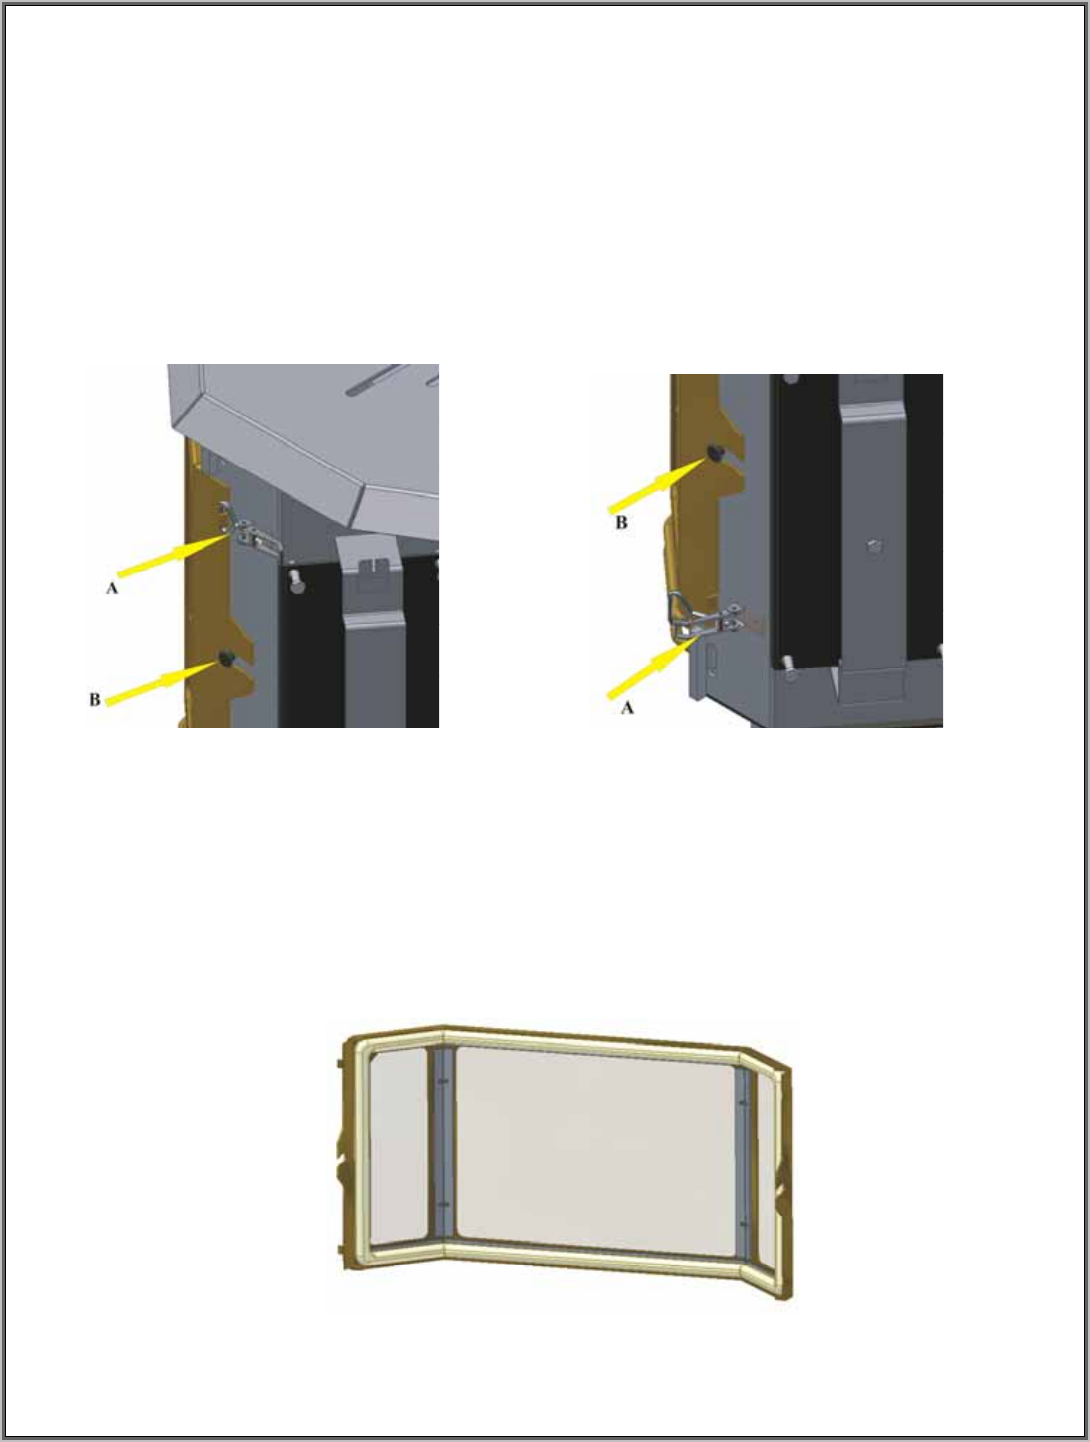
The door is installed or removed by closing or opening four door latches, two on each side of the Bayvue
DV. FIGURE 23 shows a split view of the door latch and door guide system. FIGURE 23 left view; Item
A shows the top door latch in its closed position. FIGURE 23 right view; Item A shows the bottom door
latch in its open position. Each latch has an adjustment screw to ensure a good tight latch can be obtained
which in turn will ensure proper sealing of the door to the Bayvue DV. FIGURE 23, Item B shows the
guide pin that is located on each side of the Bayvue DV to assist in proper location of the door assembly.
Never operate the stove with the door open. Correct Bayvue DV operation requires the door assembly be
mounted to the stove and locked during all operations, except during maintenance.
FIGURE 23: DOOR INSTALLATION
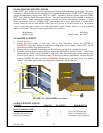
DOOR SEAL
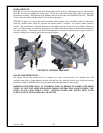
Always open the two magnetically latched side panels before opening the large viewing door. Test for a
good seal around the face of the door to the body of the appliance. To test the seal, place a piece of paper
between the body of the stove and the door, close and latch the door. Try pulling the paper from the door.
If the paper is easily removed, tighten the latches and secure the latch with the locking nuts. Once
adjustments have been made, test the door seal again. The test should be tried at several locations around
the doorframe. If the paper is easily pulled out no matter where the test is taken, it is probably time to
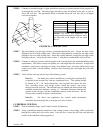
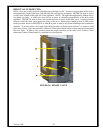
replace the heavy door rope gasket shown in FIGURE 24 below. If there is any concern about a proper seal
or the condition of the door rope gasket or glass tape, contact a local authorized Country Flame Dealer or a
certified technician for assistance.
Version 1.0h
37
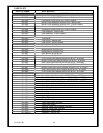
FIGURE 24: DOOR ASSEMBLY


