13
UV36RN/RP Vent-Free Gas Fireplaces
20007436
Installation of Optional Wireless Remote
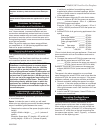
Two remote control kits are offered. The standard
ON/OFF model is a WRD-1 and the thermostatic model
is a WRST-K.
The remote receiver should be placed in the lower com-
partment of the fireplace behind the control cover panel.
There will be a battery terminal and two wire leads.
The remote receiver does not need to be secured to the
fireplace but can be placed on the floor under hearth
pan assembly.
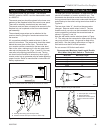
The enclosed jumper wires can be attached to the
receiver wires by joining the female connectors from
the receiver.
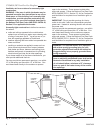
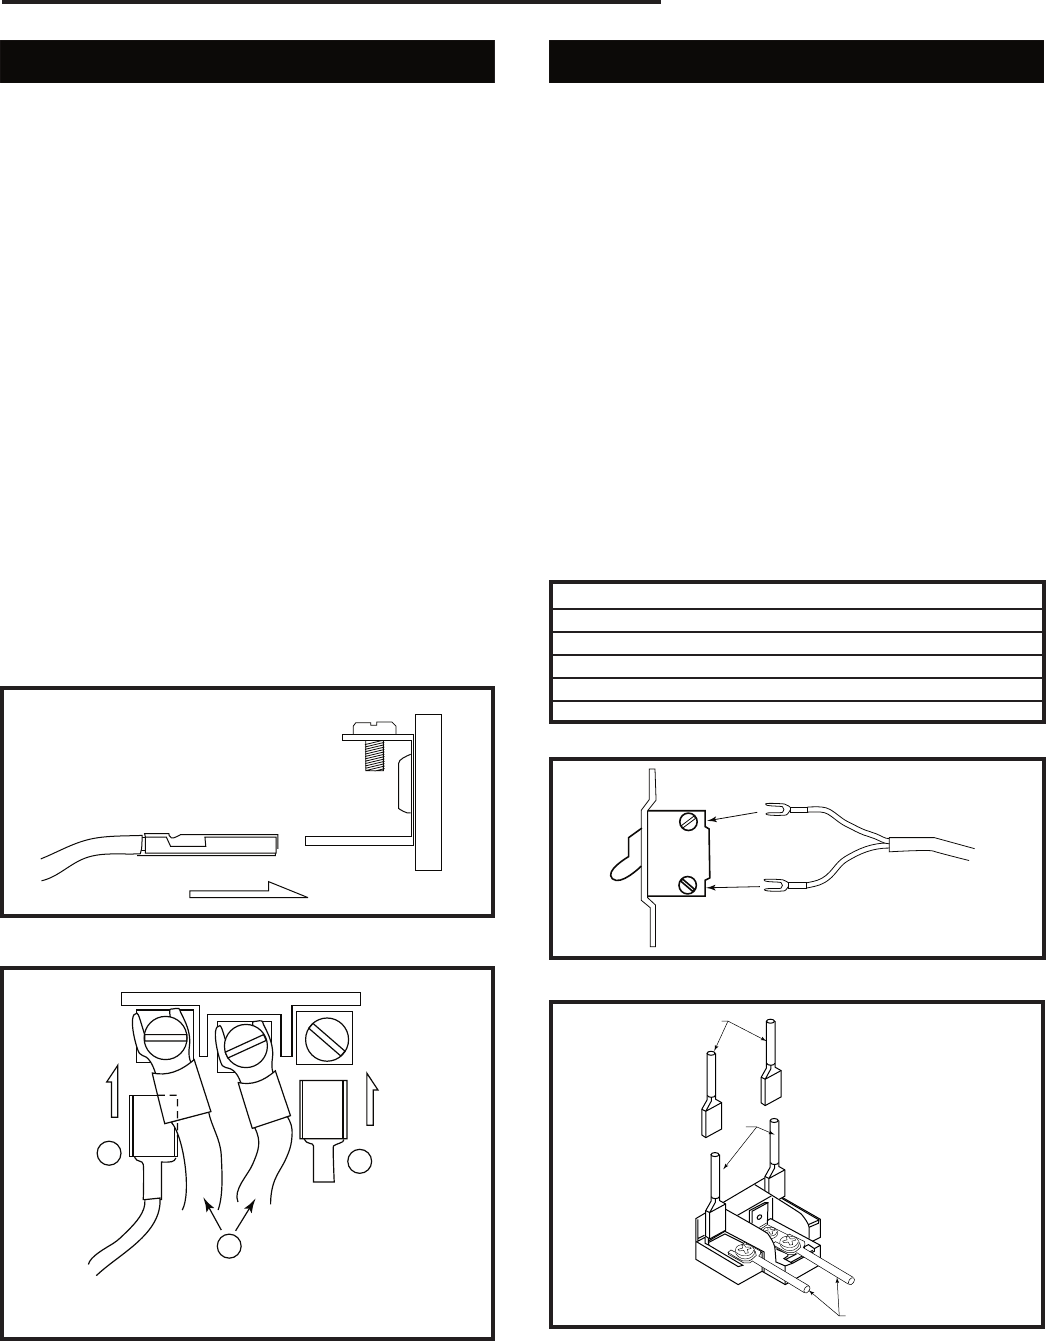
All connections should be made as shown in the re-
mote kit instructions. The jumper wire should be routed
behind the cover plate to the valve. The wires from
your receiver can be connected to the two outer termi-
nals on the valve, making sure it is the two outer termi-
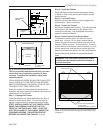
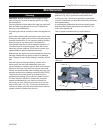
nals and not the center one. (Figs. 11 and 12) You may
now refer to the lighting instructions for use. The log
set should not be modified to accept any other type of
remote control as no guarantee may be made regarding
proper function. Refer to manufacturer’s instructions for
battery replacement.
T147
connect terminals
side view
11/5/03 djt
T147
Fig. 11 Connect wires from receiver to terminals on valve.
B
B
A
T148
attach wires
11/5/03 djt
A. Existing valve wiring (Do not tamper with)
B. Remote receiver wires (red or white on either side)
Fig. 12 Attach receiver wires to outer two terminals on valve.
Installation of Millivolt Wall Switch
To install your millivolt wall switch, an approved wall box
should be installed in a location suitable to you. The
thermostat wire should be routed from the wall box to
the log set and should be routed underneath the log set
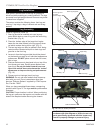
and pulled up to the valve’s wiring terminal as shown in
Figure 14.
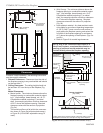
The two wires, letter “A”, should not be removed or
changed. Remove switch wires, Letter B. The two
female ends of your wire can be connected to the two
outer connections just below the screw terminals as
shown in Figures 11 and 14.
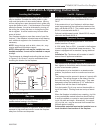
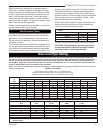
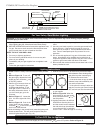
Now the wall switch can be wired as shown in Figure
13. The wires can be connected to either poles as they
carry only millivolt current. No ground is used at the
wall switch. See the lighting instructions on Page 14.
Wall switch must be for millivolt operation.
Do not connect 120 Volts to wall switch.
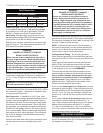
Wire Size Maximum Length
14 ga. 50’
16 ga. 32’
18 ga. 20’
20 ga. 15’
22 ga. 10’
Recommended Maximum Lead Length (Double
Wire) When Using Wall Switch or Thermostat
T149
wall switch wires
11/5/03 djt
T149
Fig. 13 Optional wiring to wall switch.
T113
Thermopile switch
10/27/03 djt
C
B
A
T114
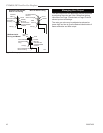
A Thermopile (Do not remove)
B Switch (OFF/ON)
C Wires from receiver (red &
white) or wires from millivolt
wall
Fig. 14 Control valve terminal block.


