Español-6
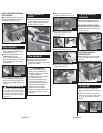
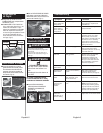
■ Espere un minuto completo; mueva
la PALANCA DE ENCENDIDO hacia
abajo. (Fig. 16)
Fig. 16
■ Abra la PERILLA DE LA BOMBA y
bombee presión adicional al tanque.
(Fig. 17 & Fig. 18)
Fig. 18Fig.17
■ Cierre la PERILLA DE LA BOMBA.
(Fig. 19)
Fig. 19
Fig. 20
■ Con la VÁLVULA DE
COMBUSTIBLE, ajuste la llama al
calor deseado. (Fig. 20)
Como Encender
El(Los) Quemador(es)
Auxiliar(es)
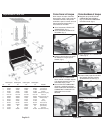
Fig. 21
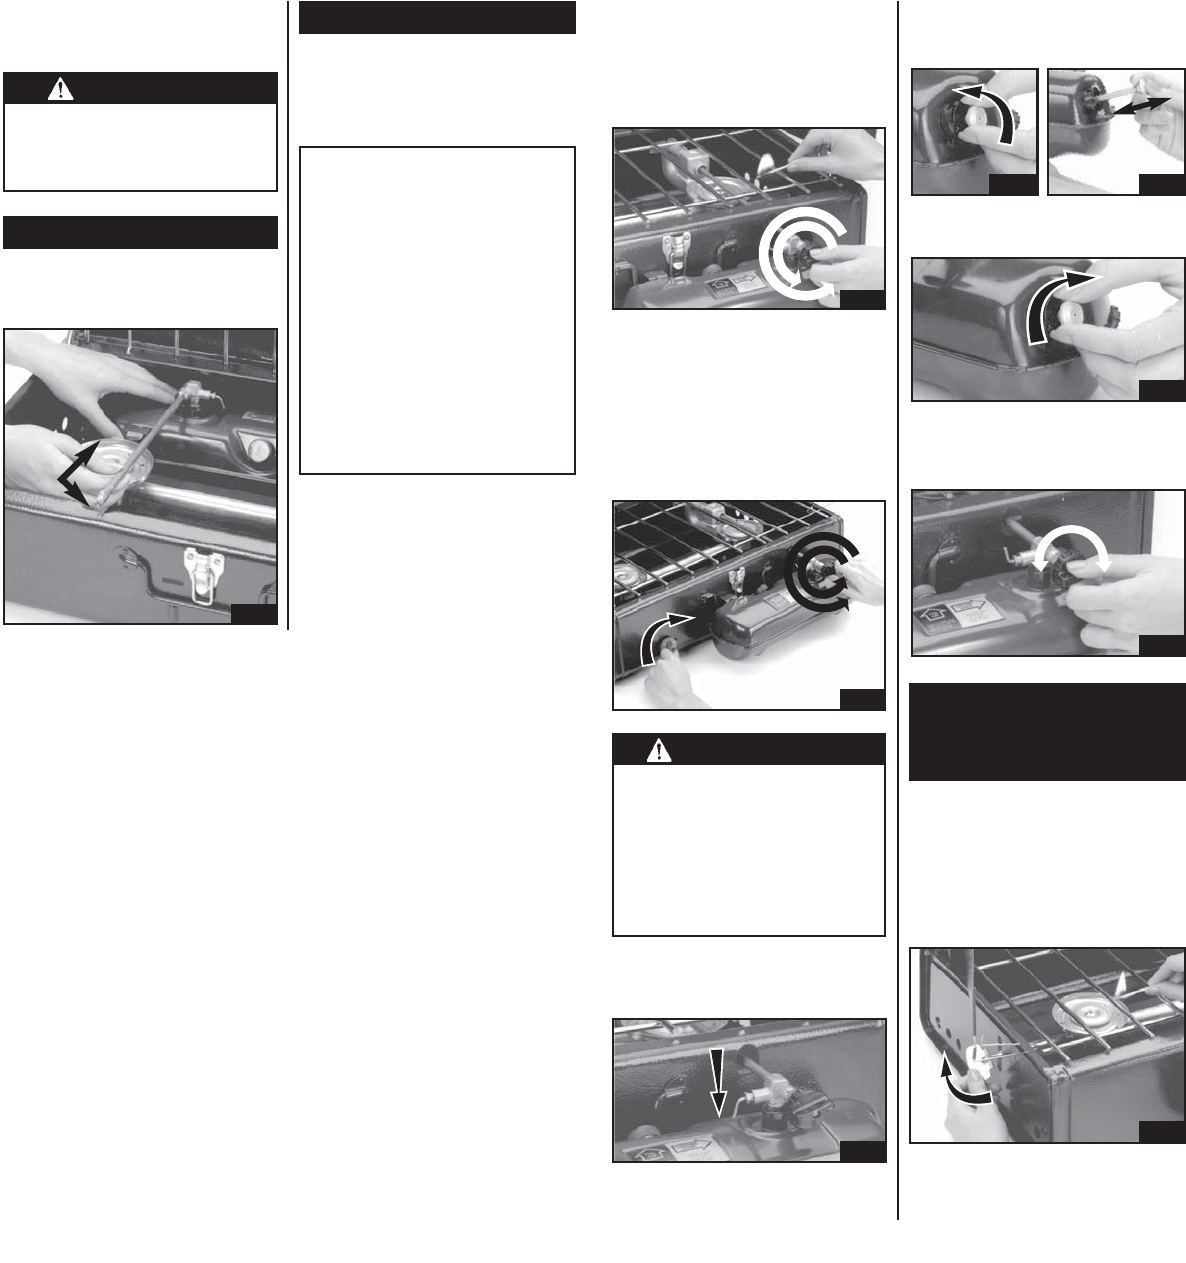
■ Una vez encendido el QUEMADOR
PRINCIPAL, se podrán encender el o
los QUEMADORES AUXILIARES.
ESTUFA VERSIÓN ESTÁNDAR:
■ Sostenga un fósforo encendido en el
borde del QUEMADOR AUXILIAR y
abra la VÁLVULA AUXILIAR. (Fig. 21)
ESTUFA VERSIÓN ESTÁNDAR:
■ Sostenga un fósforo encendido en el
quemador principal antes de abrir la
válvula de combustible. Abra rápida-
mente la válvula de combustible, por lo
menos dos vueltas completas. (Fig. 14)
Fig. 14
ESTUFA VERSIÓN ENCENDIDO
ELECTRÓNICO:
■ Abra rápidamente la VÁLVULA DE
COMBUSTIBLE dos vueltas comple-
tas mientras gira la PERILLA DE
ENCENDIDO en el sentido de la
manecillas del reloj, hasta que
encienda la estufa. (Fig. 15)
Fig. 15
PRECAUCION
Una llama persistente muy alta y ama-
rilla indica saturación o fuga. Cierre la
válvula de combustible, deje que las
llamas se consuman y que la estufa se
enfríe. Dé vuelta la estufa para vaciar
cualquier combustible del quemador y
séquela. Revise las instrucciones y
vuelva a encender la estufa.
English-7
WARNING
• Always turn fuel valve off before
unscrewing fuel cap from fuel tank.Never
remove fuel cap near ignition sources,
while stove is lit, or hot to touch.
■ Note: Flame will linger on MAIN
BURNER for a few minutes after
FUEL VALVE is closed.
To Store
■ Make sure stove is cool.
■ Move stove away from flame (includ-
ing pilot lights) and other ignition
sources.
• MAINTENANCE
• Keep stove area clear and free
from combustible materials,
gasoline and other flammable
vapors and liquids.
• Do not obstruct the flow of
combustion and ventilation air.
• A good flame should be blue with
minimal yellow tip. Some yellow
tips on flames are acceptable as
long as no carbon or soot deposits
appear.
• Wipe clean with soft cloth and mild
dish detergent. Do not use abra-
sives.
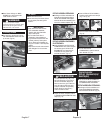
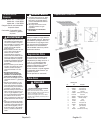
Packing Stove
■ The tank fits in the left end of stove
with VALVE WHEEL fitted under rear
lip of case. (Fig. 25)
Fig. 25


