Chapter 3
Advanced Configuration with the Web-based Utility
14
Wireless-N Internet Home Monitoring Camera
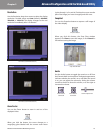
Video Format
To s
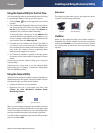
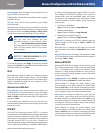
elect the video format, click
the Video Format button,
and
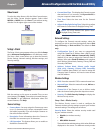
the Video Format window appears. Select either
MPEG-4 or MJPEG, then click Save. To exit without saving,
click the X in the upper-right corner of the window.
Video Format Button
Video Format Window
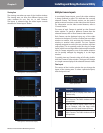
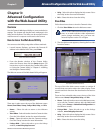
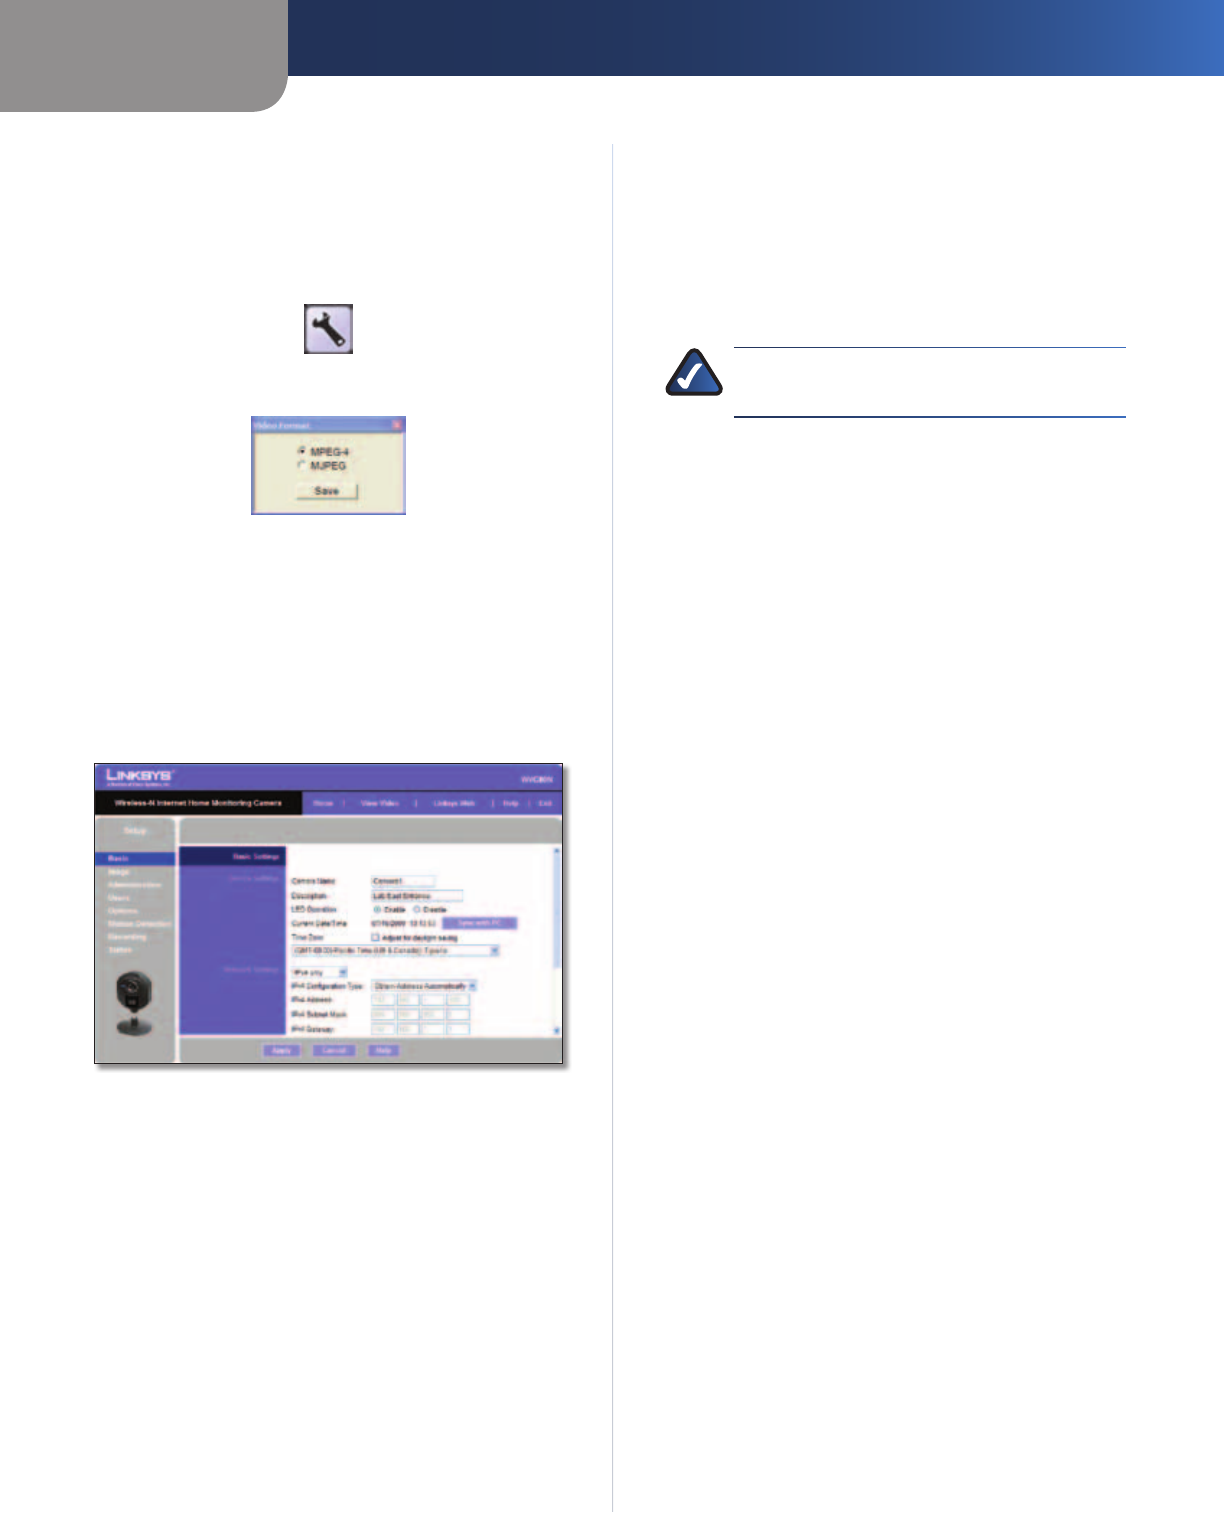
Setup > Basic
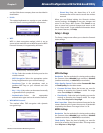
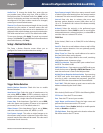
The Setup > Basic screen appears when you click the Setup
tab or Advanced Configuration on the Welcome screen.
The Setup > Basic screen allows you to alter the Camera’s
Device settings, Network settings, Wireless settings, and
Security settings.
Setup > Basic
Edit the settings on this screen as needed. Then, to save
your changes, click Apply. To cancel any unsaved changes,
click Cancel. To get additional information about the
screen’s features, click Help.
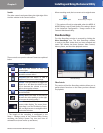
Device Settings
• Camera Name You may assign the Camera any name
up to 15 characters long. Unique, memorable names
are helpful, especially if you use multiple Cameras on
the same wireless network.
• Description Enter information about the Camera in
this field. You can enter up to 32 characters.
• LED Operation This feature allows you to enable or
disable the Camera’s LED.
• Current Date/Time This displays the Camera’s current
date and time. If it is incorrect, click Sync with PC to
use your computer’s date and time.
• Time Zone Select the time zone for the Camera’s
location.
• Adjust for Daylight Saving Time Select this to adjust
the Camera’s current time for Daylight Saving Time.
NOTE: You must deselect this option when
Daylight Saving Time ends.
Network Settings
To configure the Camera’s network settings, select the
protocol you wish to use from the dropdown menu: IPv4
only, IPv6 only, or IPv4 and IPv6. The default is IPv4
only.
• Configuration Type If you want to automatically
assign the Camera an IP address from a DHCP server,
then select Obtain Address Automatically (DHCP)
(default). If you want to assign the Camera a static IP
address, then select Fixed IP Address, and complete
the IP Address, Subnet Mask, Gateway, Primary DNS and
Secondary DNS fields.
• Address, Subnet Mask, Subnet prefix length
(IPv6 only), Gateway, Primary DNS, Secondary
DNS Complete these fields if you want to assign the
Camera a static IP address. You need to enter at least
one DNS address.
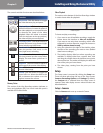
Wireless Settings
• SSID Enter the network’s SSID or network name here.
• Network Type Select the network’s mode, Ad-hoc or
Infrastructure.
• Channel No If the Camera is set to Ad-hoc mode,
select its channel setting from the drop-down menu.
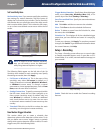
• Security Click Edit Security Settings to display the
Wireless Security screen.
Setup > Basic > Wireless Security
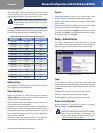
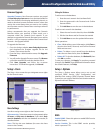
The Wireless Security screen is used to configure the
Camera’s wireless security settings to match your wireless
network settings. The settings are as follows.
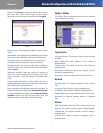
Security Mode Select the wireless security mode used
by your wireless network:
• Disable (no wireless security)
• WEP
• WPA/WPA2 Personal
The method selected determines which other fields are
displayed on the screen. The different security modes


