


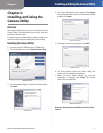
Chapter 2
Installing and Using the Camera Utility
9
Wireless-N Internet Home Monitoring Camera
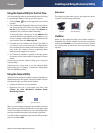
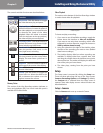
The controls and their functions are described below.
Control Function
Play/Pause Click this button to toggle
the video between play and pause.
Playback Speed Click and drag the
wheel clockwise to increase the speed of
the video playback, or counterclockwise
to decrease the speed of the video
playback. When the wheel is centered
(with the indicator at the top position),
the video will play at normal speed.
Frame by Frame Click these buttons to
go back (left arrow) or go forward (right
arrow) exactly one video frame.
Previous/Next Click these buttons to
view the previous (left arrow) or the
next (right arrow) recording.
Zoom Move the slider to the right of
this icon to zoom into the current video
display. The zoom factor cycles from 1x
to 16x.
Snapshot Click this button to capture a
still image of the current video display.
Print Click this button to print the
current video image.
Sound Click this button to toggle the
sound off or on. Move the slider to the
left to decrease the volume or to the
right to increase the volume.
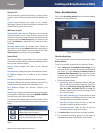
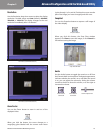
Memory Status
This section of the View Recordings window indicates, in
hours and gigabytes (GB), how much hard disk space is
available for recorded video.
Memory Status
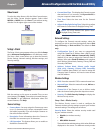
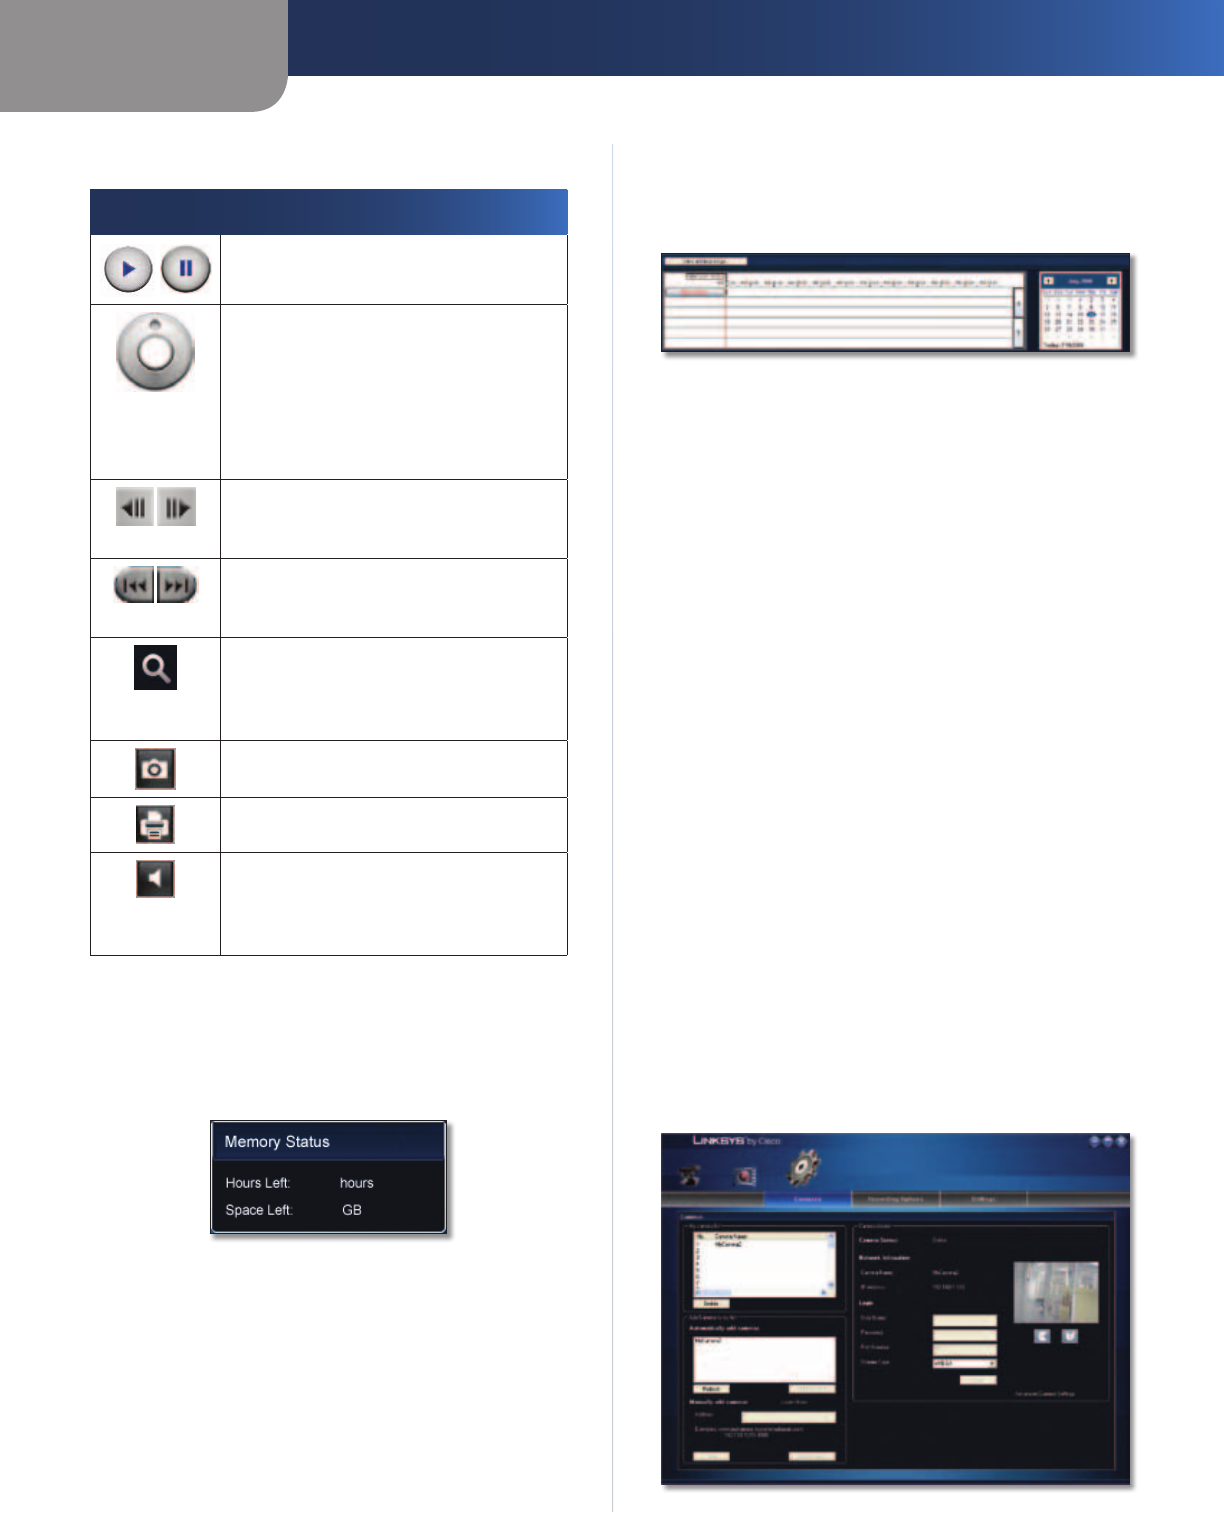
Video Playback
The section at the bottom of the View Recordings window
is used to locate video for playback.
Video Playback
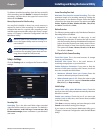
To locate and play a recording:
1. If you want to see all available recordings, toggle the
button above the timeline to View all recordings.
If you want to see only those recordings which were
triggered by motion detection, toggle the button to
View by motion detection only.
2. Using the calendar to the right of the timeline, select
the date of the recording you want to view. (Bolded
dates have recordings.)
3. The timeline displays blue bars where recordings are
available. To display video from a specific time, click
and drag the marker above the timeline to any point
above a blue bar. The marker will display the date and
time of the point you have chosen.
4. The video plays, starting from the point you have
chosen.
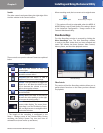
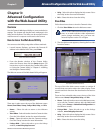
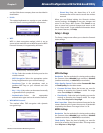
Setup
The Setup screen is accessed by clicking the Setup icon.
There are three tabs along the top of the Setup screen:
Cameras, Recording Options, and Settings. By default,
the Cameras tab is selected when the Setup screen is
opened. These tabs display screens whose functions are
described below.
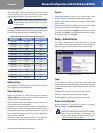
Setup > Cameras
Click the Cameras tab to set up a network Camera.
Setup > Cameras