19
Vermont Castings Seville
30001490
The Primary Air Inlet must be open when starting a
fire or when refueling.
Step 1. Open the primary air control fully. (Lever at
7:00)
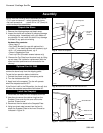
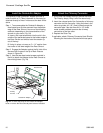
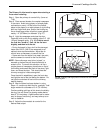
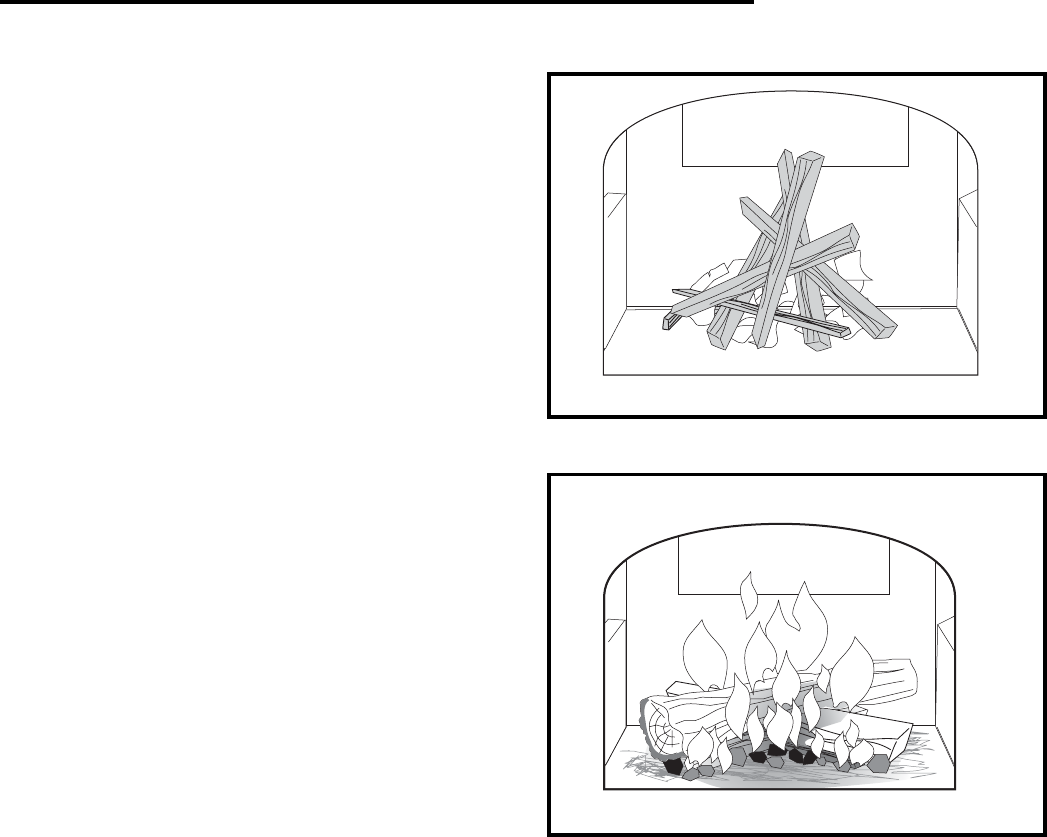
Step 2. Place several sheets of crumpled newspaper
in the stove. Avoid using glossy or colored paper,
as these burn poorly. At the front of the firebox,
place on the paper six or eight pieces of dry kindling
split to a finger-width size, and on the kindling lay
two or three larger sticks of split dry wood approxi-
mately 1-2" (25-50mm) in diameter. (Fig. 27)
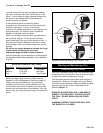
Step 3. Light the newspaper and close the door.
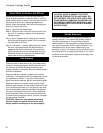
Gradually build up the fire by adding a few 3-5" (80-
127mm) diameter splits. (Fig. 28) If this is one of
the first few "break-in" fires, let the fire burn
brightly, and then let it die out.
• During the break-in fires, don't let the stove get
hotter than 500°F. (260°C) as measured on an
optional stove-top thermometer. Adjust the air
control lever as necessary to control the fire.
• Some odor from the stove’s hot metal, the paint,
and the cement is normal for the first few fires.
NOTE: Some chimneys need to be “primed,” or
warmed up, before they will draw sufficiently to
sustain a fire. To correct this situation, roll up a
couple pieces of newspaper, place them on top of
the kindling and toward the back of the stove, light
them, and close the door. This should heat the
chimney enough to initiate strong draft.
Once the draft is established, open the front door
and light the rest of the fuel bed at the bottom. Do
not light the main bed of fuel until the chimney
begins drawing.
Step 4. After the stove has been broken-in using
Steps 1-3, continue to build the fire gradually. Add
larger wood with a diameter of 3-4" (76-102mm).
Continue adding split logs of this size to the briskly-
burning fire until there is a glowing ember bed at
least 2" (51mm) deep. A good ember bed is neces-
sary for proper functioning and may take up to an
hour to establish.
Step 5. Adjust the thermostatic air control for the
desired heat output.
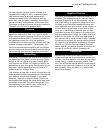
Fig. 27 Start a fire with small, dry kindling.
ST263
Fig. 28 Gradually add larger pieces of wood until all the wood
is burning well.
ST264


