


UTILITY STITCHES ——————————————————————————————————————————————————————
—
66
GETTING READYCONTENTS SEWING BASICS UTILITY STITCHES APPENDIX INDEX
Selecting Stitching
You can select any of the various types of stitching available.
Stitch types
A total of 4 groups of stitch types (utility stitches,
decorative stitches, satin stitches and cross-stitches)
are available.
For details on the types of stitches available, refer to
“Stitch Settings” (page 118).
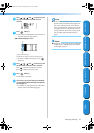
■ Utility stitches
There are 67 utility stitches, including straight
stitches, overcasting stitches and buttonhole
stitches.
■ Decorative stitches
There are 31 decorative stitches, including hearts,
leaves and flowers.
■ Satin stitches
There are 16 satin stitches.
■ Cross-stitches
There are 5 types of cross-stitches.
Selecting stitching
Using the operation panel keys, select the desired
stitch from those shown in the LCD.
When the sewing machine is turned on, the straight
stitch (left needle position) is selected.
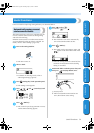
1
Determine the stitch that you wish to use.
• Refer to “Stitch types” (at the left).
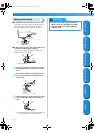
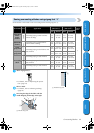
2
Determine which presser foot should be used
with the selected stitch.
The presser feet are stored in the accessory
compartment.
• For details on the stitches that can be sewn
with the twin needle, refer to “Stitch
Settings” (page 118).
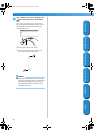
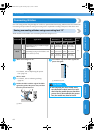
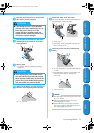
3
Attach the presser foot.
• For details, refer to “Replacing the presser
foot” (page 41).
4
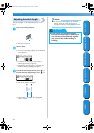
Turn on the sewing machine.
X The straight stitch (left needle position) is
shown selected in the LCD.
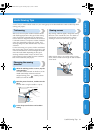
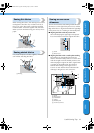
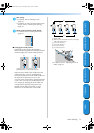
5
Press (stitch selection key) in the
operation panel.
X The screen containing the various types of
stitches appears.
S3_brotherE.book Page 66 Thursday, May 15, 2003 1:58 PM