


UTILITY STITCHES ——————————————————————————————————————————————————————
—
106
GETTING READYCONTENTS SEWING BASICS UTILITY STITCHES APPENDIX INDEX
2
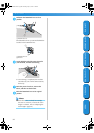
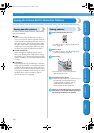
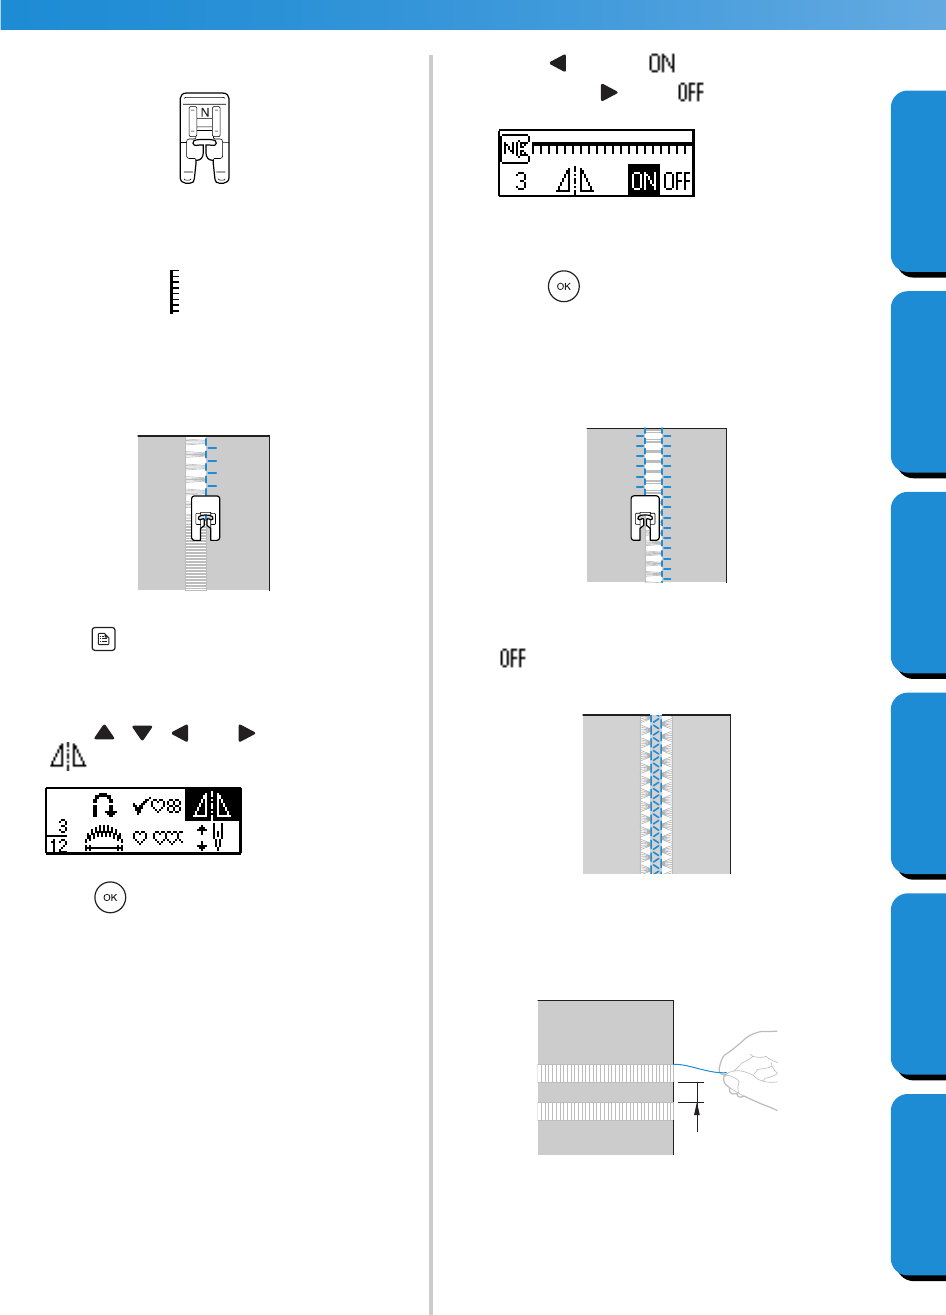
Attach monogramming foot “N”.
• For details, refer to “Replacing the presser
foot” (page 41).
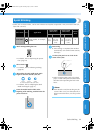
3
Select stitch
33
.
• For details, refer to “Selecting stitching”
(page 66).
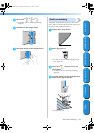
4
With the right side of the fabric facing up, sew
along the right edge of the frayed section.
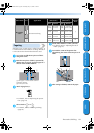
5
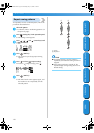
Press (settings key) in the operation panel.
X The settings screen appears.
6
Press , , and (arrow keys) until
is selected.
7
Press (OK key).
X The screen for mirror imaging the pattern
appears.
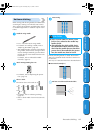
8
Press to select .
To return to , press .
X The pattern is flipped.
9
Press (OK key).
X The initial stitch screen appears again.
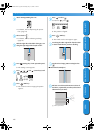
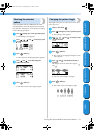
0
Sew along the other edge of the frayed section
so that it looks like the previous stitching.
a
Set the mirror image pattern setting back to
.
■ Drawnwork (Example 2)
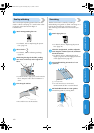
1
Pull out several threads from two sections of
the fabric, separated by an unfrayed section of
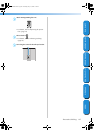
about 4 mm (3/16 inch).
1 4 mm (3/16 inch)
N
N
1
S3_brotherE.book Page 106 Thursday, May 15, 2003 1:58 PM