


81
3
d
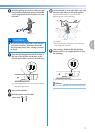
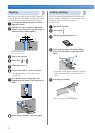
Attach monogramming foot “N”.
e
Start sewing.
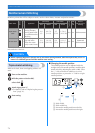
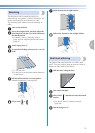
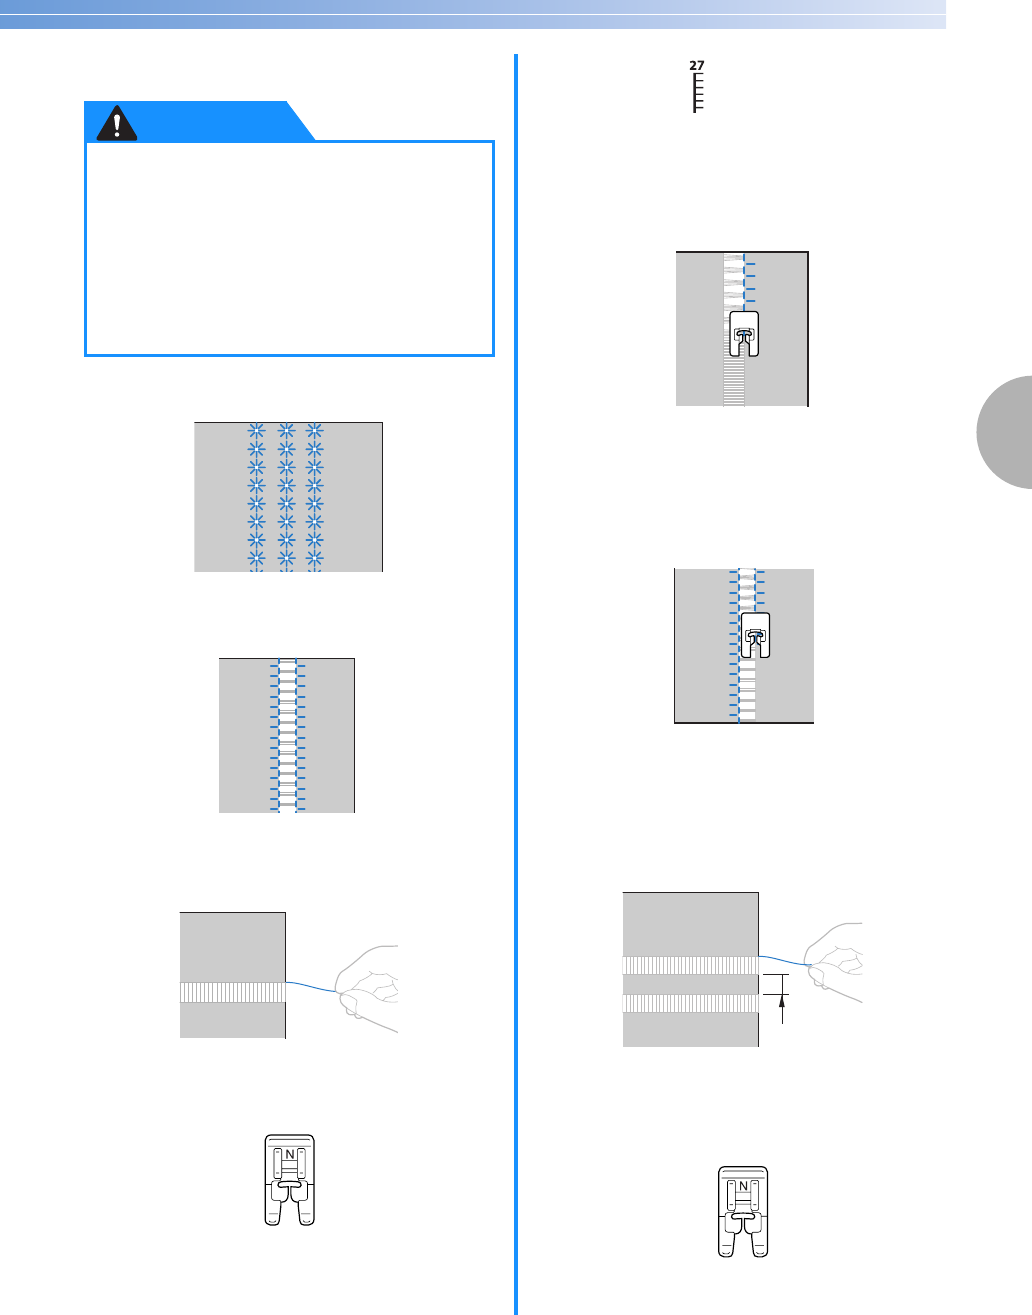
■ Drawnwork (Example 1)
The fabric is turned and sewn twice.
a
Pull out several threads from the fabric.
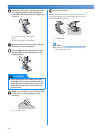
b
Attach monogramming foot “N”.
• For details, refer to “Replacing the presser
foot” (page 31).
c
Select stitch .
• For details, refer to “Selecting a stitch”
(page 40).
d
With the right side of the fabric facing up, sew
along the right edge of the frayed section.
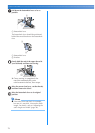
e
Turn the fabric around to sew the opposite
side.
f
Sew along the other edge of the frayed section
so that it looks like the previous stitching.
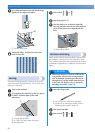
■ Drawnwork (Example 2)
a
Pull out several threads from two sections of
the fabric, separated by an unfrayed section of
about 4 mm (3/16 inch).
a 4 mm (3/16 inch)
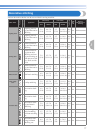
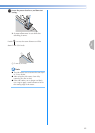
b
Attach monogramming foot “N”.
• For details, refer to “Replacing the presser
foot” (page 31).
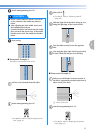
● Select a stitch width of 6.0 mm (15/64 inch)
or less, otherwise the needle may bend or
break.
● After adjusting the stitch width, slowly turn
the handwheel toward you
(counterclockwise) and check that the needle
does not touch the presser foot. If the needle
hits the presser foot, the needle may bend or
break.
CAUTION
N
N
1