Overcasting Stitches 71
3
Sewing overcasting stitches using zigzag foot “J”
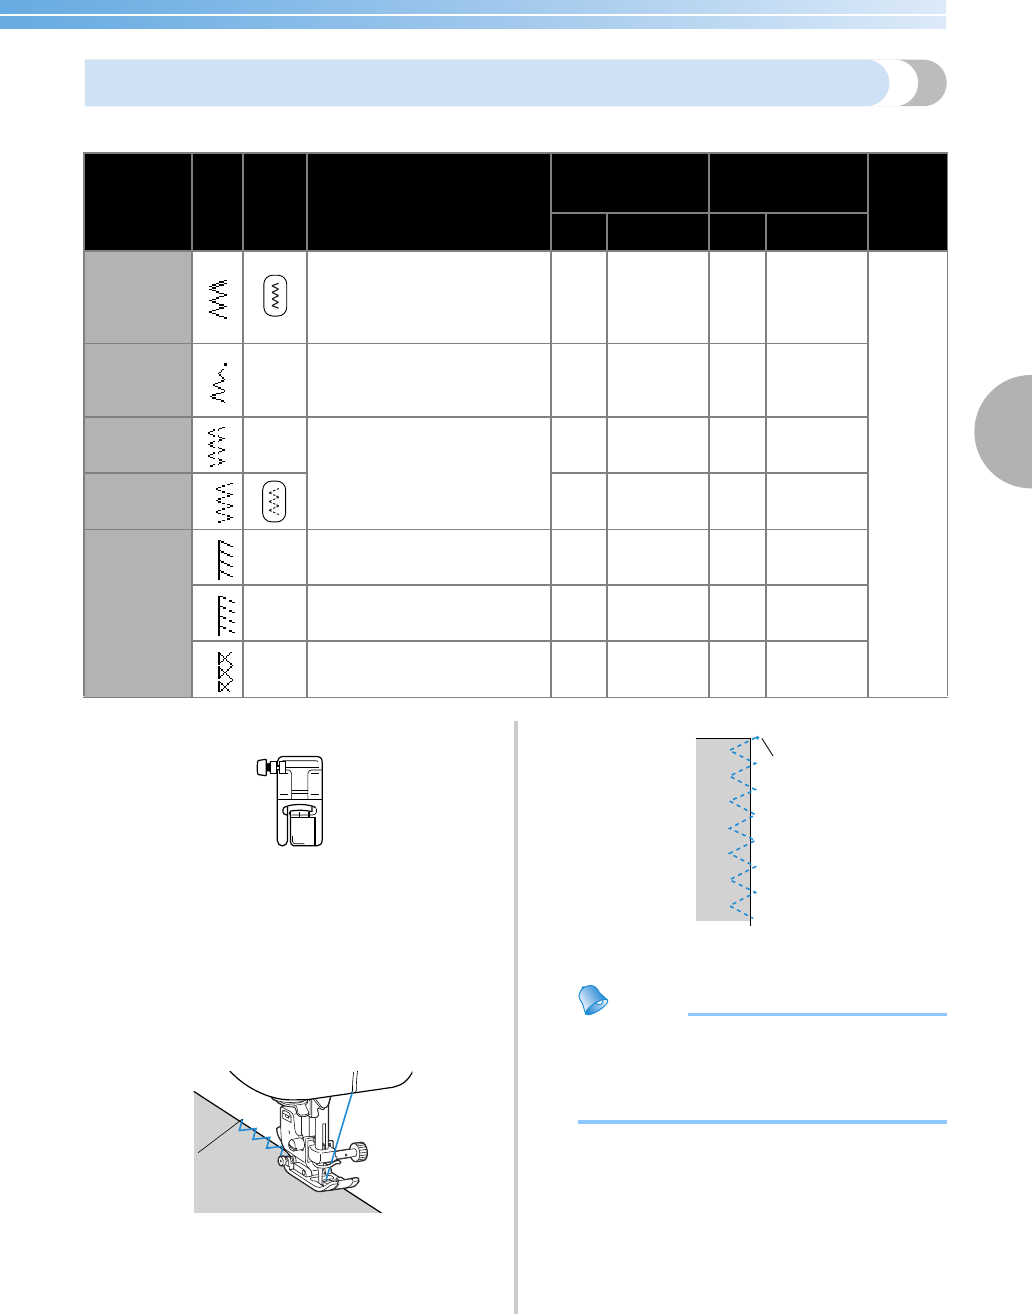
Seven stitches can be used to sew overcasting stitches with zigzag foot “J”.
1
Attach zigzag foot “J”.
• For details, refer to “Replacing the presser
foot” (page 37).
2
Select a stitch.
• For details, refer to “Selecting stitching”
(page 68).
3
Sew along the edge of the fabric with the
needle dropping off the edge at the right.
1 Needle drop point
1 Needle drop point
Memo
● For best results when sewing stretch fabrics,
decrease the pressure of the presser foot. For
details, refer to “Adjusting the pressure of
the presser foot” (page 39).
Stitch Name
Pattern
Stitch
Key
Application
Stitch Width
[mm (inch.)]
Stitch Length
[mm (inch.)]
Presser
Foot
Auto Manual Auto Manual
Zigzag stitch
(center
needle
position)
7
Preventing fraying (center
baseline/reverse stitching)
3.5
(1/8)
0.0–7.0
(0–1/4)
1.4
(1/16)
0.0–4.0
(0–3/16)
J
Zigzag stitch
(right needle
position)
8
–
Preventing fraying (right
baseline/reinforcement
stitching)
3.5
(1/8)
2.5–5.0
(3/32–3/16)
1.4
(1/16)
0.3–4.0
(1/64–3/16)
2-point
zigzag stitch
9
–
Preventing fraying in thick
fabrics and stretch fabrics
5.0
(3/16)
1.5–7.0
(1/16–1/4)
1.0
(1/16)
0.2–4.0
(1/64–3/16)
3-point
zigzag stitch
10
5.0
(3/16)
1.5–7.0
(1/16–1/4)
1.0
(1/16)
0.2–4.0
(1/64–3/16)
Overcasting
stitch
14
–
Preventing fraying in stretch
fabrics
5.0
(3/16)
0.0–7.0
(0–1/4)
2.5
(3/32)
0.5–4.0
(1/32–3/16)
15
–
Preventing fraying in thick
fabrics and stretch fabrics
5.0
(3/16)
0.0–7.0
(0–1/4)
2.5
(3/32)
0.5–4.0
(1/32–3/16)
16
–
Preventing fraying in stretch
fabrics
4.0
(3/16)
0.0–7.0
(0–1/4)
4.0
(3/16)
1.0–4.0
(1/16–3/16)
J
1
1


