SEWING BASICS ——————————————————————————————————————————————————
—
56
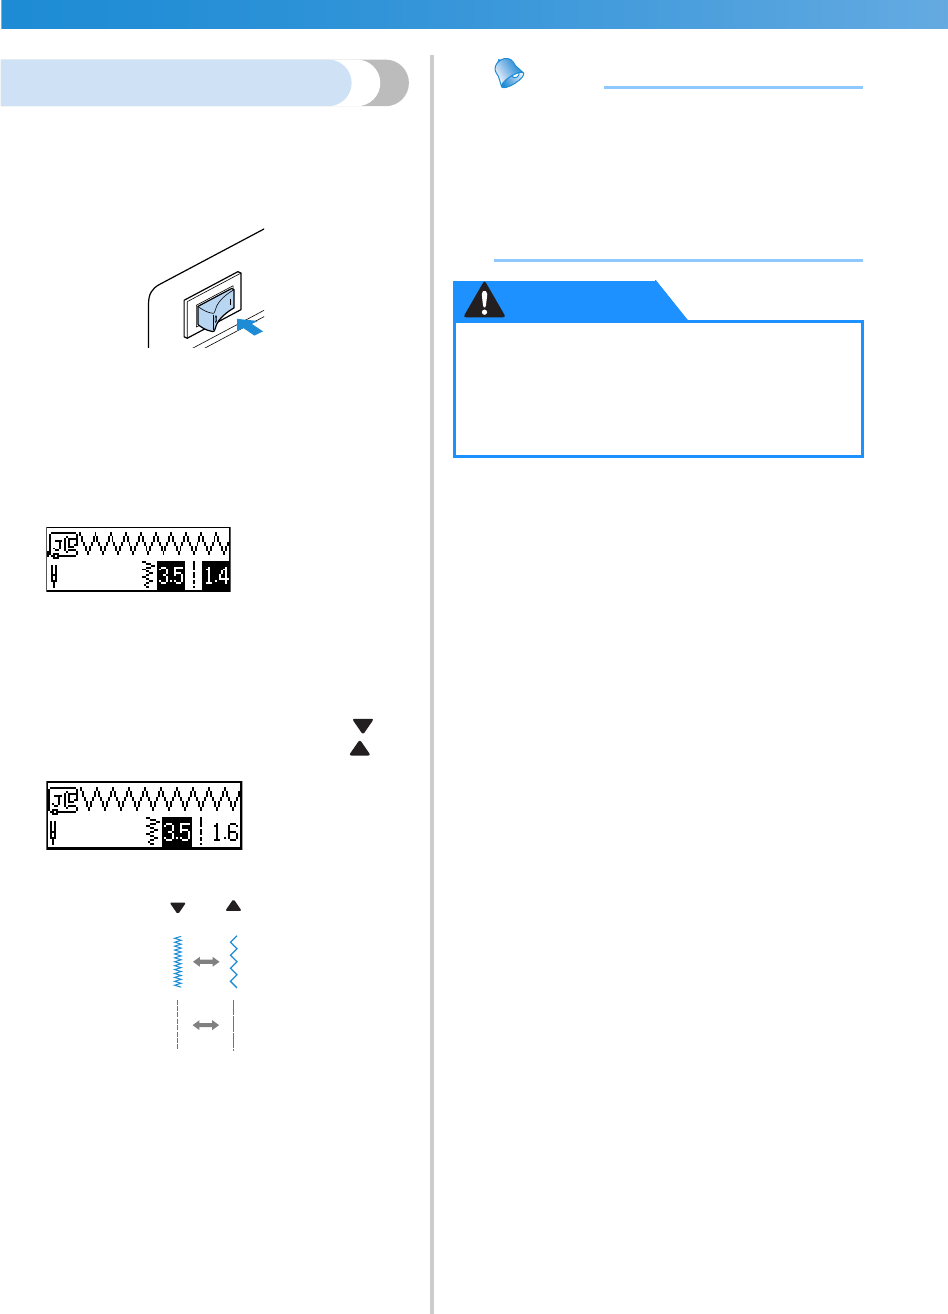
Adjusting the stitch length
The stitch length can be adjusted with the arrow
keys.
1
Turn on the sewing machine.
X The LCD comes on.
2
Select a stitch.
X A screen containing settings for the selected
stitch appears.
• For details on selecting a stitch, refer to
“Selecting stitching” (page 68).
• Immediately after the stitch is selected, the
standard settings (highlighted) appear.
3
To make the stitch length shorter, press (–).
To make the stitch length longer, press (+).
X The stitch length is changed.
• If the setting is changed, the highlighted
value is erased.
Memo
● To reset the stitch length to its standard
setting, select the same stitch again or
change the setting to the highlighted value.
● The settings can be saved so that they will
always be specified each time the utility
stitch is selected. For details, refer to
“Saving stitch settings” (page 60).
–
+
● If the stitches are bunched together,
increase the stitch length. Continuing to
sew with the stitches bunched together
may result in the needle bending or
breaking.
CAUTION


