General Accessory Installation
EN | 19
8Optional Accessories Installation
8.1 General Accessory Installation
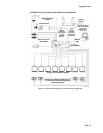
There are many accessory products available for the Allegiant Series, including key-
boards, alarm interface units, control code signal distribution units, etc. If applicable,
these products can be installed at the same time as the main CPU bay installation,
or postponed until later. In some cases, products are designed to be racked in close
proximity to the main CPU bay, so appropriate rack space should be reserved.
Please refer to the instructions supplied with the specific accessory product for com-
plete installation details.
8.2 Logging Printer Option Installation
NOTE Although the exact installation procedure for each printer varies, the following
steps are generally required. Be sure to save the printer reference manual for
procedures not covered.
1. Switch the main power OFF to the printer.
2. Install the ribbon cartridge and paper if necessary.
3. Set any configuration switches for your particular printer to match the format
provided by the Allegiant system. Note that the system communication protocol
can be changed using the Keyboard User Functions (described later in this man-
ual) with the optional Allegiant LTC 8059 MCS package. The factory default
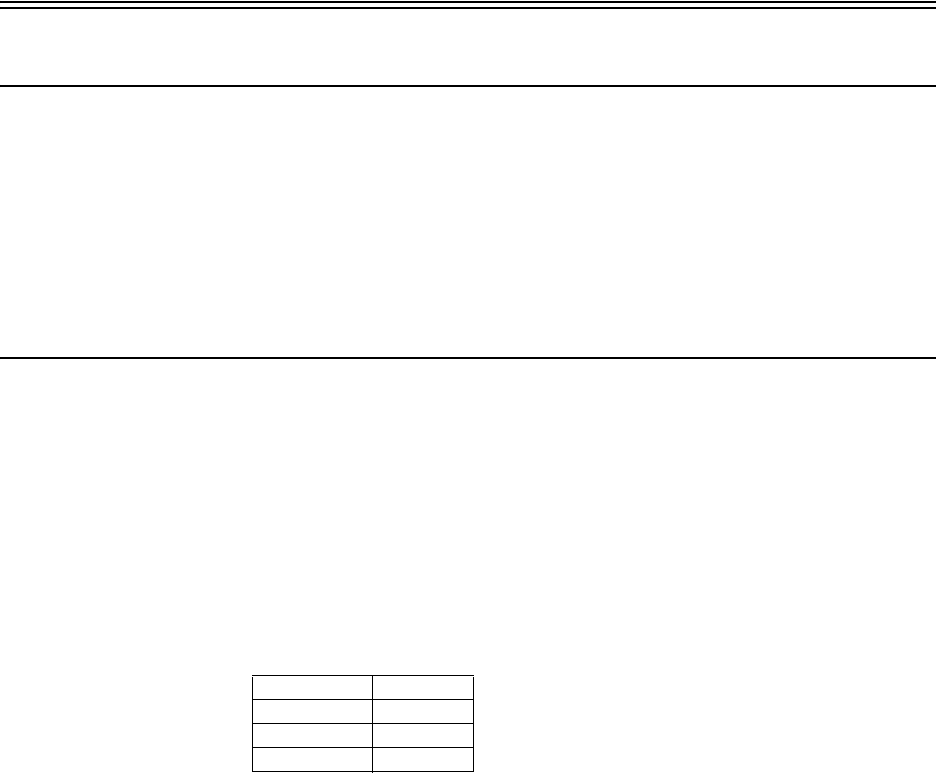
values are as follows:
NOTE The required interconnect cable utilizes a custom pinout. Refer to the Appendix
Section of this manual for wiring details.
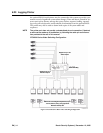
4. Attach the 25-pin male D-type connector side of the RS-232 cable to the con-
nector on the printer.
5. Attach the 9-pin male connector side of the cable to the Allegiant CPU bay con-
nector marked “PRINTER”.
6. Apply power to the printer.
7. Ve r if y l og g ing printer action by ‘loading’ a previously stored sequence into a
monitor, activating an alarm, or performing a system reset. Any of these actions
should cause printouts to occur.
Baud rate -- 19,200
Stop bits -- 1
Data bits -- 8
Parity -- None


