INSTALLING THE BOILER
Placing The Boiler (OWB-9 – OWB-25)
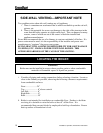
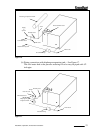
1. Move the boiler as close as possible to its final location in the crate.
2. Remove the two lag screws holding the rear feet to the skid.
3. Remove the front jacket panel. Cut the band holding the front of the boiler to the
skid.
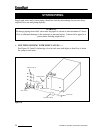
4. Move the boiler into the final position.
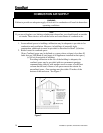
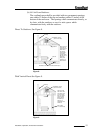
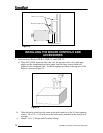
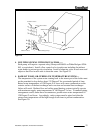
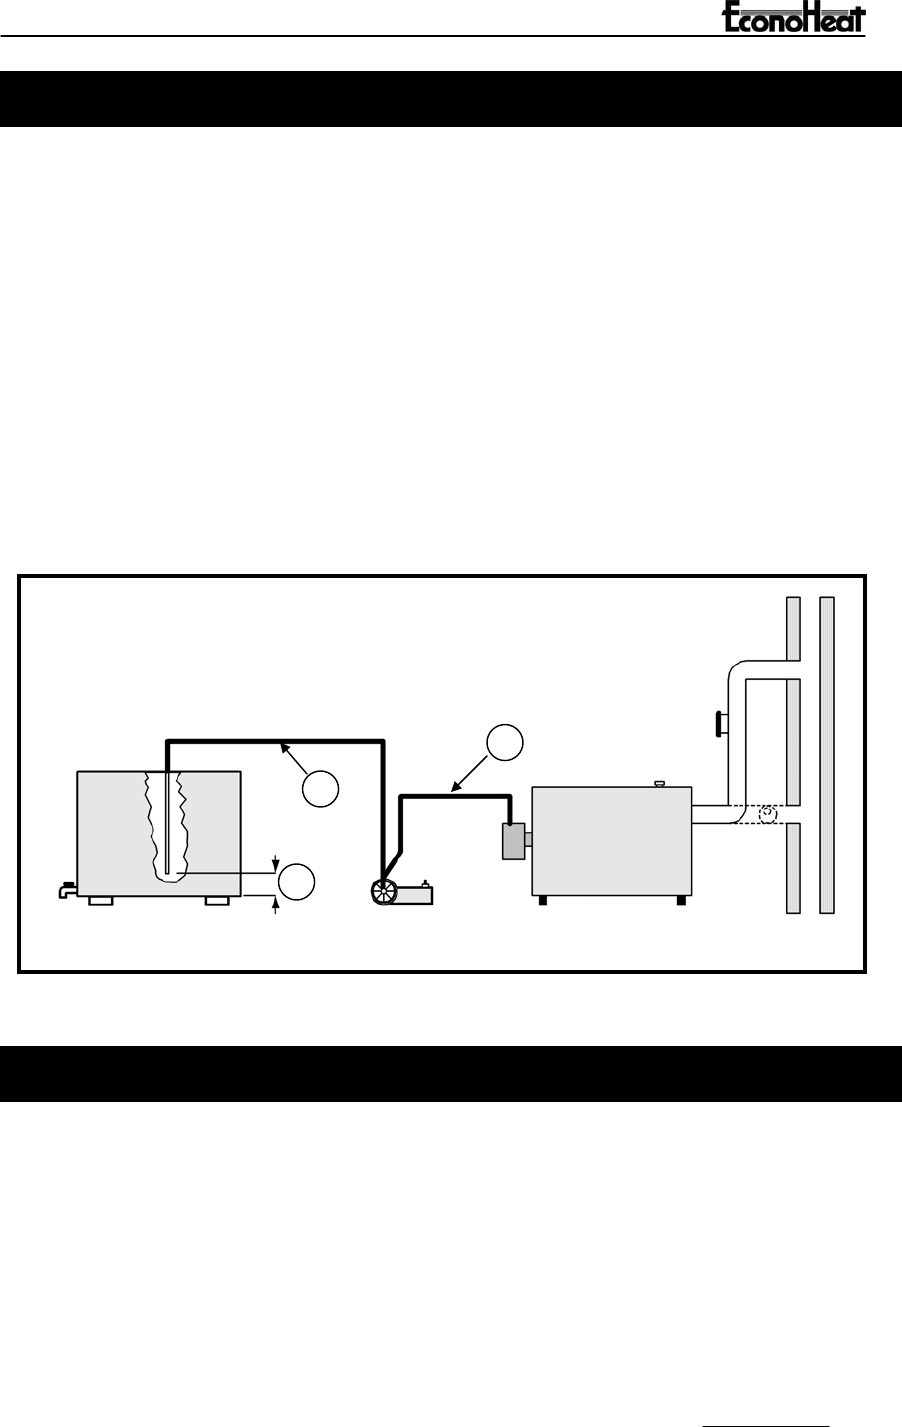
5. Waste Oil Piping: USE ONLY 3/8” nominal ID copper tubing with flare fittings only on the
oil suction from the tank to the oil pump and oil pump to burner. DO NOT use ferrule
fittings or teflon tape on any pipe fittings. Keep suction line approximately 6” from
bottom of oil tank to prevent suction of sludge (Figure 11). Use only an inside oil storage
tank. Do Not draw from an outside tank, especially not an underground tank directly to
burner. A separate transfer pump from an outside tank with proper filtration to the inside
supply tank is acceptable.
6. The fuel pump included with burner is to be mounted at tank level or below. PUMP MUST
BE MOUNTED HORIZONTAL AND LOCATED NEXT TO WASTE OIL SUPPLY TANK.
Oil Feed Line, 3/8” to connector on burner
g
un assembl
y
1,
Suction Line 6” min from bottom of tank to prevent sludge from being introduced into
the su
pp
l
y
line
3,
O Suction Line, 3/8” copper tubing
2,
1
2
3
Boile
r
Waste Oil Pum
p
Waste Oil Su
pp
l
y
Tan
k
Figure 11.
BREECHING INSTALLATION
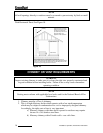
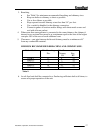
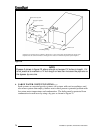
The breeching connection on OWB-9, OWB-15 and OWB-25 is 7 inches regardless of
input. Refer to Table 1 for minimum breeching sizes. Breeching run should be as short
as possible with as few elbows a practical. Unless marginal draft conditions exist, a
brametric draft control must be installed in the breeching and should be approximately 18
inches from the boiler breeching connection. Breeching should not project into the
chimney beyond the inside wall of the chimney. Connect the breeching to the chimney
with a thimble or slip joint to facilitate cleaning. See Figure 12.
Installation, Operation, And Service Instructions 19


