


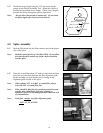
8
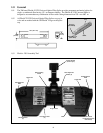
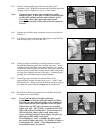
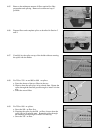
4.09 Pivot the handle of the Fibrlok Assembly Tool down until it
contacts the cap of the Fibrlok Splice. Squeeze the handle of
the assembly tool as shown in order to close cap and
actuate the splice. When possible, secure the tool to a
work surface for added support. A snap sound will be
heard when the splice is actuated.
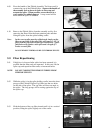
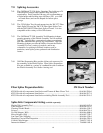
4.10 Remove the Fibrlok Splice from the assembly tool by first
removing the fibers from the foam retention pads and then
lifting the splice from the splice holding cradle.
Note: In the event a splice must be refabricated, simply cut the
fibers at each end of the splice (this will remove 1-1/2" of
fiber from the loop) and re-splice per instructions. Splice
fabrication will require a new splice and a length of 2
inches on each fiber.
DO NOT REMOVE FIBERS AND RE-USE FIBRLOK SPLICES.
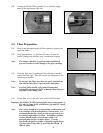
5.0 Fiber Repositioning
5.01 If high loss is observed after splice has been actuated, it is
possible that the fiber ends are separated. In this case, lift the
splice cap and reposition fiber ends, as instructed below.
NOTE: DO NOT COMPLETELY REMOVE FIBERS FROM
FIBRLOK SPLICES.
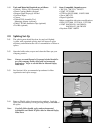
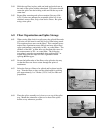
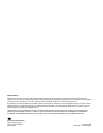
5.02 While the splice is in the splice holding cradle, insert the short
prongs of the Fibrlok II Splice Cap Lifter into the two holes
on the side of the splice. The cap lifter will be at an angle to
the splice. The long prongs will be resting against the top of
the splice cap.
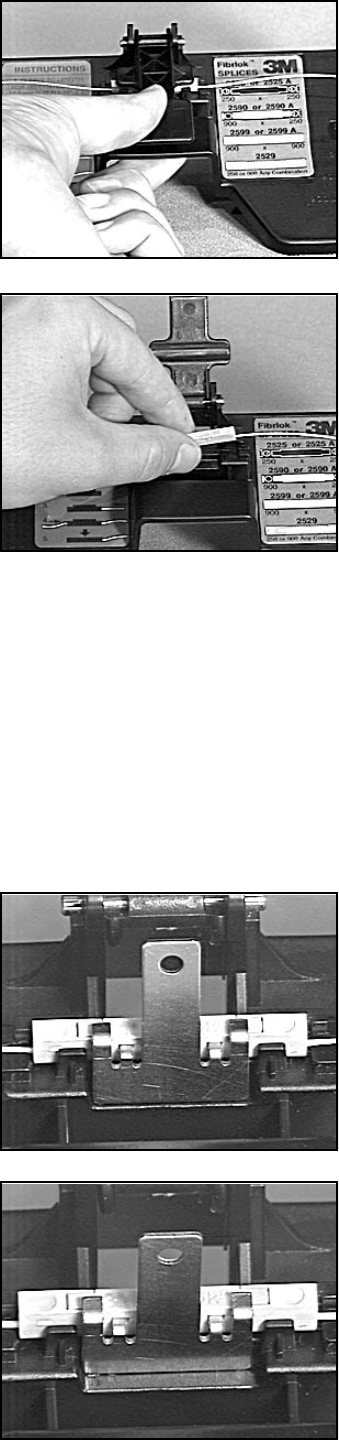
5.03 Slide the bottom of the cap lifter inward until it is in a vertical
position, lifting the splice slightly out of the cradle.