101Scan
and then click the Set as Default button.
5. Click Edit....
The Edit Default Profile dialog box appears.
6. Select the Source, Paper size, Color format, File type, Resolution (DPI), Brightness and Contrast settings.
7. Click the Save Profile button.
These settings will be applied when you scan using the Web Services protocol.
If you are requested to select a scanning application, select Windows
®
Fax and Scan or Windows
®
Photo Gallery
from the list.
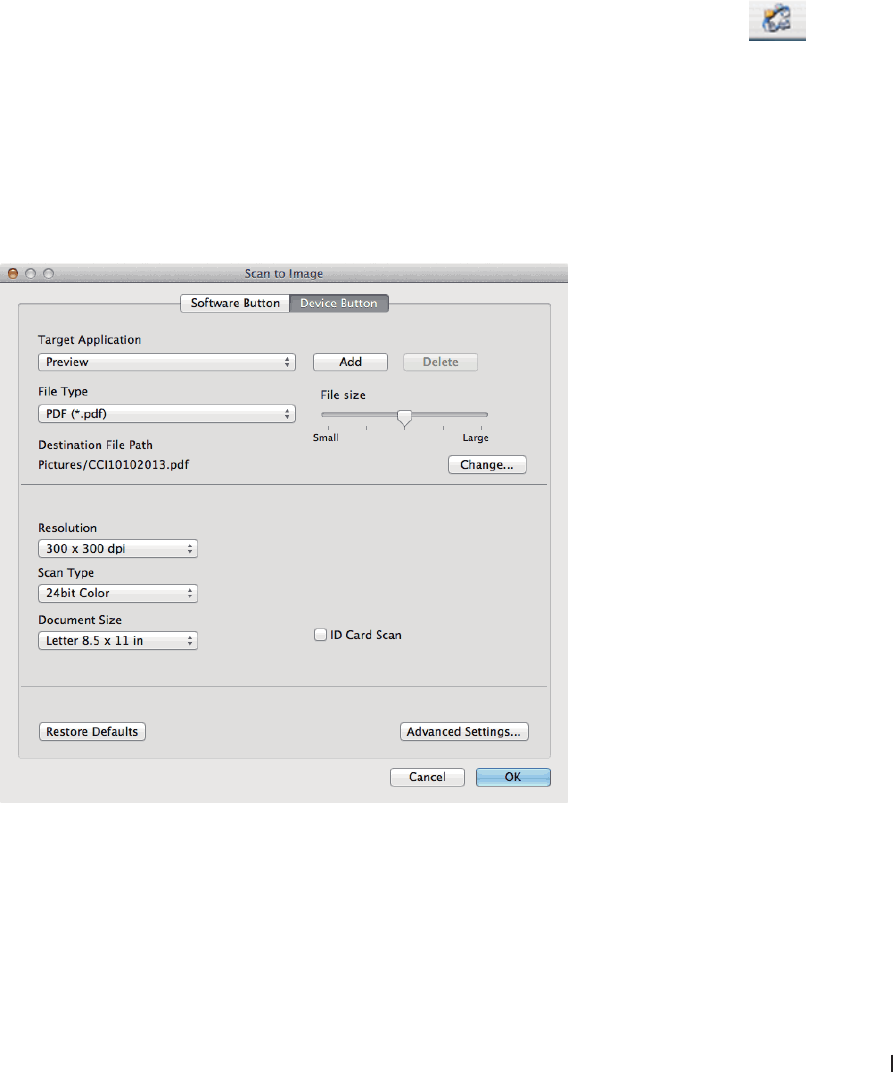
Change Scan Button Settings from ControlCenter (Macintosh)
1. In the Finder menu bar, click Go > Applications > Dell Printers, and then double-click the
(ControlCenter) icon.
The ControlCenter screen appears.
2. Hold the Control key on your keyboard and click on the scan destination (Image, OCR, E-mail, or File) whose
settings you want to change.
3. Click the Device Button tab.
The settings for the scan destination that you selected appear.
The following example shows the Scan to Image settings.
NOTE: Each tab corresponds to a scan feature, as described below.
These settings can be changed.


