MEGAPOWER CPU 8200-0421-03, REV. G
ADMINISTRATOR’S GUIDE
48 of 82
2. Click the Site Access tab. The selected keyboard
number appears just below the tab in the
keyboard field.
3. Click Add on the right side of the screen. The Add
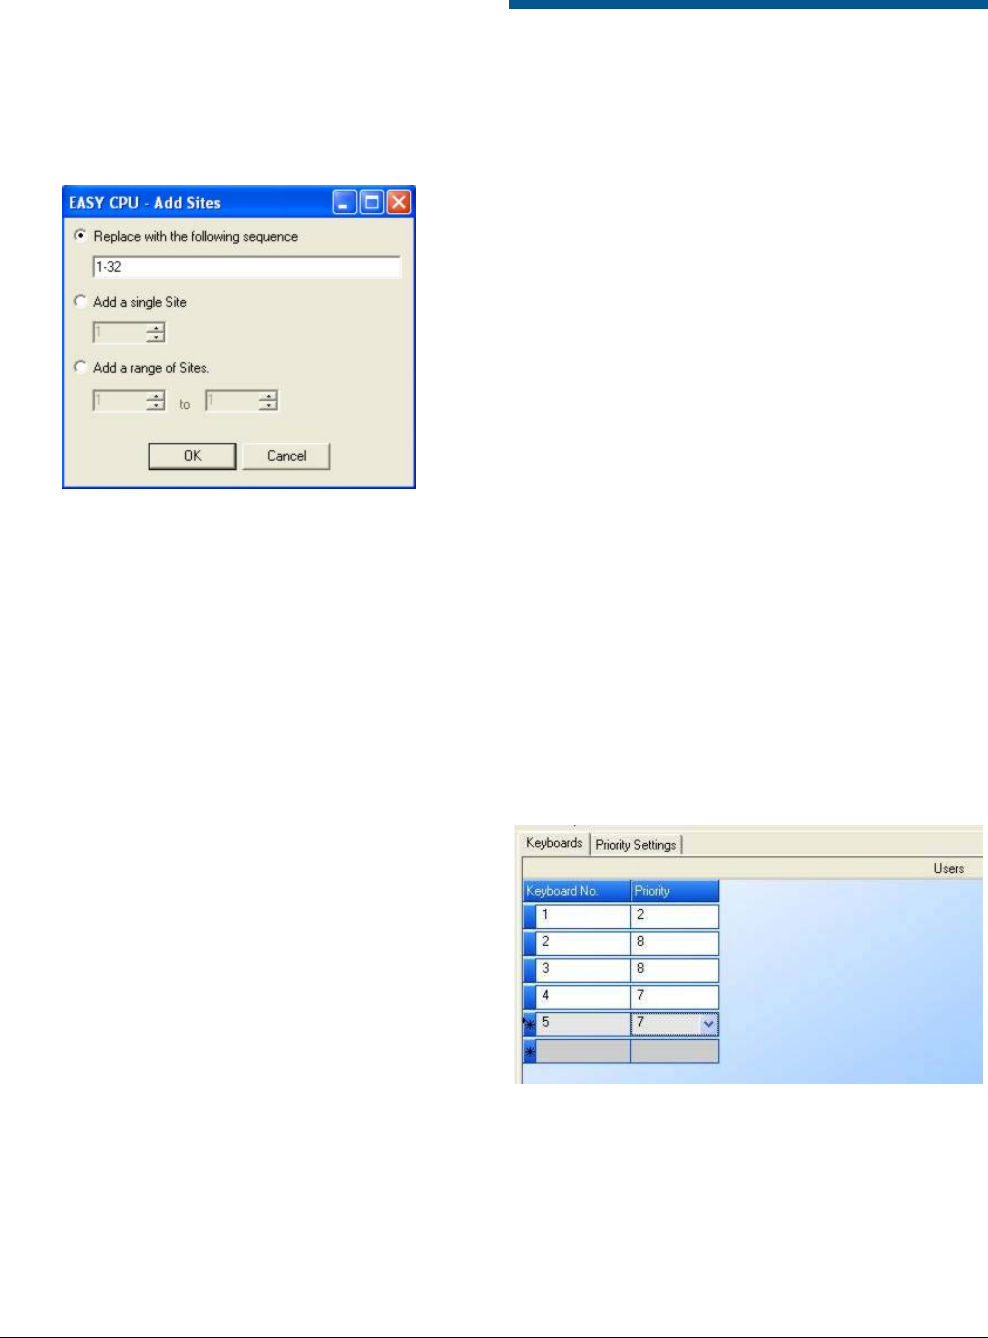
Sites dialog box appears.
Figure 102. Add Sites dialog
The Add Sites dialog provides three options. To
select an option:
1. Click the button beside it and complete the
required information. Options are:
− Replace with the following sequence – Enter
a range of satellite sites; for example: 1-30.
− Add a single Site – Click the up or down
arrows to select a satellite site.
− Add a range of Sites – Click the up or down
arrows on the “from” and “to” fields to select a
range of satellite sites.
2. Click OK to save your site choices or Cancel to
close the dialog box without saving your choices.
Removing Monitor or Site Access
To remove monitor or site access, do the following:
1. In the upper screen, click on the keyboard that
contains the monitor to be deleted.
2. In the lower screen, click on the monitor or site
access to be deleted, and then press Remove on
the right side of the screen.
Configuring Keyboard/User
Keyboards and Priorities
The Definitions – Keyboard/User Priorities screen
allows the administrator to assign priority access
levels to individual keyboards.
Priority levels determine whether the keyboard can
perform special functions, such as camera lock,
override, system reset, and others. You create
priority levels within the Priority Settings tab on the
Keyboard/Users Priorities screen.
Defining the Keyboard/User
Keyboards Configuration
To define the Keyboard/User Priorities – Keyboards
configuration, do the following:
1. Click on Keyboard/User Priorities link in the
Explore menu to begin.
Important: Depending of the setting of the User
Enable Logon checkbox in the System – Options
dialog box, one of two screens will appear.
User Enable Logon checkbox settings:
− Unchecked –
Figure 103 appears and permits
assigning of keyboard priorities.
− Checked –
Figure 104 appears and permits
assigning of user priorities and passcodes.
Figure 103. Definitions – keyboard/user priorities
keyboard setup screen
2. In the Keyboards tab, complete the following
fields:
− Keyboard No. – Identifies the keyboard by its
physical connection to the CPU.
− Priority – Identifies the priority level (1-8)
assigned to the selected keyboard.


