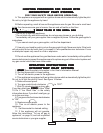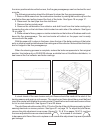
FIGURE 19
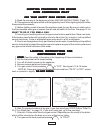
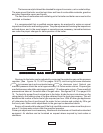
FIGURE 20
PAGE 18
the mirror positioned above the burners, the flue gas passageways can be checked for soot
or scale.
The following procedure should be followed to clean the flue gas passageways:
1. Remove the burners from the combustion chamber by raising the burners up from the
manifold orifices and pulling toward the front of the boiler. See figure 18 on page 17.
2. Disconnect the vent pipe from the draft hood.
3. Remove the top jacket panel.
4. Remove the combination flue collector and draft hood from the boiler castings by
loosening the nuts on the hold down bolts located on each side of the collector. See figure
18 on page 17.
5. Place a sheet of heavy paper or similar material over the bottom of the base and brush
down the flue passageways. The soot and scale will collect on the paper and is easily
removed with the paper.
With the paper still in place in the base, clean the top of the boiler castings of the boiler
putty or silicone used to seal between the castings and flue collector. Make certain that chips
are not lodged in the flue passageways.
When the cleaning process is complete, restore the boiler components to their original
position. Use boiler putty or IS-808 GE silicone, available from a Utica Boilers distributor, to
seal around the flue collector and boiler castings.
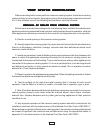
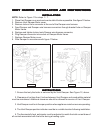
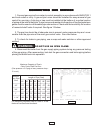
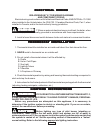
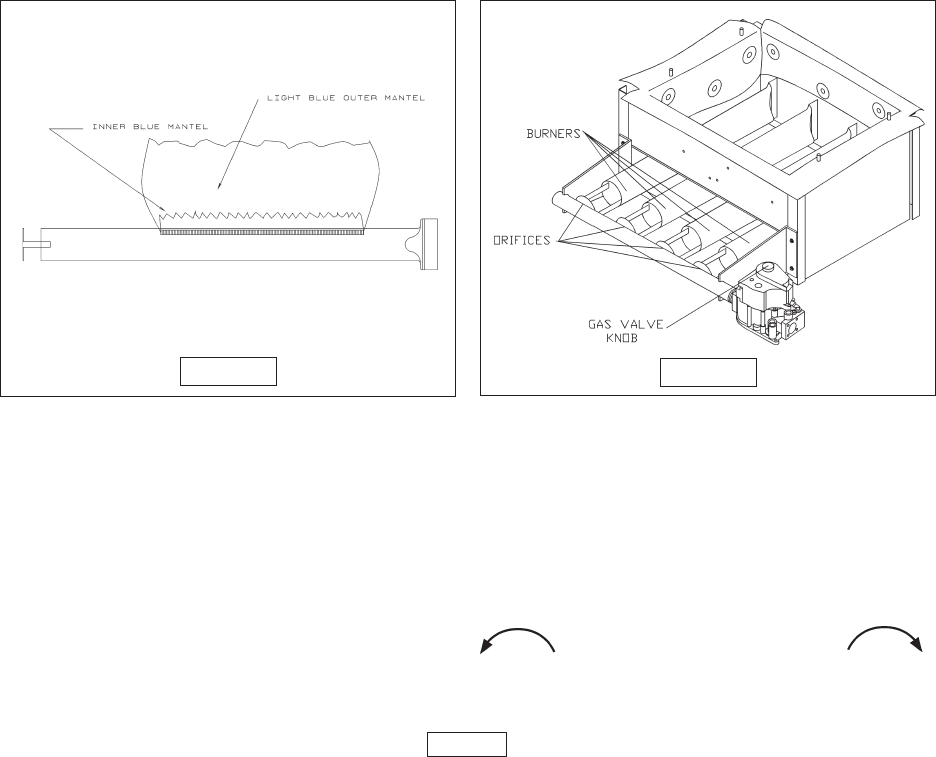
A visual check of the main burner and pilot flames should be made at the start of the
heating season and again in mid-season. The main burner flame should have a well defined
inner blue mantel with a lighter blue outer mantel. Check the burner throats and burner orifices
for lint or dust obstruction. See figures 19 and 20 above.
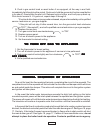
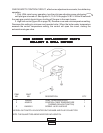
The pilot flame should envelop 3/8 to 1/2 inch of the tip of the pilot thermocouple, ignition/
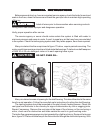
sensing electrode or mercury sensor. See figure 21 on page 19. To adjust the pilot flame,
remove the pilot adjustment cover screw (figures 14, 15, & 16 on pages 14 & 15), and turn
the inner adjustment screw counterclockwise to increase or clockwise
to decrease pilot flame. Be sure to replace cover screw after adjustment to prevent possible
gas leakage.


