


INSTALLATION
CAUTION:
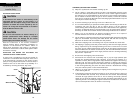
Only a trained, experienced servicer should install this Electronic Air Cleaner. The Front
Panel Assembly, Power Tray Assembly, Ionizing-Collecting Cells and Pre-filters should be
removed before installation. To remove the Power Tray Assembly, remove the two (2)
screws from inside the top front of the cabinet. Keep this hardware for re-installation of
the Power Tray Assembly after the air cleaner installation is completed and before
operation. A thorough check-out of the unit installation should be completed before
operation of the air cleaner.
INSTALLER HELP LINE
If you have any questions on installation issues or problems, please call
Technical Support 866-829-2440
Prior to installing this Electronic Air Cleaner:
1. Read instructions carefully for safe operation. Failure to follow instructions can
damage the product or cause a hazardous condition and may result in physical
harm.
2. Check the ratings stated on the product data label to make sure it is suitable for
your application.
3. Select a location for the air cleaner.
4. Remove the old furnace filter and discard.
5. The air cleaner cannot remove existing dirt from the blower and ducts. Clean the
area thoroughly before you begin installation.
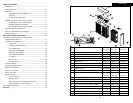
6. Remove unit’s Front Panel Assembly and slide the Pre-filters and Ionizing-
Collecting Cells out of the cabinet. Remove the Power Tray Assembly and place
ALL components safely aside. Also, remove and discard cardboard shipping
inserts from inside Front Panel Assembly and bottom of cabinet.
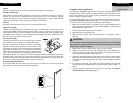
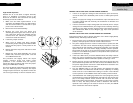
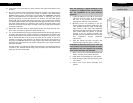
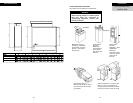
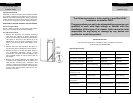
PHYSICAL INSTALLATION OF THE AIR CLEANER
This Electronic Air Cleaner can be installed in any position, except with the Front Panel
Assembly facing UP or DOWN. The section TYPICAL MOUNTING POSITIONS illustrates
examples of proper air cleaner mounting with a variety of furnace installations.
Installation
16
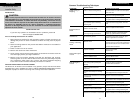
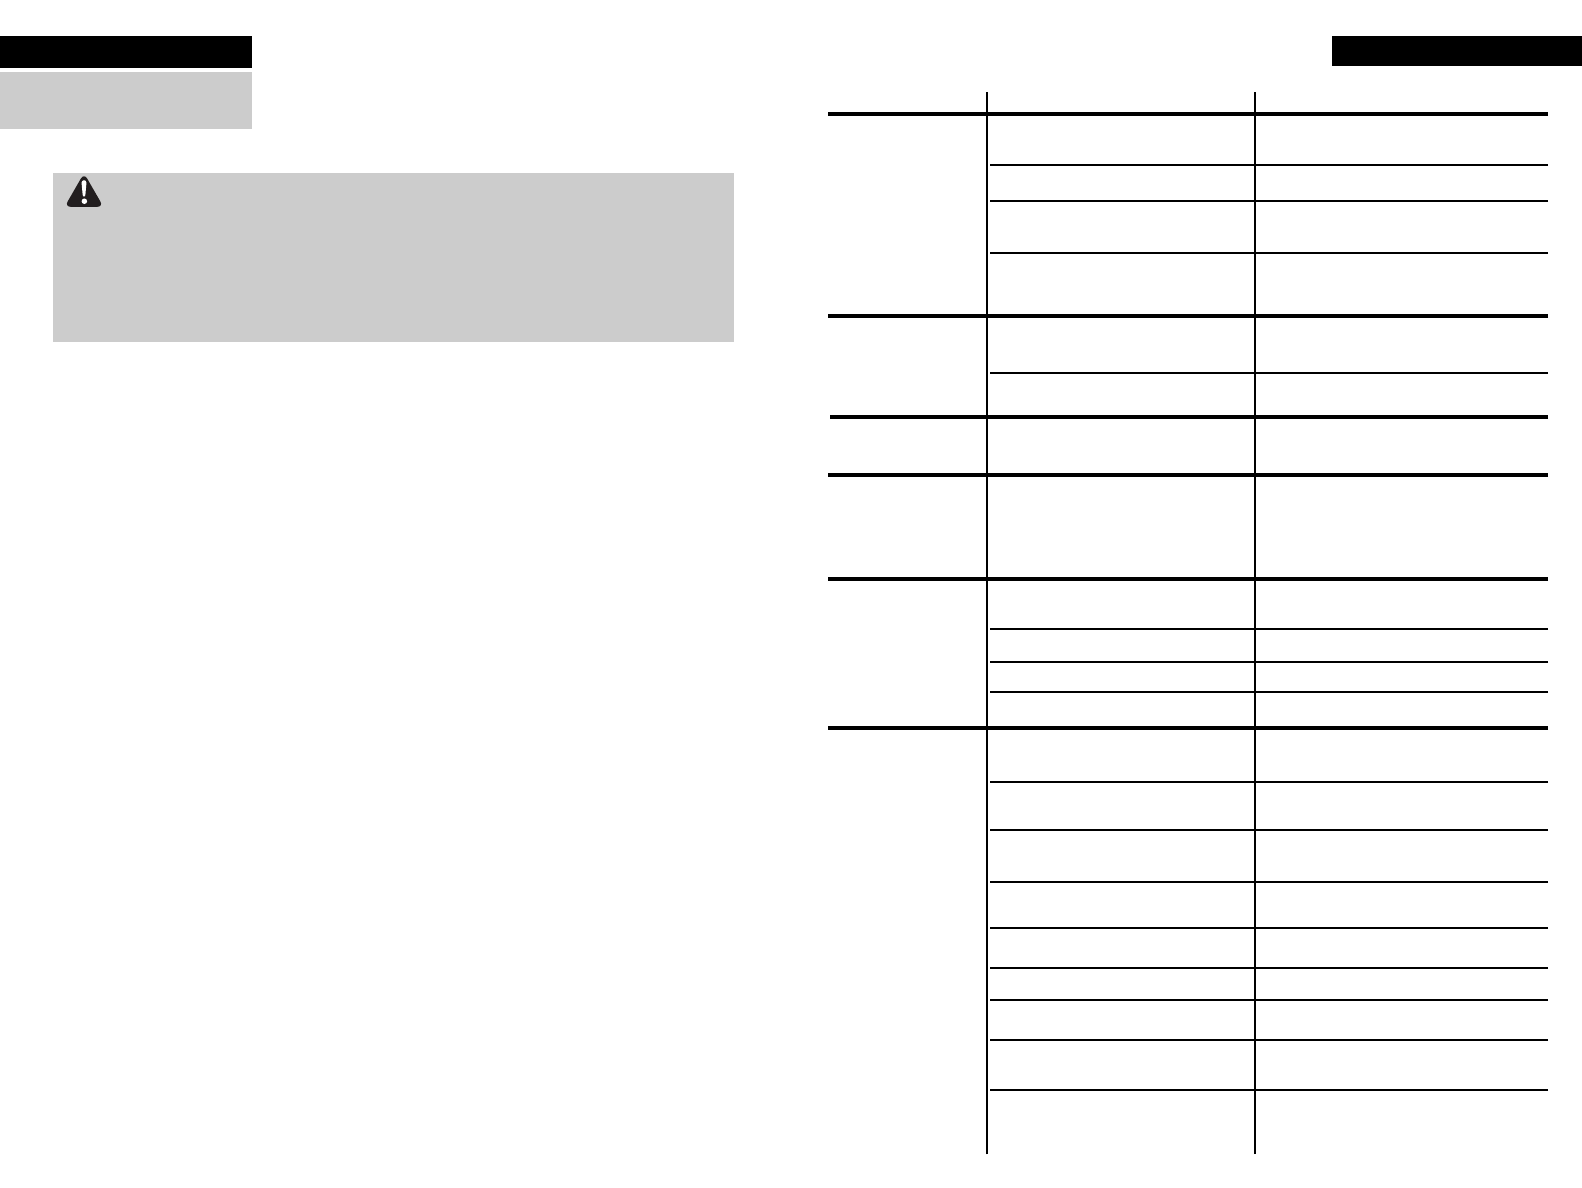
SYMPTOM
Rapid Arcing or
Zapping
Excessive Ozone
Smell
Radio or Television
Interference
Hissing or Sizzling
Noise
Green LED Light is
not On
Red LED Light is
not On
POSSIBLE CAUSES
Broken or loose ionizing wire (s)
Dirty Ionizing-Collecting Cell
Damaged or bent collector plates
Dirty insulator caps on Ionizing-
Collecting Cell
Defective Air Flow Sensor
Loose high voltage connections
Poor electrical ground
Poor electrical contact in the secondary
electrical circuit
No power available
Loose wiring at ON/OFF switch
Defective ON/OFF switch
ON/OFF switch not in ON position
Loose wiring within power pack
assembly
Broken or shorted electrical
component
Excessive dirt build-up on ionizing
wires
Contact board assemblies are corroded
or carbonized
Broken ionizing wire
Dirty Ionizing-Collecting Cell
Foreign object located between
collector plates
Damaged or bent collector plates
Insulators are corroded or carbonized
CORRECTIVE ACTION
Remove broken or loose wire and replace
with new wire
Clean the Ionizing-Collecting Cell
Straighten plates with needle nose pliers
or replace entire Ionizing-Collecting Cell
Clean with warm soapy water and rinse
well
Clean or replace Air Flow Sensor
Rewire Air Cleaner to the HVAC system
blower by qualified HVAC contractor
Uncommon occurrence- check for good
common ground for air cleaner
Ensure that there is a good connection
between the top of the Ionizing-Collecting
Cell and the bottom of the contact board
Contact HVAC contractor
Reset circuit breaker
Replace fuse
Check for secure connection
Replace ON/OFF switch
Turn the unit ON
Check for secure connections
Contact HVAC contractor
Contact HVAC contractor
Clean wires with alcohol and allow to dry
thoroughly before turning the unit ON
Replace contact board assembly
Remove broken wire and replace with new wire
Clean the Ionizing-Collecting Cell
Remove object from Ionizing–Collecting Cell
Straighten plates with needle nose pliers
or replace entire Ionizing-Collecting Cell
Replace insulators or Ionizing-Collecting Cell
Troubleshooting
9
For Qualified HVAC
Installer Only
Common Troubleshooting Techniques