


– 149 –
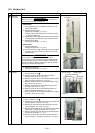
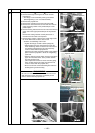
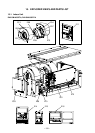
Hooking claw
Concave part PMV main unit
Positioning projection PMV coil
Fan guard Bell mouth Discharge
port cabinet
Earth screw
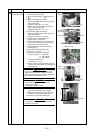
Earth screw
Terminal block
Terminal block
mounting plate
mounting plate
Bundling band
Bundling band
(Binding)
(Binding)
Bundling band
Bundling band
4-way valve lead
4-way valve lead
Terminal block
Terminal block
fixing plate
fixing plate
Fan motor
Fan motor
lower lead
lower lead
Bundling band (Forming)
Bundling band (Forming)
∗ 1 piece: at rear side
1 piece: at rear side
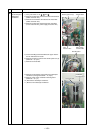
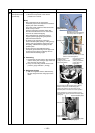
Earth screw
Terminal block
mounting plate
Bundling band
(Binding)
Bundling band
4-way valve lead
Terminal block
fixing plate
Fan motor
lower lead
Bundling band (Forming)
∗ 1 piece: at rear side
No.
12
Part name
PMV coil
Remarks
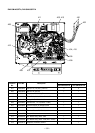
Procedure
1. Detachment
1) Carry out work of item 1 of
1
.
2) Turn the coil while pulling upward and then
remove the coil from the PMV main unit.
2. Attachment
1) Surely match the positioning projection of the
coil with the concave part of PMV main unit
and then fix it.
1. Detachment
1) Carry out works of item 1 of
1
and work of
2
.
XREQUIREMENTX
To prevent scratch on the product, carry out the
work on cardboard, cloth, etc.
2) Remove the discharge port cabinet and then
put on it so that the fan guard side directs
downward.
3) Remove the hooking claws (8 positions) of the
fan guard.
2. Attachment
1) Push the hooking claws (8 positions) with
hands from the front side to fix the claws.
XREQUIREMENTX
Check that all the hooking claws are fixed at the
specified positions.
Fan guard
13
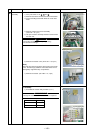
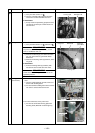
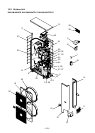
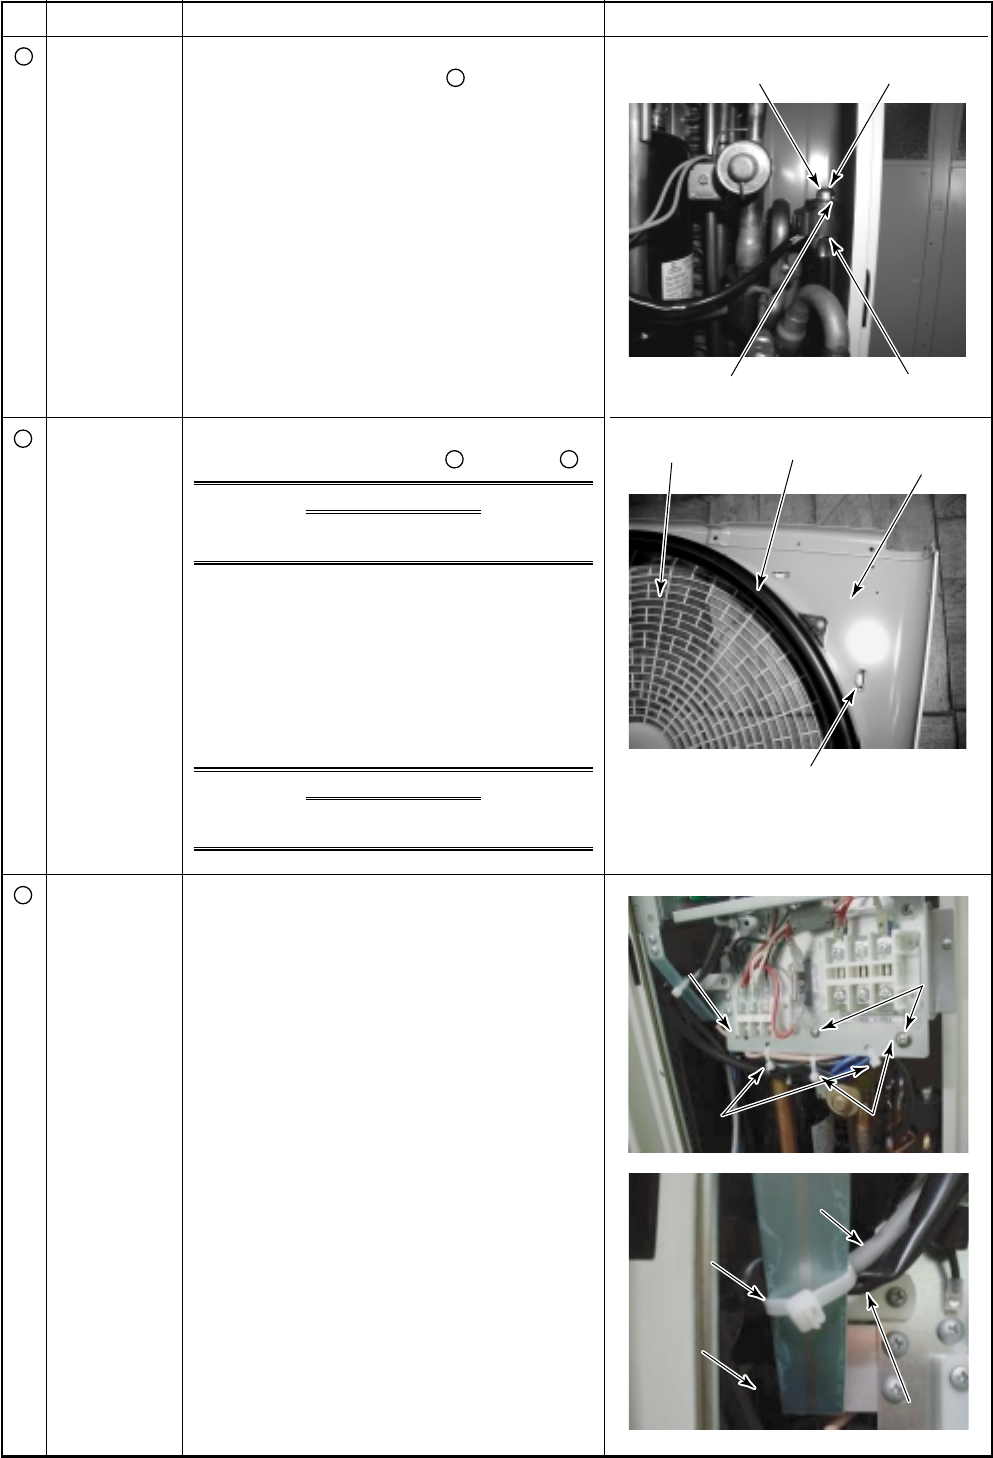
1. Sensor lead, compressor case thermo lead, PMV
lead
1) Turn the remained length of lead, bind it and
then fix with bundling band.
2) Fix the lead with bundling band so that it does
not come to contact with earth screw.
Wiring process
(Final check)
14
2. Fan motor lower lead, 4-way valve lead
1) Fix them to terminal block fixing plate with
bundling band. (Bind with crossed right-up)