


10
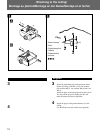
/Attaching to the ceiling/
Montage au plafond/Montage an der Decke/Montaje en el techo/
3
4
English
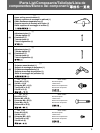
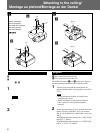
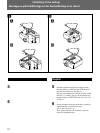
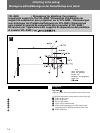
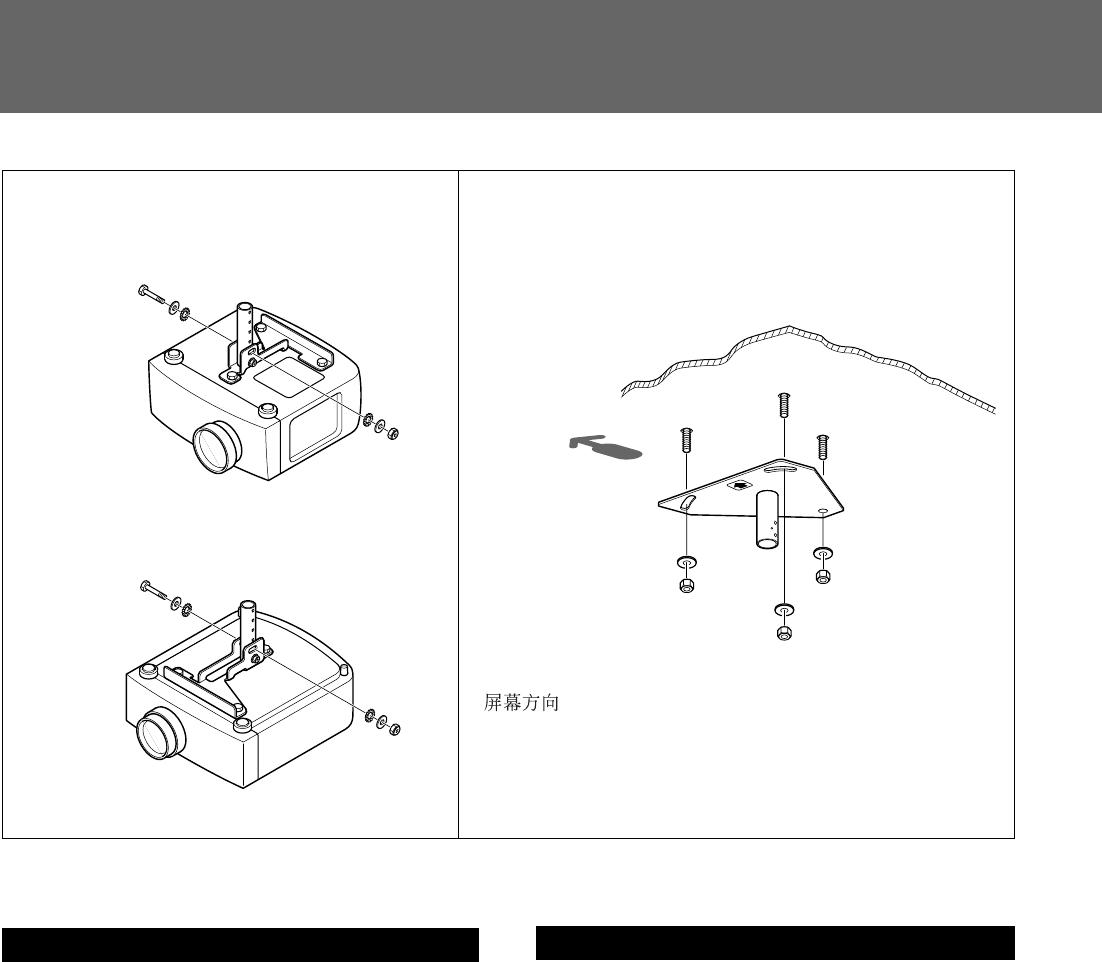
3 Attach the adjustment pipe to the projector mount
bracket (d) using a bolt M8 × 50 (f), two toothed
lock washers M8 (i), two washers M8 (h) and a nut
M8 (j).
Attach the pipes so that the projector becomes level.
You may tilt the projector slightly, but this will
make the projected picture trapezoidal.
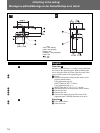
4 Attach the upper ceiling mount bracket (a) to the
ceiling.
Use M10 bolts, nuts and washers (not supplied).
(a)
Screen forward
Ecran
Projektionsschirm
Pantalla
Direzione dello
schermo
3
4
B
A
(d)
(i)
(h)
(j)
(f)
(h)
(i)
(i)
(h)
(j)
(f)
(h)
(i)
(d)