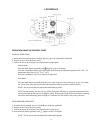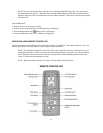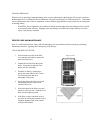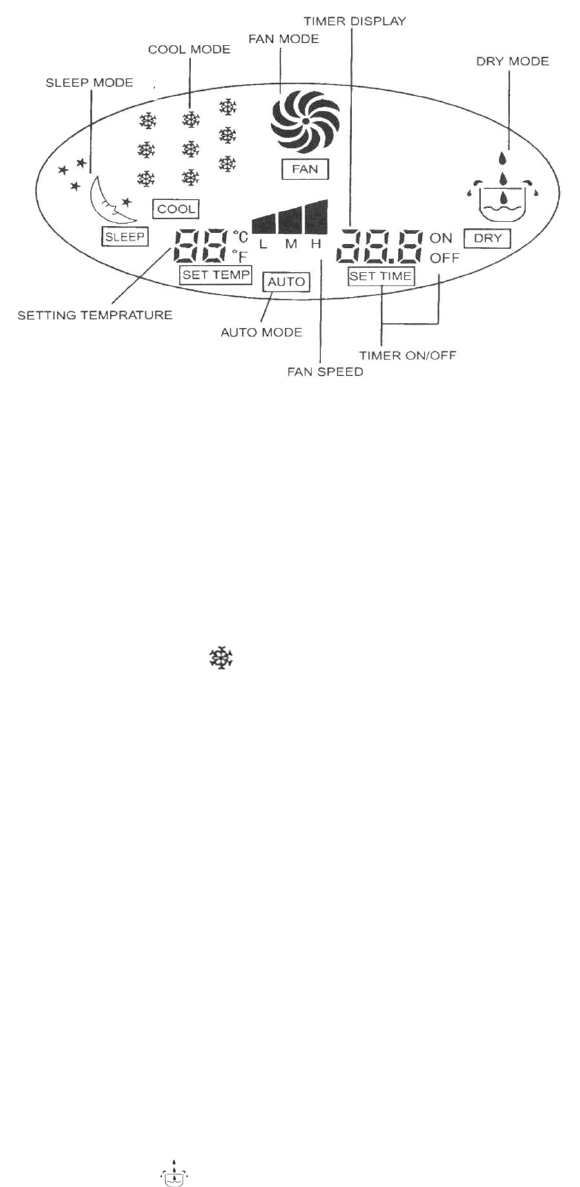
LCD DISPLAY
OPERATION USING THE CONTROL PANEL
COOLING OPERATION
1. Ensure the exhaust duct properly installed. Refer to page 8 for exhaust duct installation.
2. Plug the Power Cord to the power outlet.
3. Turn on the unit by pressing the Power Button on the control panel.
Manual Mode:
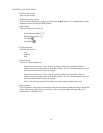
Press the Mode Button repeatedly until
appears on the LCD display.
Press the Temperature Buttons up or down until the desired room temperature appears on the LCD. The
temperature ranges from 61-86
o
F (16
o
-30
o
C).
Press the Fan Button to select low, medium or high speed.
Auto Mode:
Press the Mode Button repeatedly until the word “Auto” appears on the LCD display. In the Auto Mode,
the “Smart Chip” microprocessor controls the temperature and fan speed for optimal comfort.
NOTE: The fan speed cannot be adjusted in dehumidifying mode.
NOTE: During hot days, the unit will cool off the room most efficiently by setting the temperature to the
lowest setting and the fan speed to the highest setting. Reducing the length of the exhaust duct, insulating
the exhaust duct and keeping direct sunlight to a minimum will also improve the cooling efficiency.
DEHUMIDIFIER OPERATION
1. If exhaust duct is attached, remove it from the rear of the air conditioner.
2. Plug the Power Cord to the power outlet.
3. Turn on the unit by pressing the Power Button on the control panel.
4. Press the Mode Button repeatedly until
appears on the LCD display.
NOTE: The fan speed cannot be adjusted in dehumidifying mode.
11


