a. When the unit is On, press “Timer” Button, then press the “Time” button until the
desired number of hours is displayed in the lower right corner of the display
window. The unit will automatically power Off once the selected number of hours
has elapsed.
b. When the unit is Off, press “Timer” Button, then press the “Time” button until the
desired number of hours is displayed in the lower right corner of the display
window. The unit will automatically power On once the selected number of hours
has elapsed.
NOTE: The timer function must be manually reset before each automatic start or stop.
6.
Swing
Activates or deactivates the oscillating louvers
Operation Using the Control Panel
1.
Cooling Operation
a. Be sure that the drain bucket is properly placed in the unit. If the drain bucket is not
properly secured, the red “Water Full” light located on the front panel will blink
and the unit will not begin cooling.
b. Be sure the exhaust duct properly installed. Refer to page 6 for exhaust duct
installation.
c. Plug the Power Cord to the power outlet.
d. Turn on the unit by pressing the On/Off Button on the control panel.
e. Press the Mode Button until “COOL” appears on the LCD display.
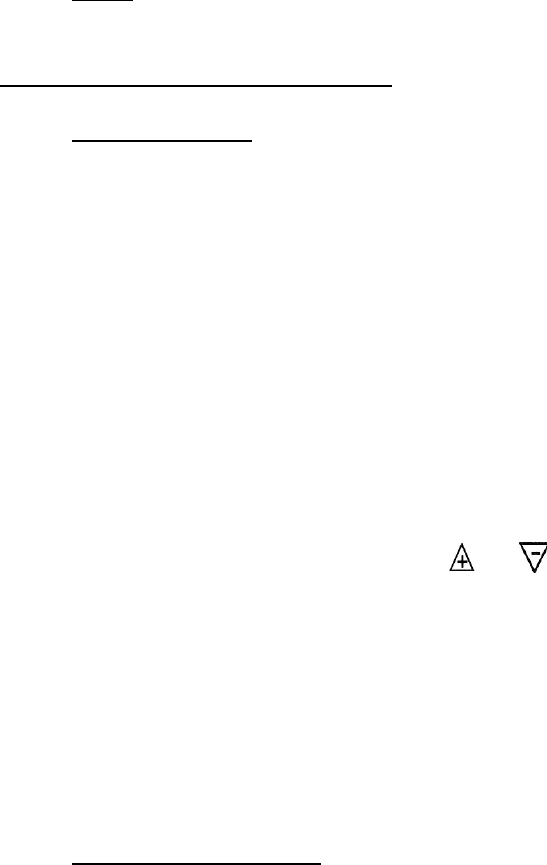
f. Press the Temperature Button or until the desired room
temperature appears on the LCD. The temperature ranges from
63
o
F-88
o
F (17
o
C-31
0
C). After two seconds the current room
temperature will appear on the LCD screen
NOTE: During hot days, the unit will cool off the room most efficiently by setting the
temperature to the lowest setting and the fan speed to the highest setting (see page 9 for fan
operation). Reducing the length of the exhaust duct, insulating the exhaust duct and keeping
direct sunlight to a minimum will also improve the cooling efficiency.
2.
Dehumidifying Operation
9
