


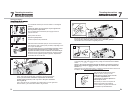
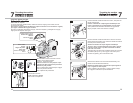
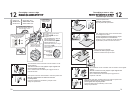
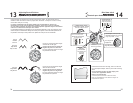
Enclenchez le pied boutonnière. L'extrémité qui contient le
bouton doit être placée vers l'arrière. Glisser le tissu sous le
pied, et abaisser le pied presseur.
Colque el prensatelas para ojal en el extremo sosteniendo el
botón atrás.
Ouvrez le pied boutonnière en le faisant glisser et insérez le
bouton. La boutonnière sera cousue d'une longueur
correspondant aux dimensions du bouton.
Abra el ojalador e inserte el botón. El espacio de corte del ojal
será cosido a la medida del botón.
47
11
1
2
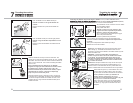
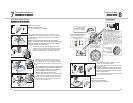
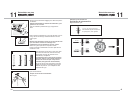
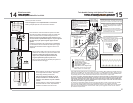
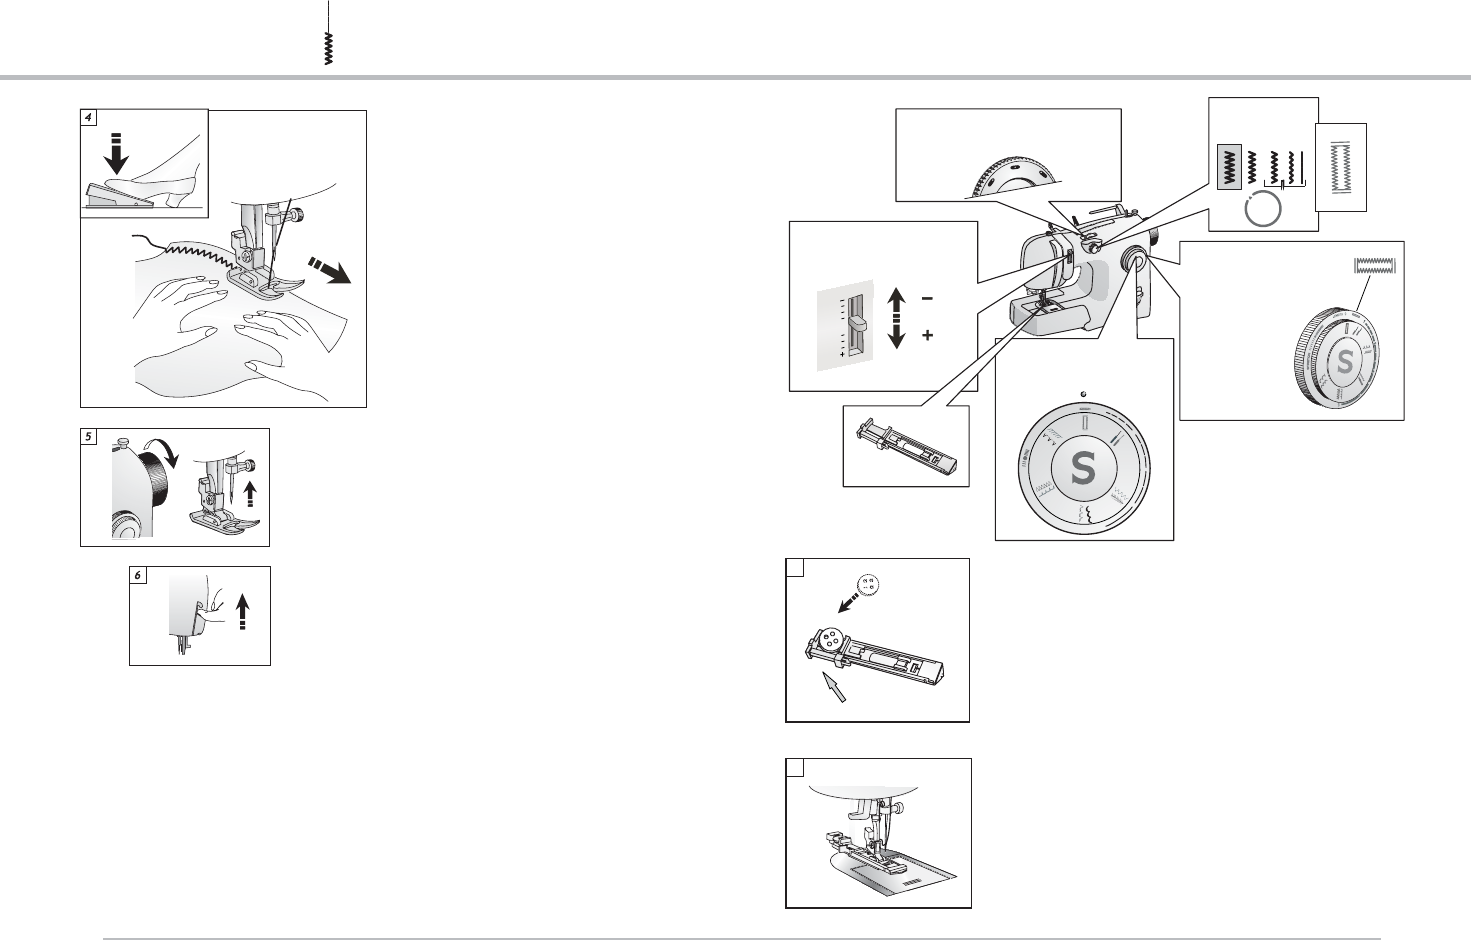
AUTO
Position de l'aiguille: centrale
Tension du fil d'aiguille
Largeur du point
Posición de aguja: Centro
Ancho de puntada
Tensión de hilo
Sélectionnez le symbole:
Longueur du
point
Seleccione el icono ojal.
Selector del largo
de puntada
Sélecteur de point
Selector de puntadas
Ojales en un paso
Needle position: Center
Stitch width dial
Select the buttonhole icon
Stitch length dial
Pattern selector Dial
Start with the Needle thread
tension in the Auto position
Buttonholes one-step
Slide buttonholer open and insert the button.
The buttonhole cutting space will be sewn to match the
size of the button.
Snap on the buttonhole foot with end holding the button
to the back. Slide fabric under foot and lower presser foot.
Boutonnière 1 Étape
2
0
5
4
3
1
46
10
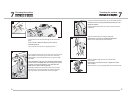
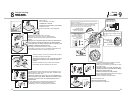
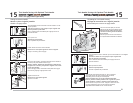
Une fois la couture terminée, tournez le volant vers vous
jusqu'à ce que l'aiguille soit dans la position la plus haute.
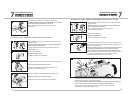
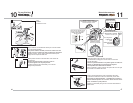
Points zigzags
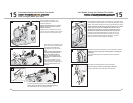
Relevez le pied presseur et retirez le tissu en
le faisant glisser sous le pied presseur.
Cousez.
Comience a coser.
Cuando termine, gire el volante hacia usted hasta que la
aguja esté en la posición más alta.
Levante la palanca del prensatelas y retire la tela
debajo del prensatelas.
Puntada Zigzag
Sew.
When finished, turn handwheel toward you until the needle
is in the highest position.
Raise presser foot lifter and slide fabric from under the
presser foot.
Zig-zag Stitching