


26
Install the outdoor unit
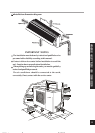
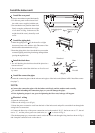
Install the connection pipe
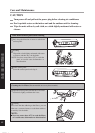
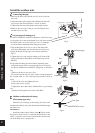
1.Align the center of the piping flare with the relevant valve.
2.Screw in the flare nut by hand and then tighten the nut with spanner and
torque wrench refer to the diagram at right.
Note: Exceeding tightening torque will damage the flare surface.
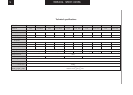
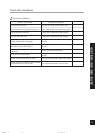
Tightening torque table
Hex nut diameter (mm) Tightening torque (N.m)
6
15~20
31~35
50~55
9.5
12
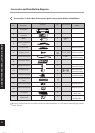
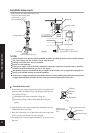
Electric wiring connection
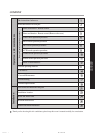
1.Remove the front side plate (Fig.8)
2.Break through the hole for wires and put on rubber bush.
3.Pull all wires throught the rubber bush.
4.Remove the wire clamp and connect the end of the power
connection cord with screws to the wiring terminal board
according to the “WIRING DIAGAM” of outdoor unit.
5.Make sure that the wiring has been connected firmly.
6.Tighten the wire with clamp and clasp.
NOTE:
Wrong wiring connection will cause electrical mal-
function.
Do not pull the wire when fixing it with wire clamp.
Do not let the wire too loose in the outdoor unit.
Nut of
connection pipe
Joint
Spanner
Torque wrench
60~65
16
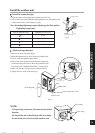
Wire clasp
Wire clamp
control cord
power connection cord
rubber bush
hole
front side plate
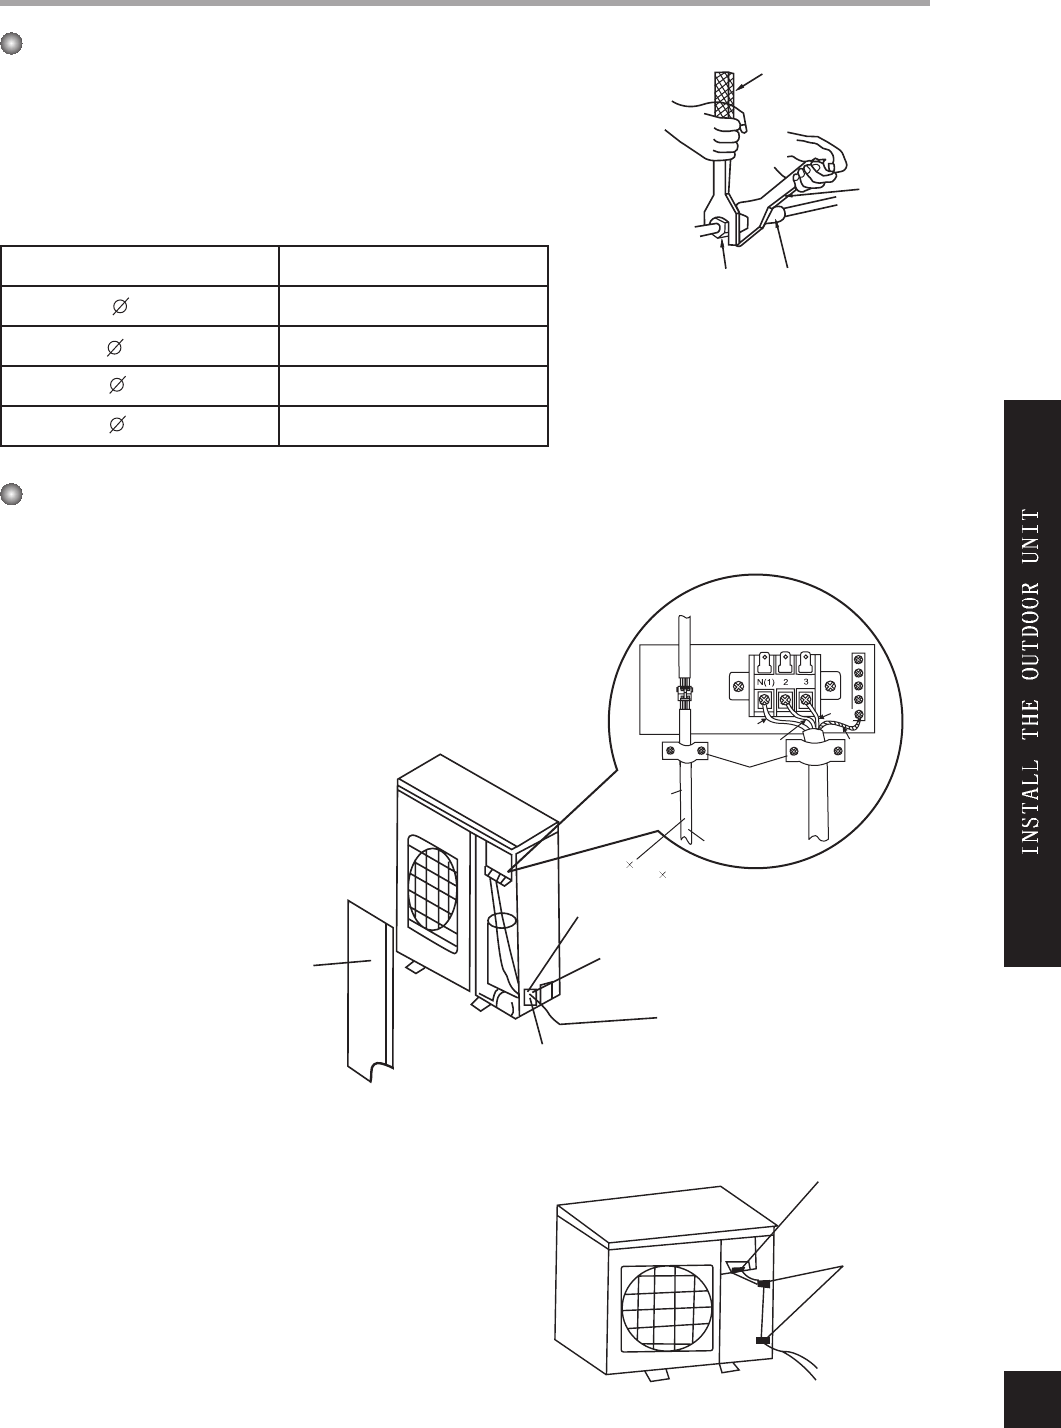
power supply cord
yellow-green
wire clamp
heat pump type only
control cord
5 0.75
(for CE stander5 1.0 )
blue
brown
Fig.7
Fig.8
red
66162002 6 02 11 30 102526