28
BUILT-IN STITCHES
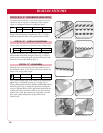
CLASSIC BUTTONHOLES
The buttonhole foot makes made-to-measure buttonholes in
one easy step. The size of the buttonhole is automatically set
by placing the button in the back of the buttonhole foot. It
will hold a button up to 1˝ (2.5cm) in diameter
.
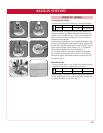
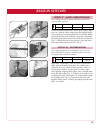
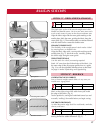
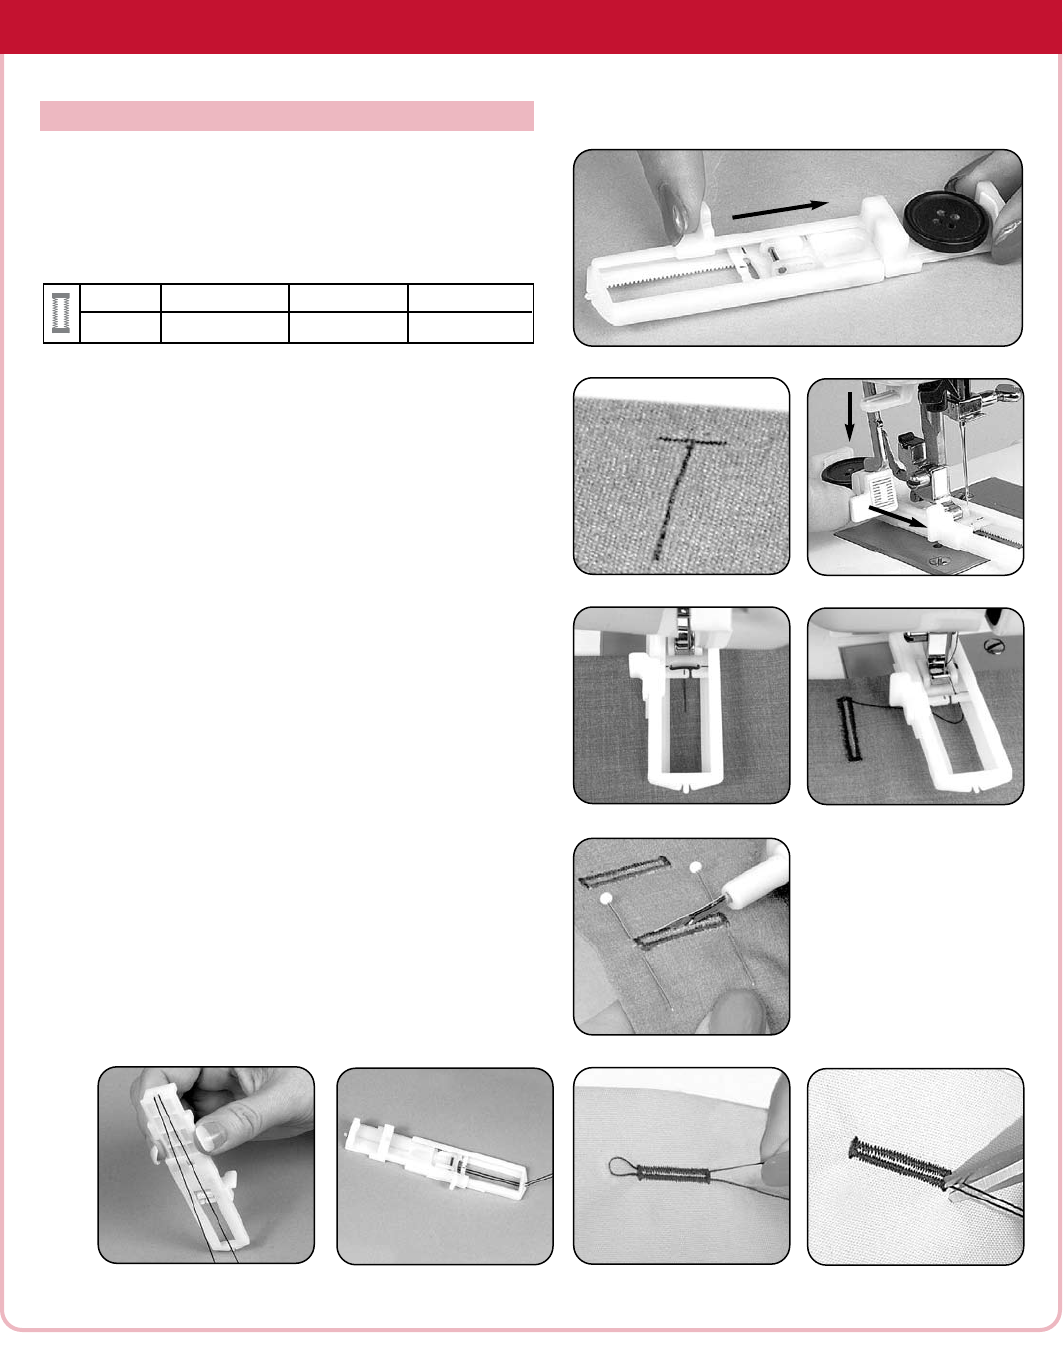
Place your button on the back of the buttonhole foot
and slide the gauge toward the button to hold it securely
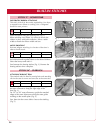
in place [Fig. 1]. Mark the buttonhole on your fabric
with a washable marker [Fig. 2]. Attach the foot to the
presser foot holder with the button in the back. Pull the
buttonhole lever down as far as it will go and pull it for-
ward [Fig. 3]. Place fabric underneath foot, aligning the
needle with the front bartack [Fig. 4]. Sew slowly, stopping
the machine when buttonhole is completed. The front
bartack and left side will sew first, then the back bartack
and right side.
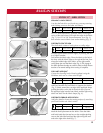
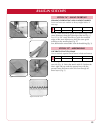
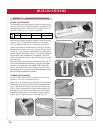
Raise the needle and presser foot. Remove the fabric [Fig. 5]
and trim the thread near the stitching. Using the seam ripper,
carefully cut an opening in the middle of the buttonhole
[Fig. 6]. Be careful not to cut any stitches. You may want to
put a straight pin across both ends of the buttonhole to help
prevent cutting the buttonhole bartacks.
CORDED BUTTONHOLES
Create a bolder buttonhole by stitching over a heavier
thread or cord such as buttonhole twist.
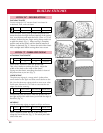
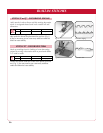
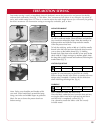
Begin with a 10” strand of heavy thread or cord and loop its
midpoint over the spur at the back of the buttonhole foot
[Fig. 7]. Slip the ends into the slot at the front of the foot
[Fig. 8]. Sew the buttonhole as usual and the stitches will
form over the cord. Remove the fabric from the machine
and pull the ends of the cord to hide the loop under the
bartac
k [Fig. 9]. Snip the excess cord length [Fig. 10].
STITCH “T” - ONE-STEP BUTTONHOLE
Fig. 1
Fig. 4
STITCH STITCH WIDTH STITCH LENGTH PRESSER FOOT
T .5 or Yellow range 5 or Yellow range Buttonhole
Fig. 2
Fig. 5
Fig. 3
Fi
g. 9
Fig. 6
Fig. 10
Fig. 8
Fig. 7


